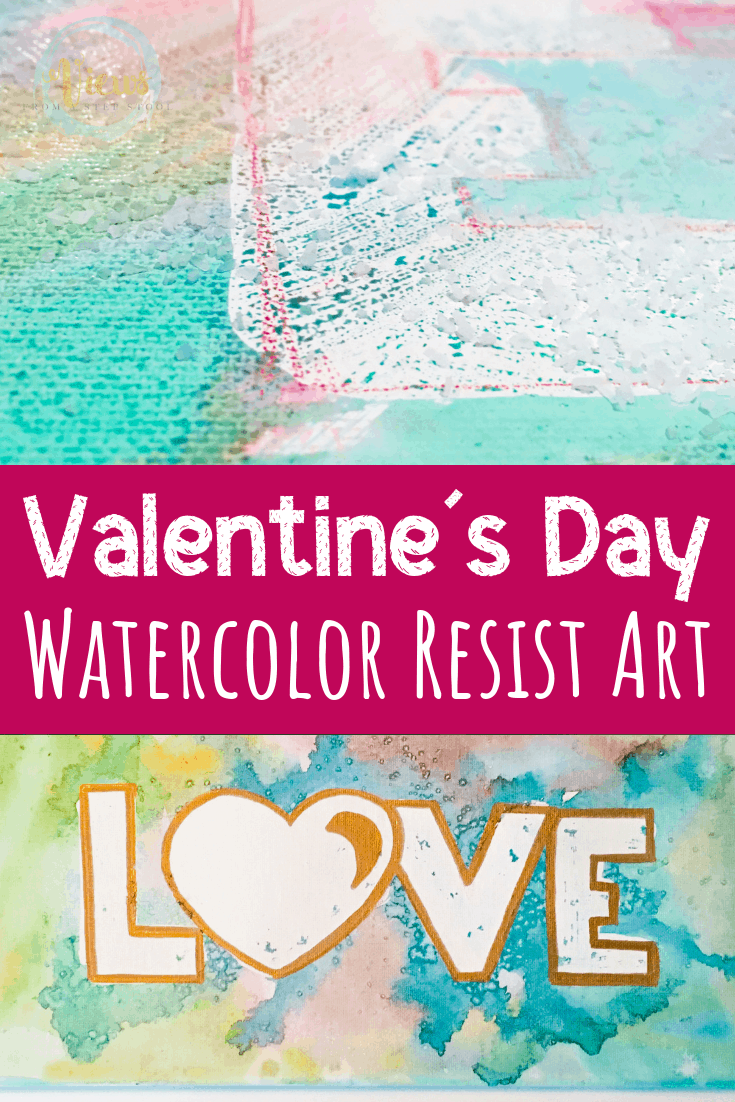
This watercolor resist art can turn a canvas into a beautiful work of art! With rubber cement instead of painter’s tape, make any design you want!
This is my one of my absolute favorite painting techniques for kids. We made these pieces of ‘LOVE‘ watercolor resist art for Valentine’s Day to give to the kids’ grandparents, but I want to go and make a ton more with so many different designs!
And I promise, the kids had as much fun as I did…almost. We used watercolor and rubber cement as an easy alternative to painter’s tape!

Watercolor Resist Art for Kids
So..resist art. This is a technique where a portion of the canvas/paper is covered and then painted over. When you remove the covering, you are left with a blank area. That is my very un-technical (is that even a word?) description of it, The Artful Parent has some really fun resist art techniques to try, including the one we used.
To make resist art easy to set up, we typically use painters tape. However, to make curved areas like letters, painters tape can be difficult to use, so we tried rubber cement and found it to be really wonderful.

What you need for this watercolor resist art:
canvas
rubber cement
watercolors
coarse salt
paintbrushes or pipettes
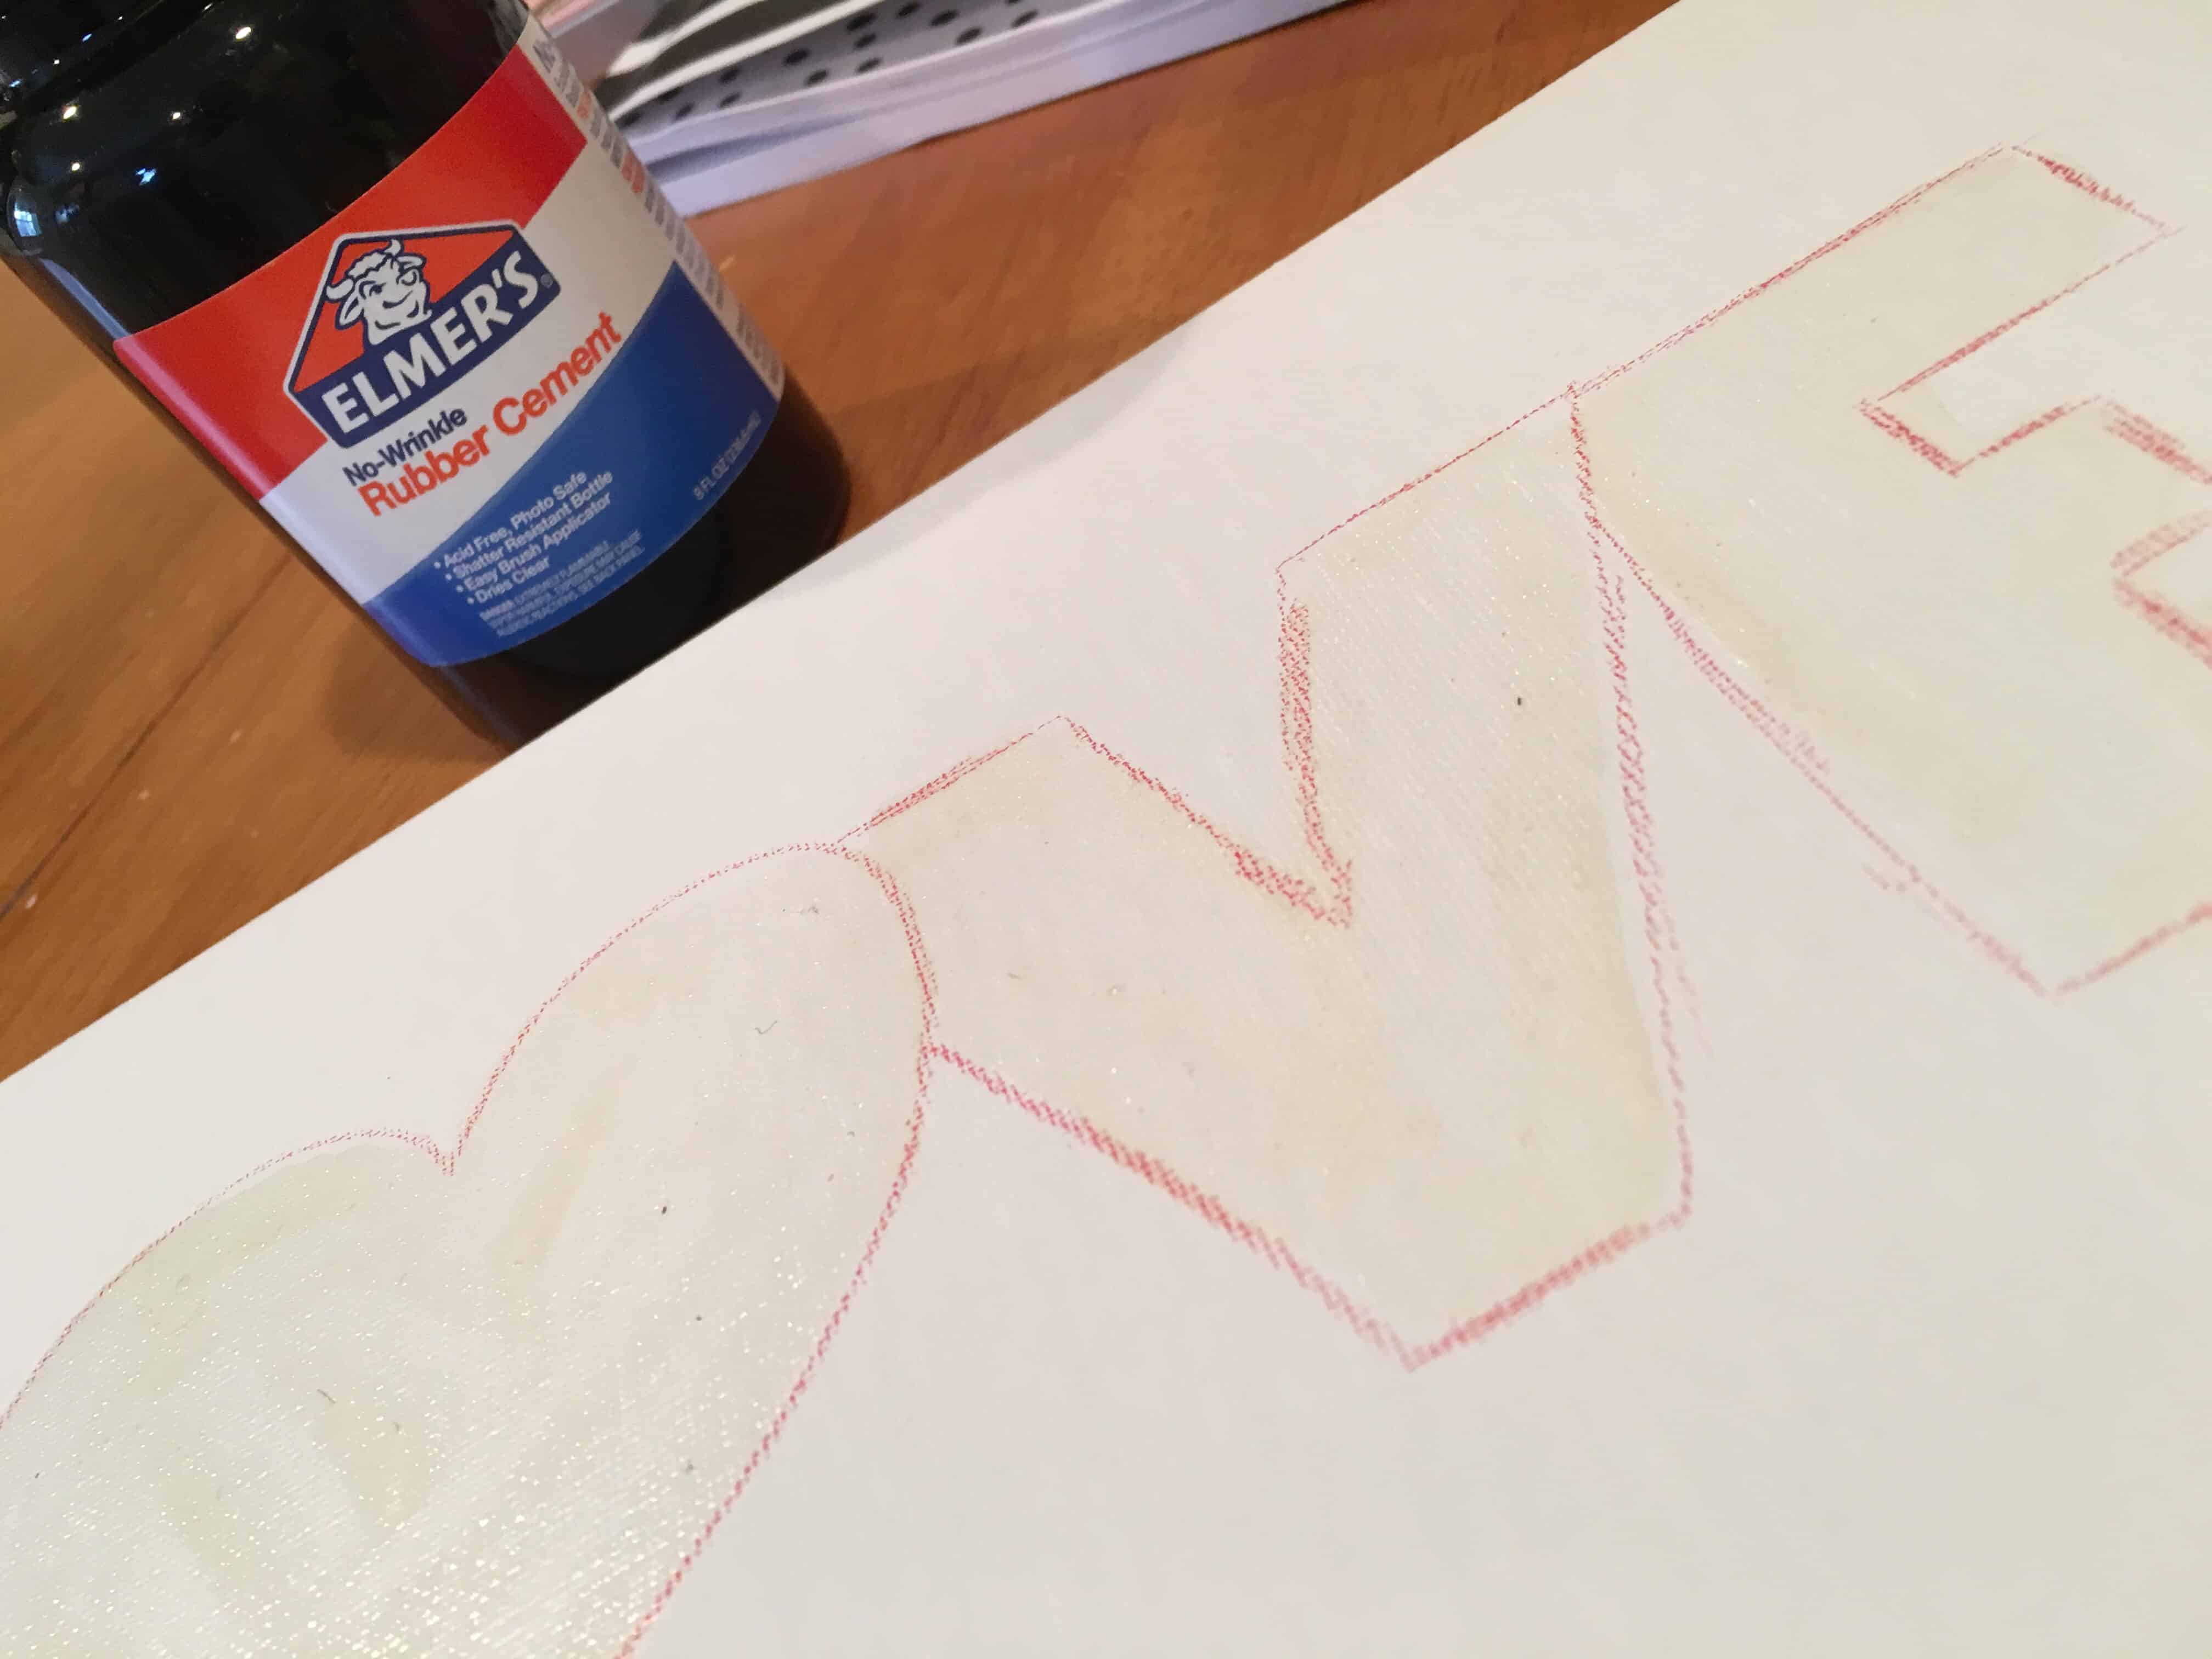
Traditionally when doing resist art, we have used painter’s tape or stickers. For this project, we tried doing it with rubber cement because I wanted to create my own shapes, and I just love the way it turned out. Bonus, it was SIMPLE. I found this rubber cement in the kid’s art section of Walmart and it was inexpensive. Here are some of the supplies we used for your shopping convenience!
To Make this Watercolor Resist Art:

To begin, sketch out a drawing on your canvas and fill it in with the rubber cement.
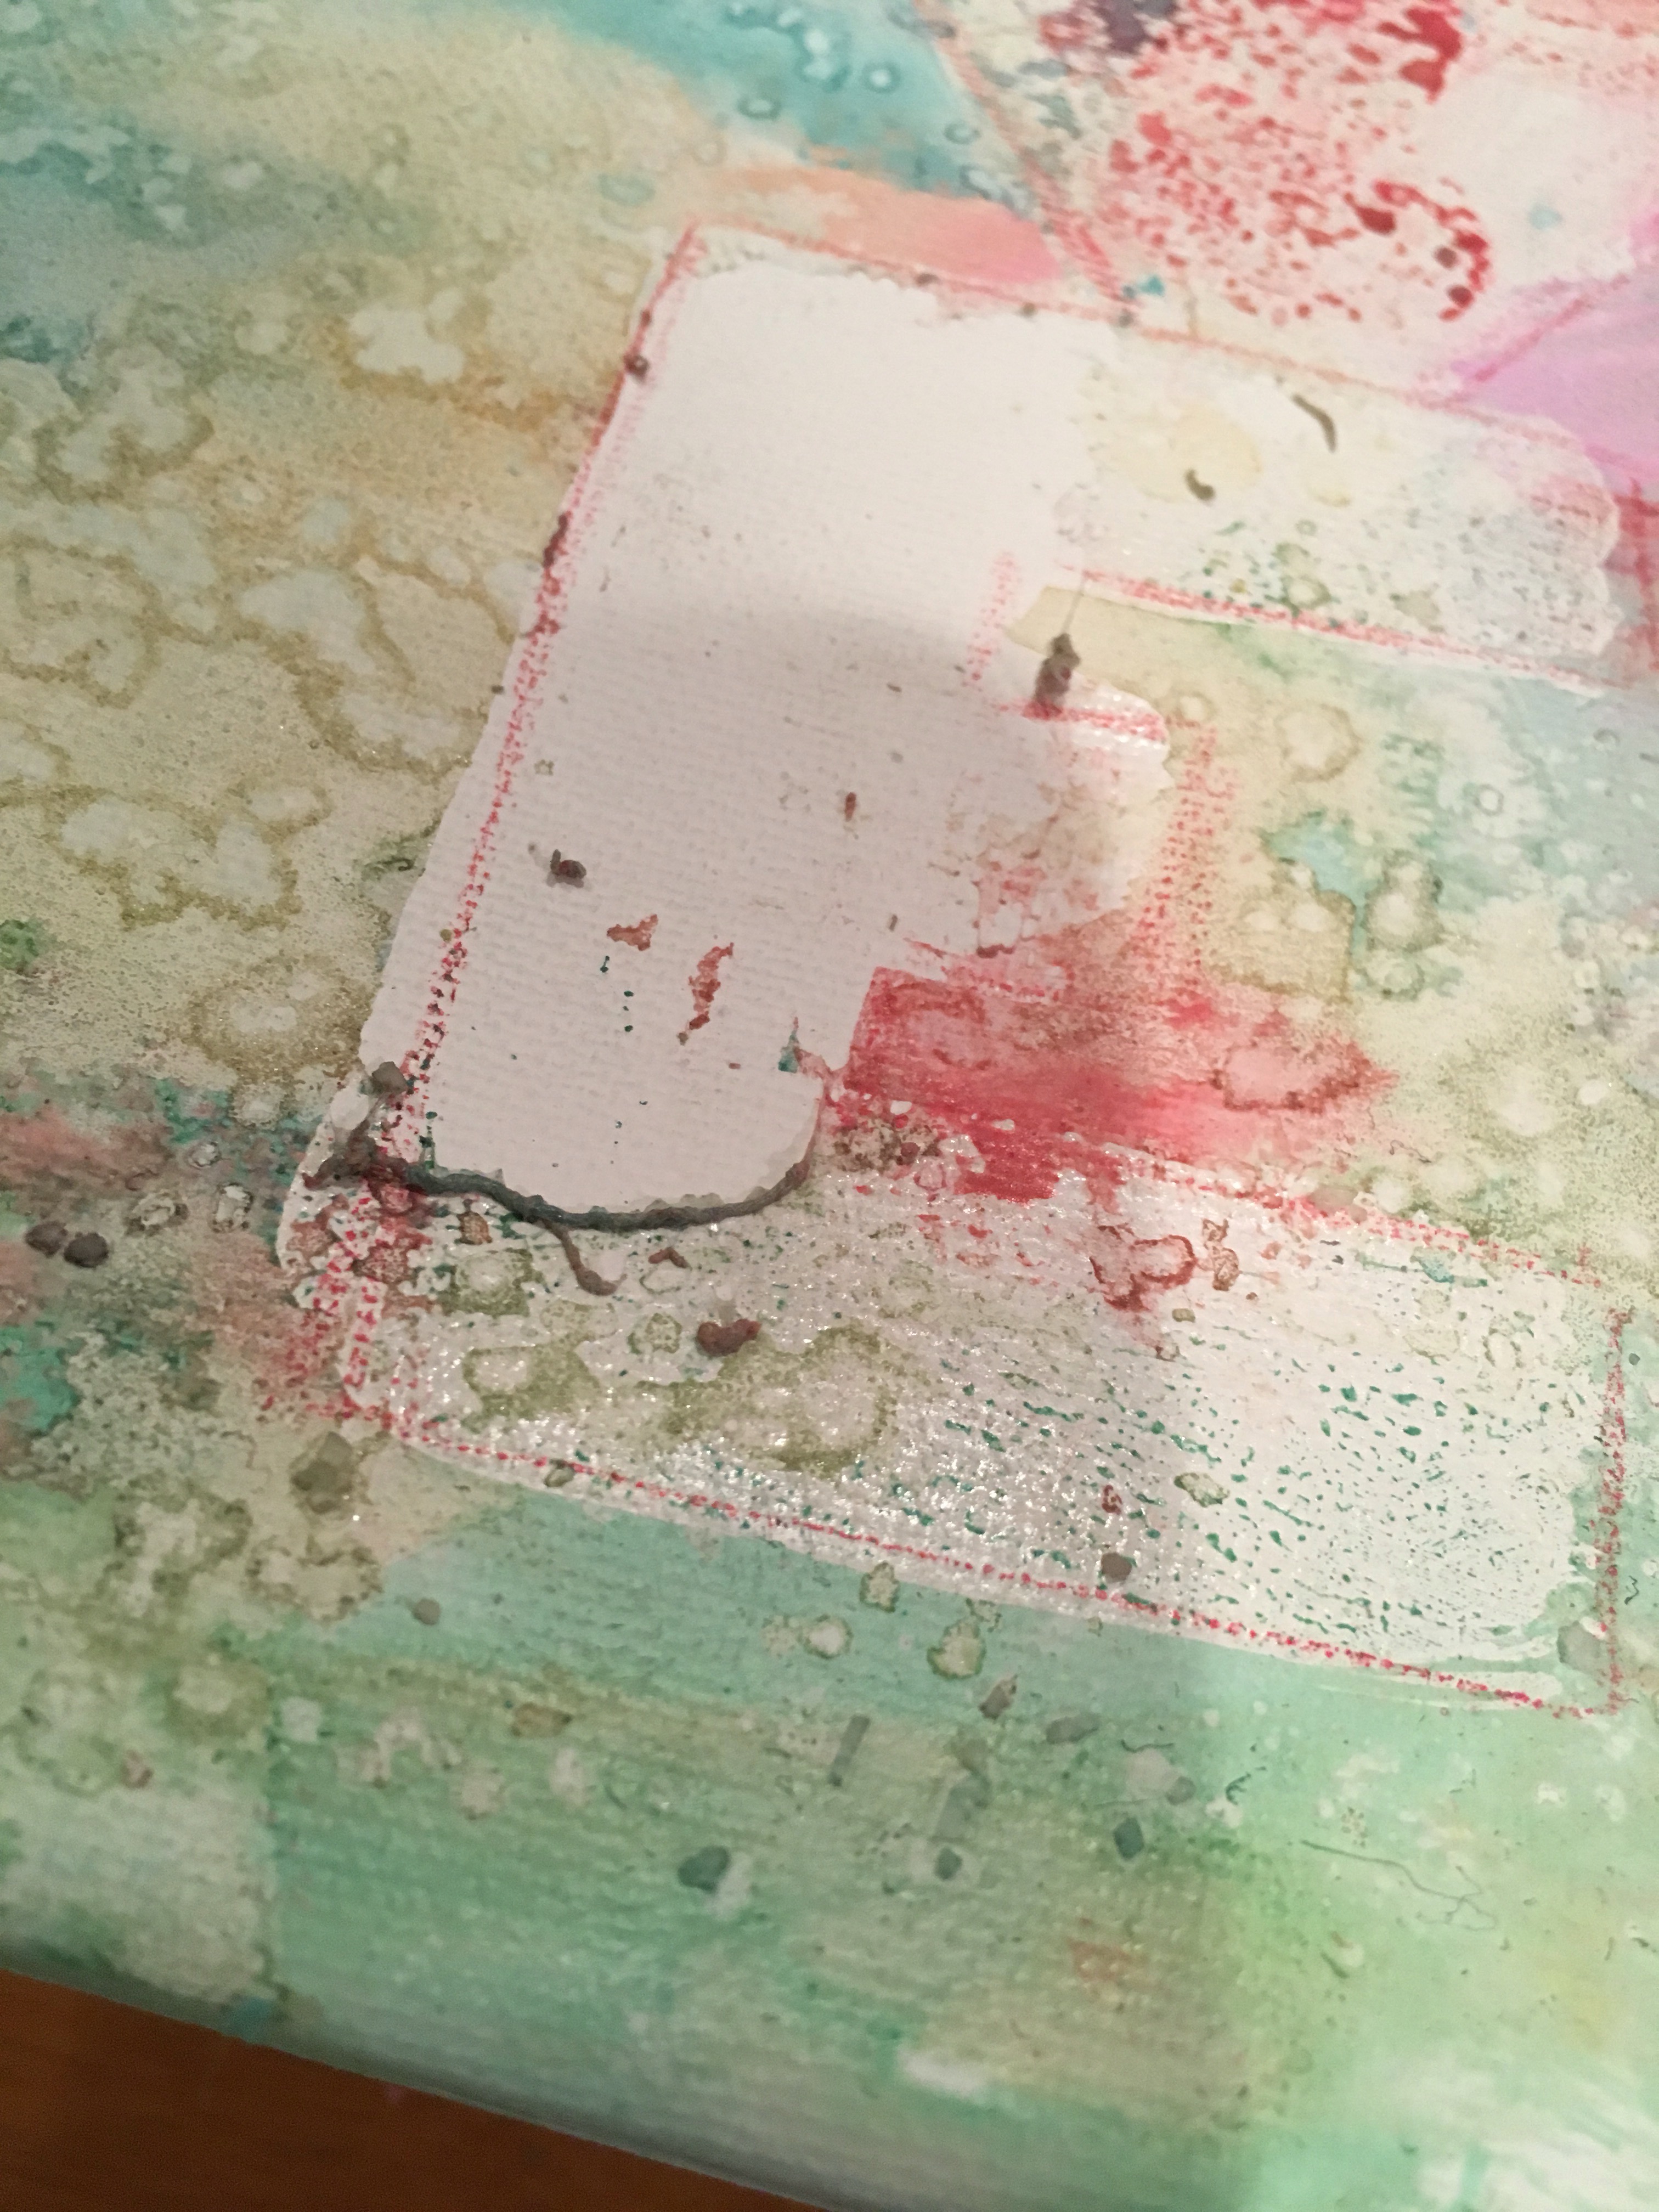
Once the rubber cement is dry, paint the entire canvas with watercolors, or drip liquid watercolors onto the canvas.
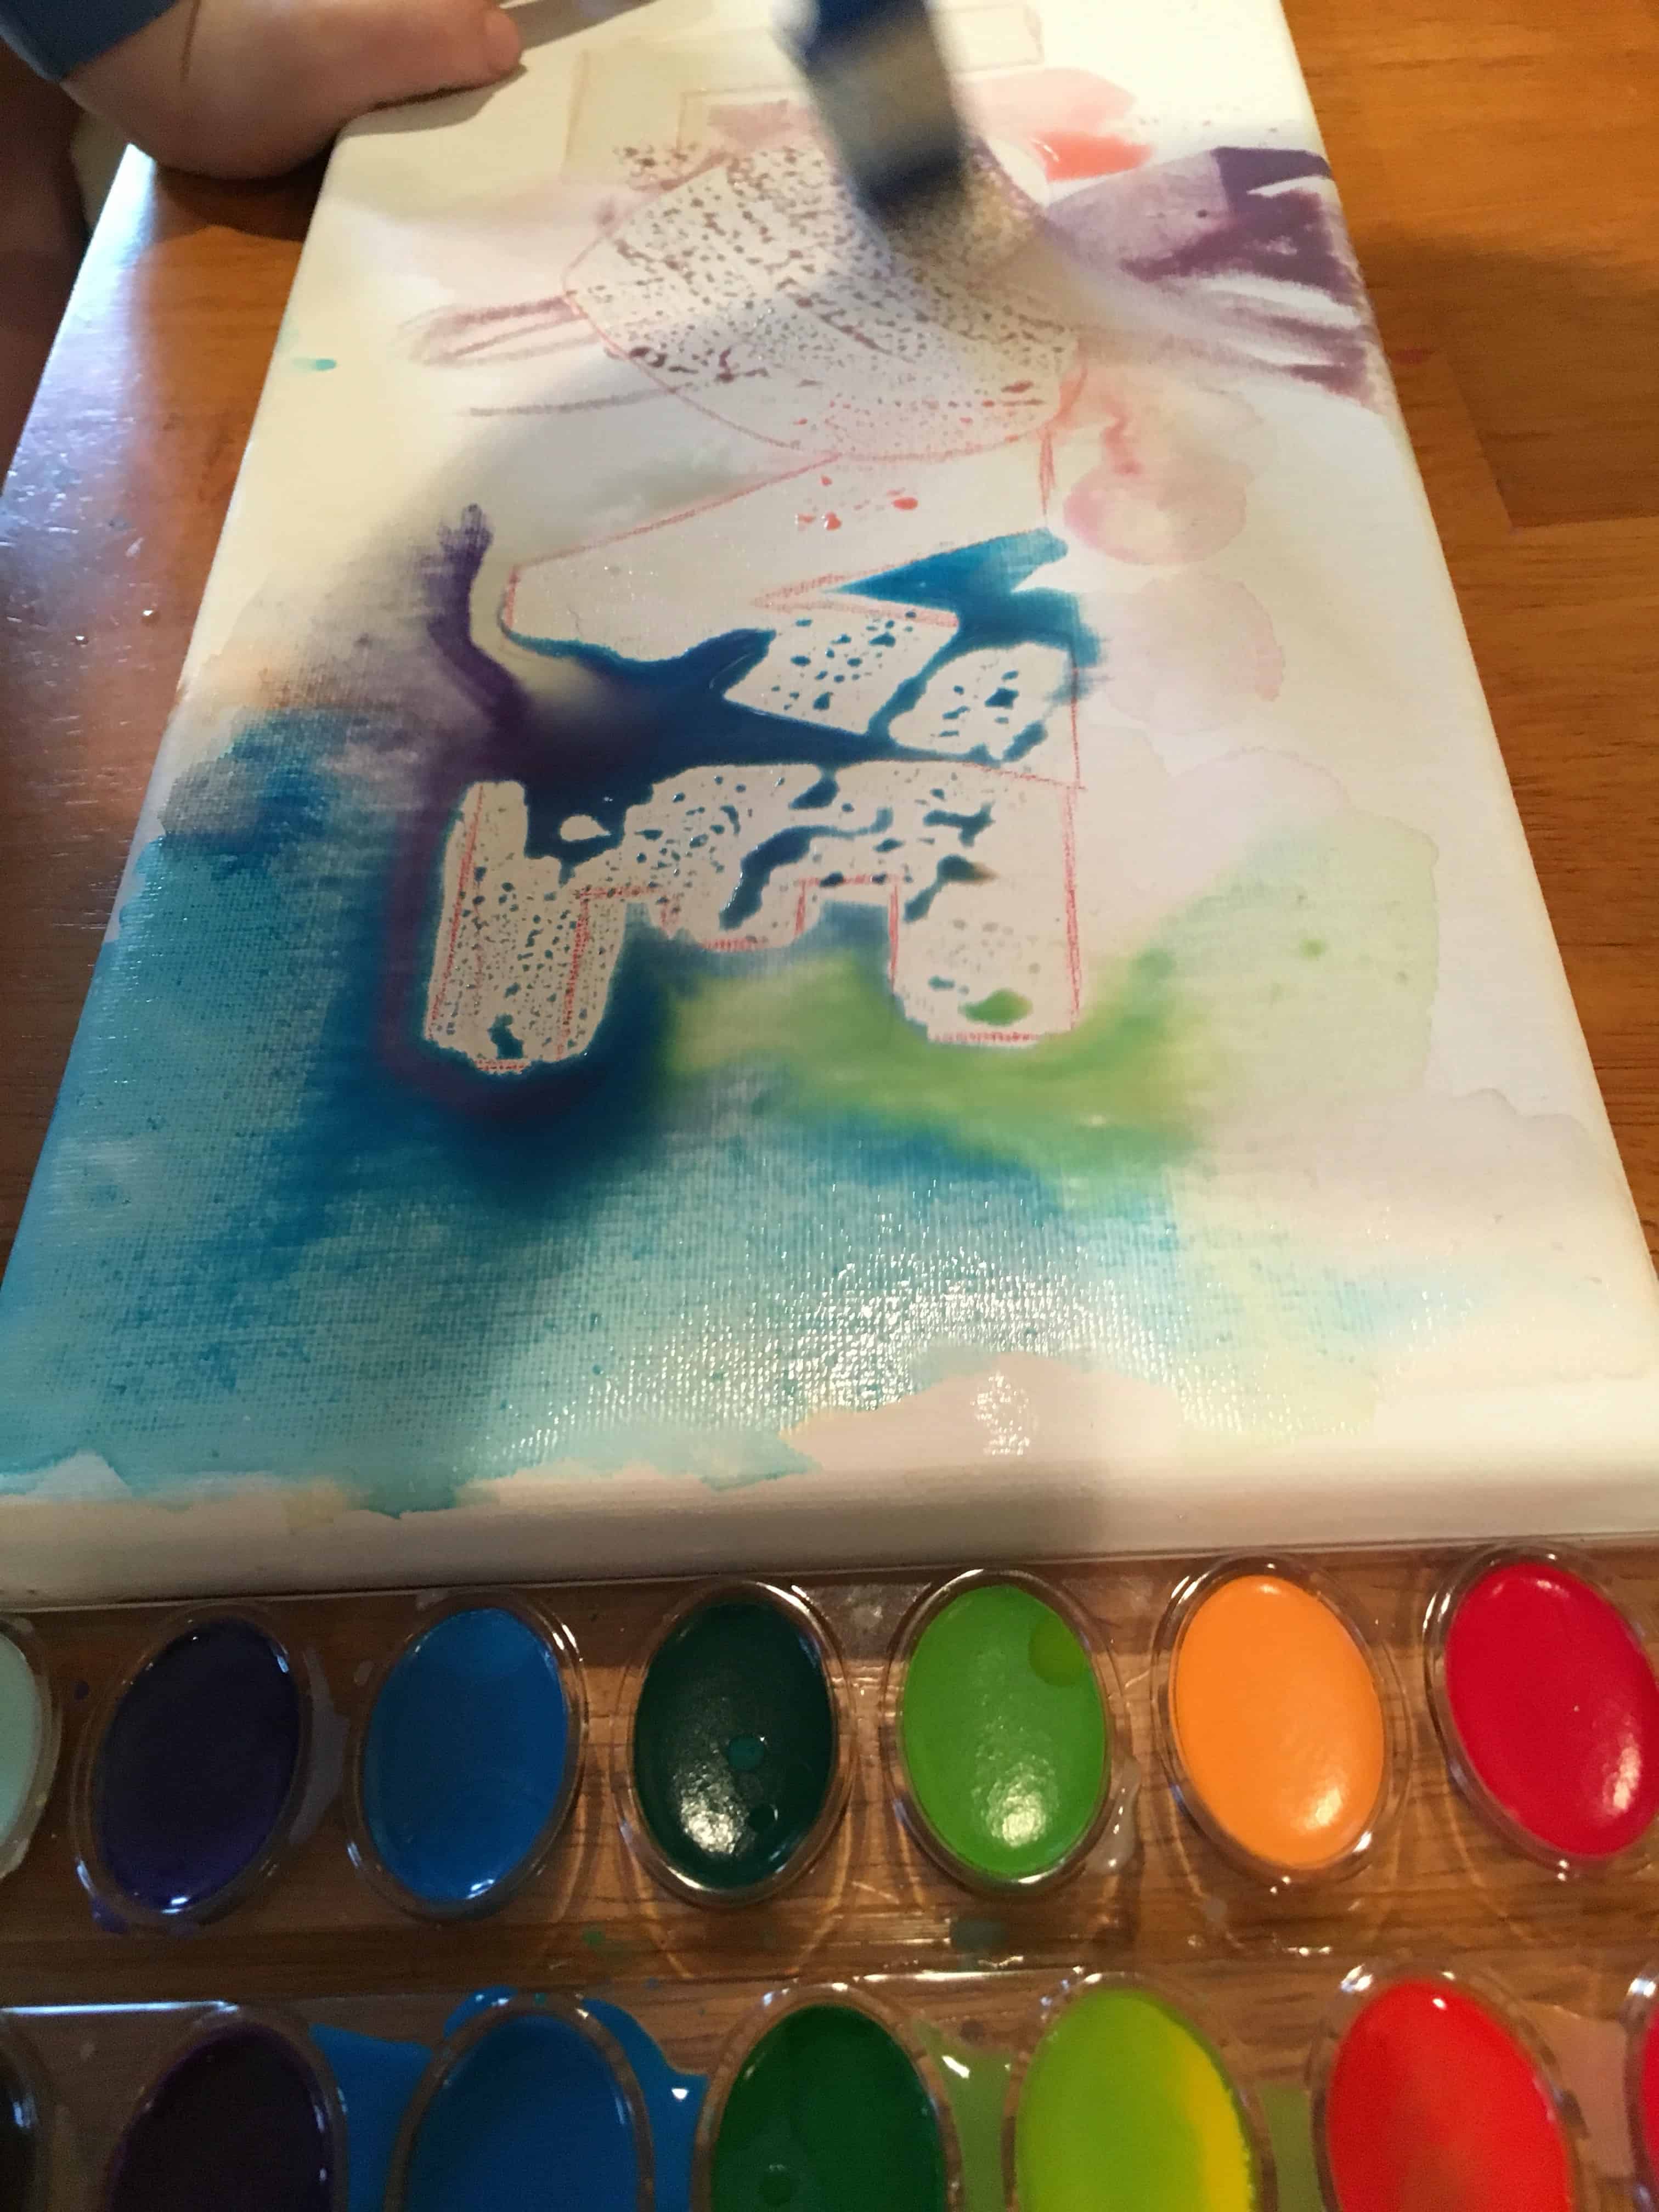
M (4) made his a bit more watery than A (2) and I kind of liked the way the extra liquid looked once dry, so dripping liquid watercolors with pipettes could be fun!
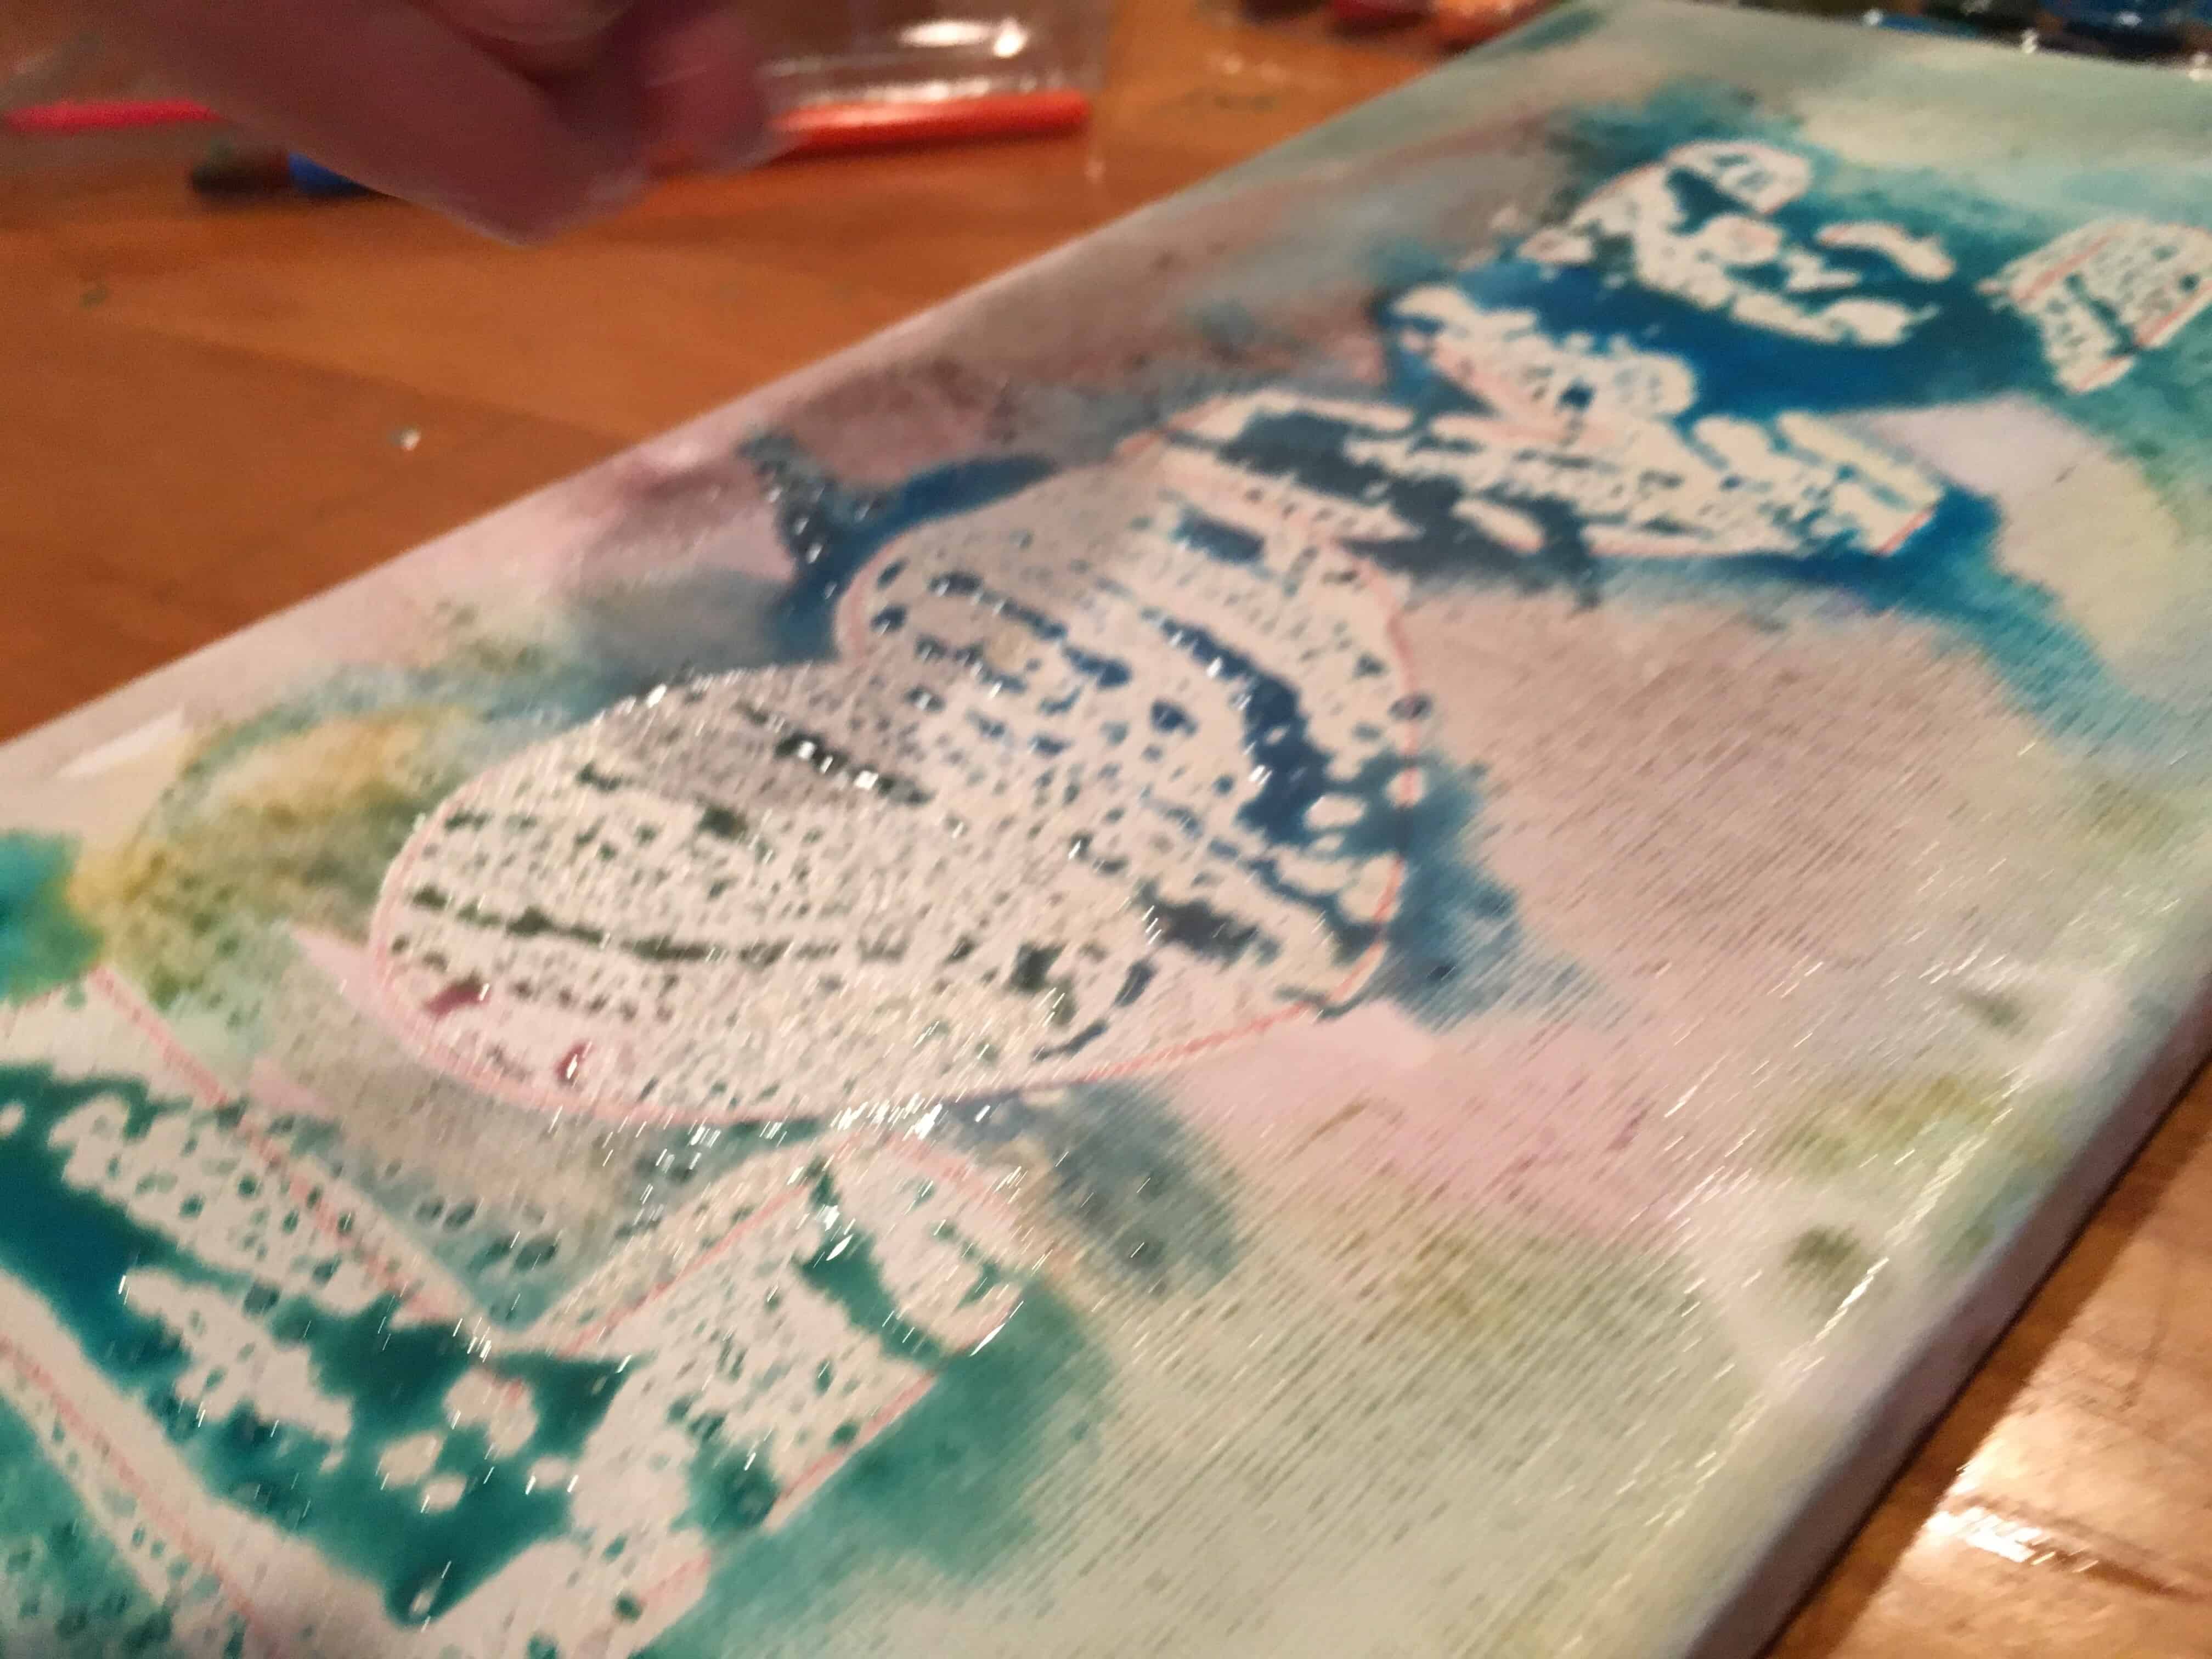
After the entire canvas is painted (sides included), sprinkle the coarse salt all over the watercolors. This is where the extra liquid really turned out nice. You can see below how the salted areas looked when dry.
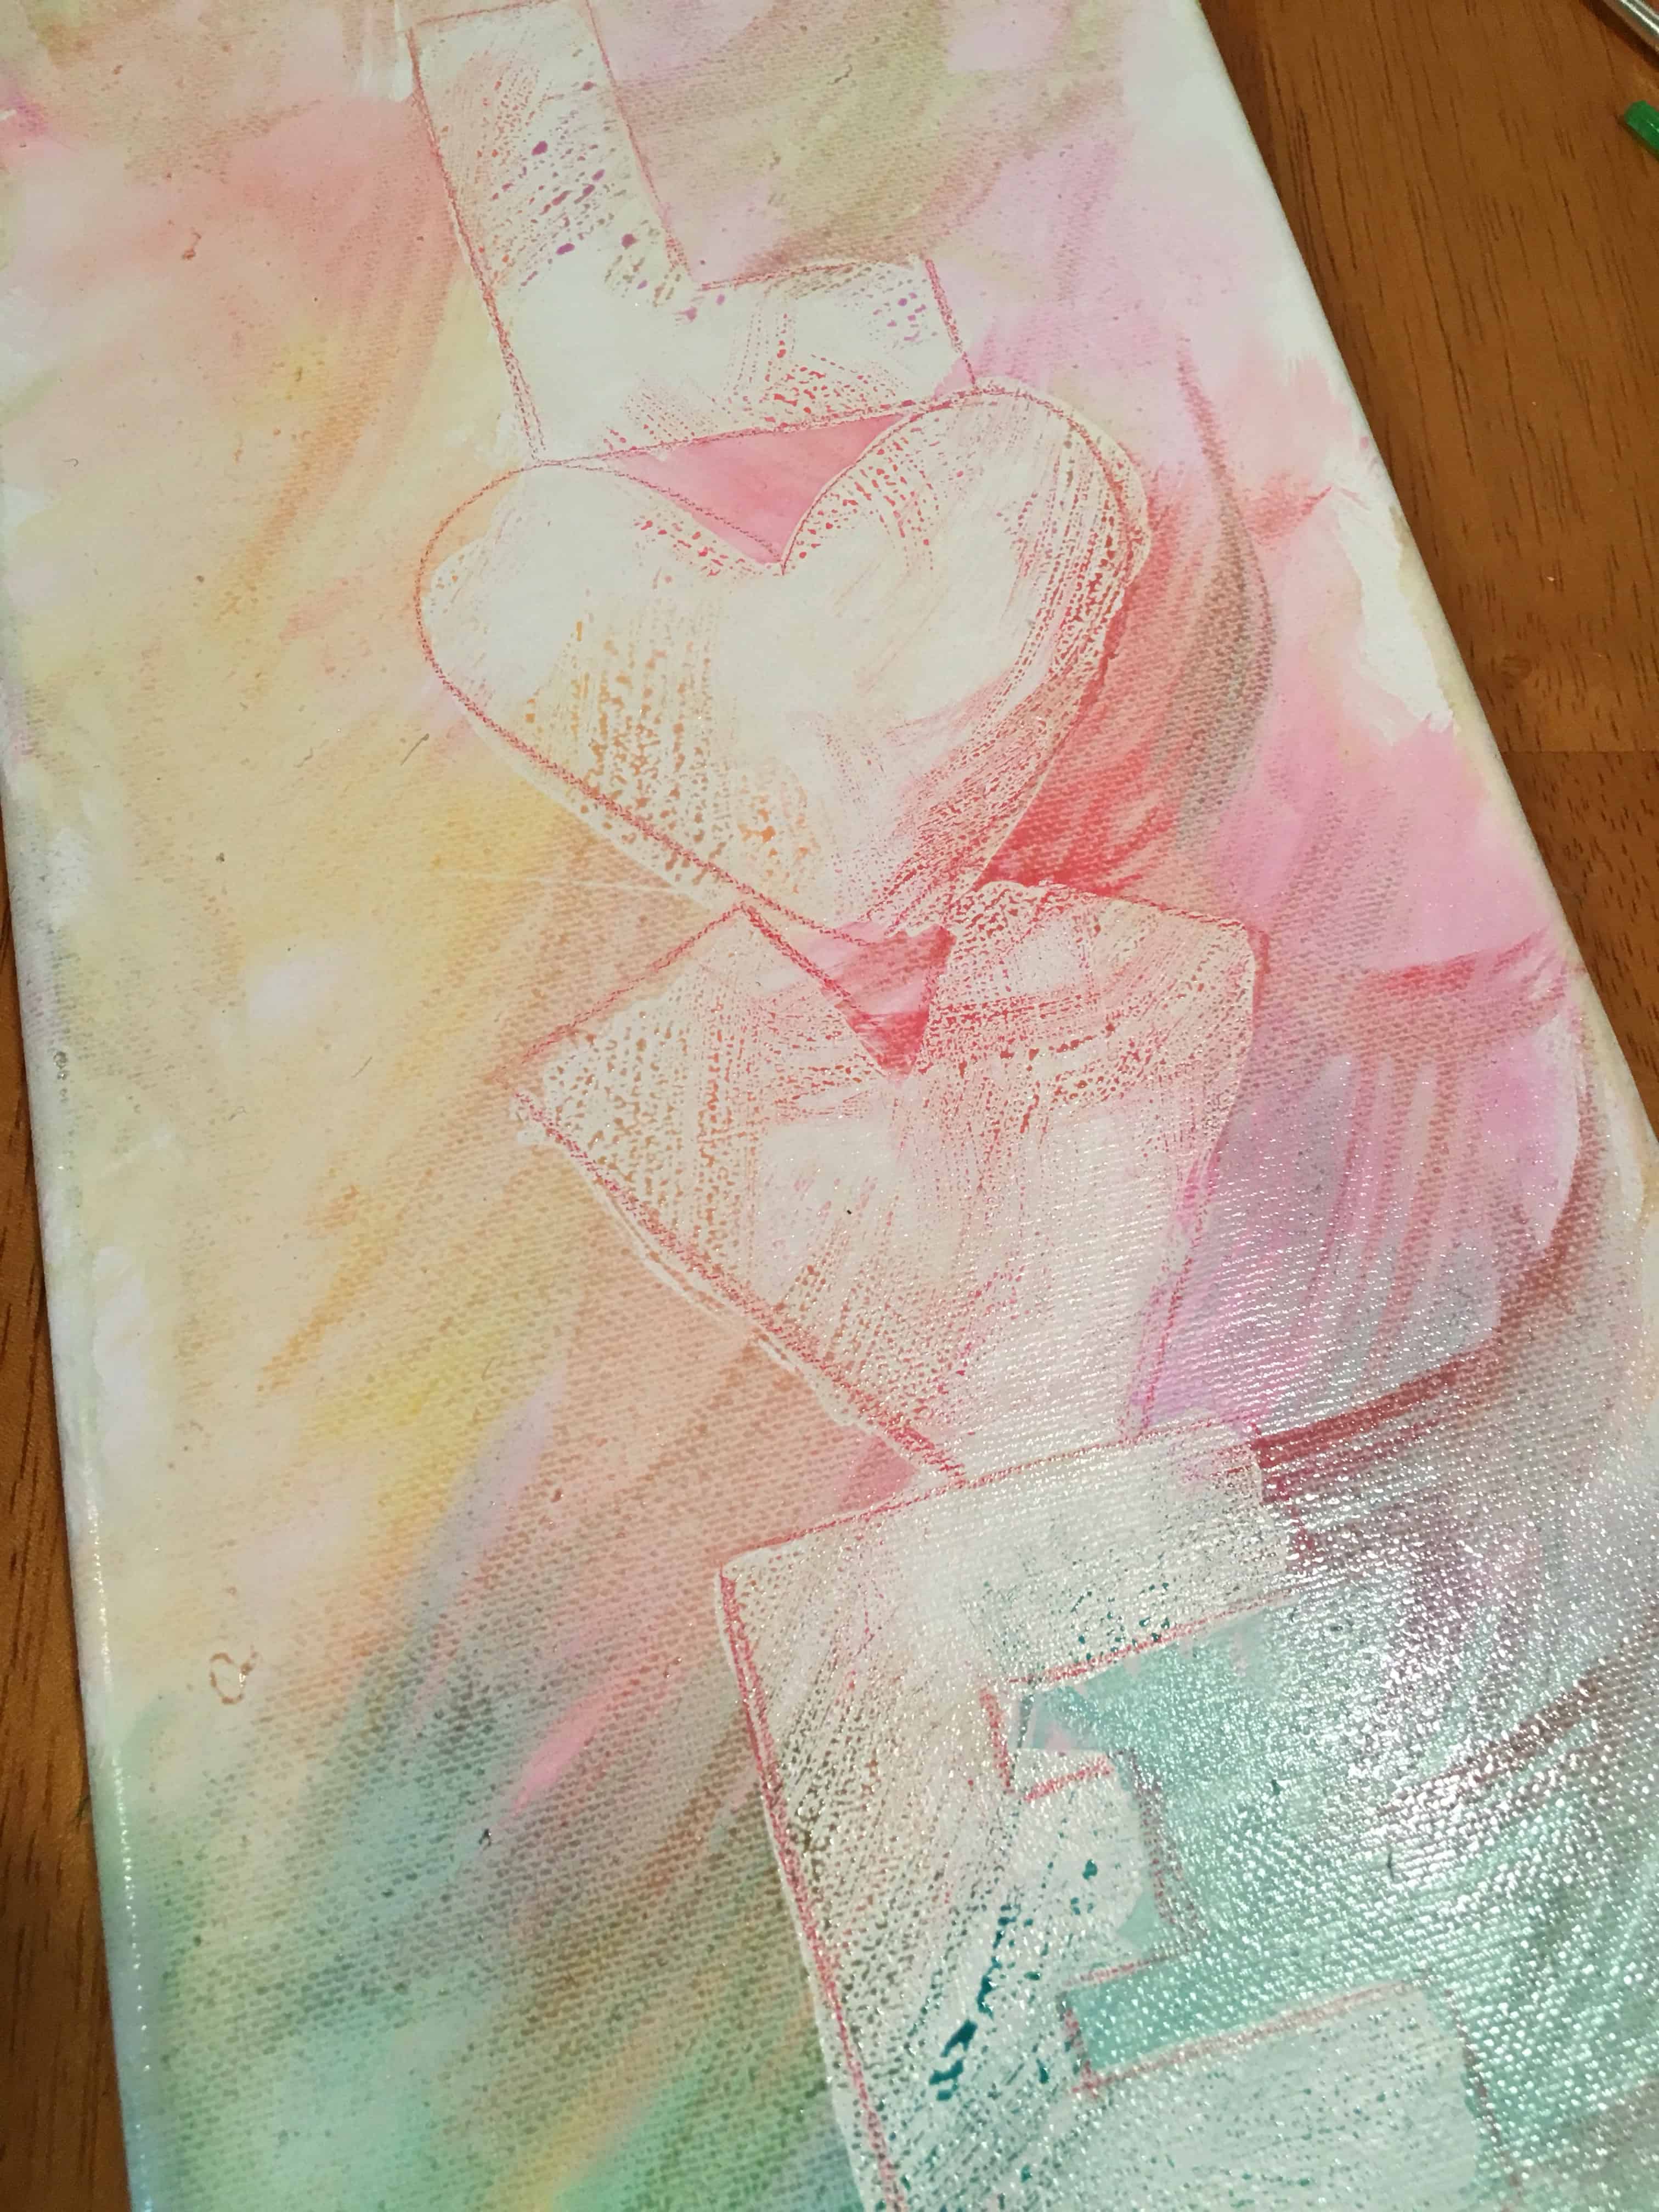
The rubber cement just rubs right off easily!
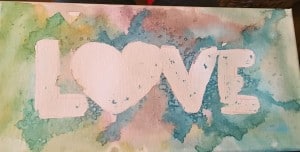
This is what ours looked like without the rubber cement! At this point you could leave it blank, color it in, outline it, etc…
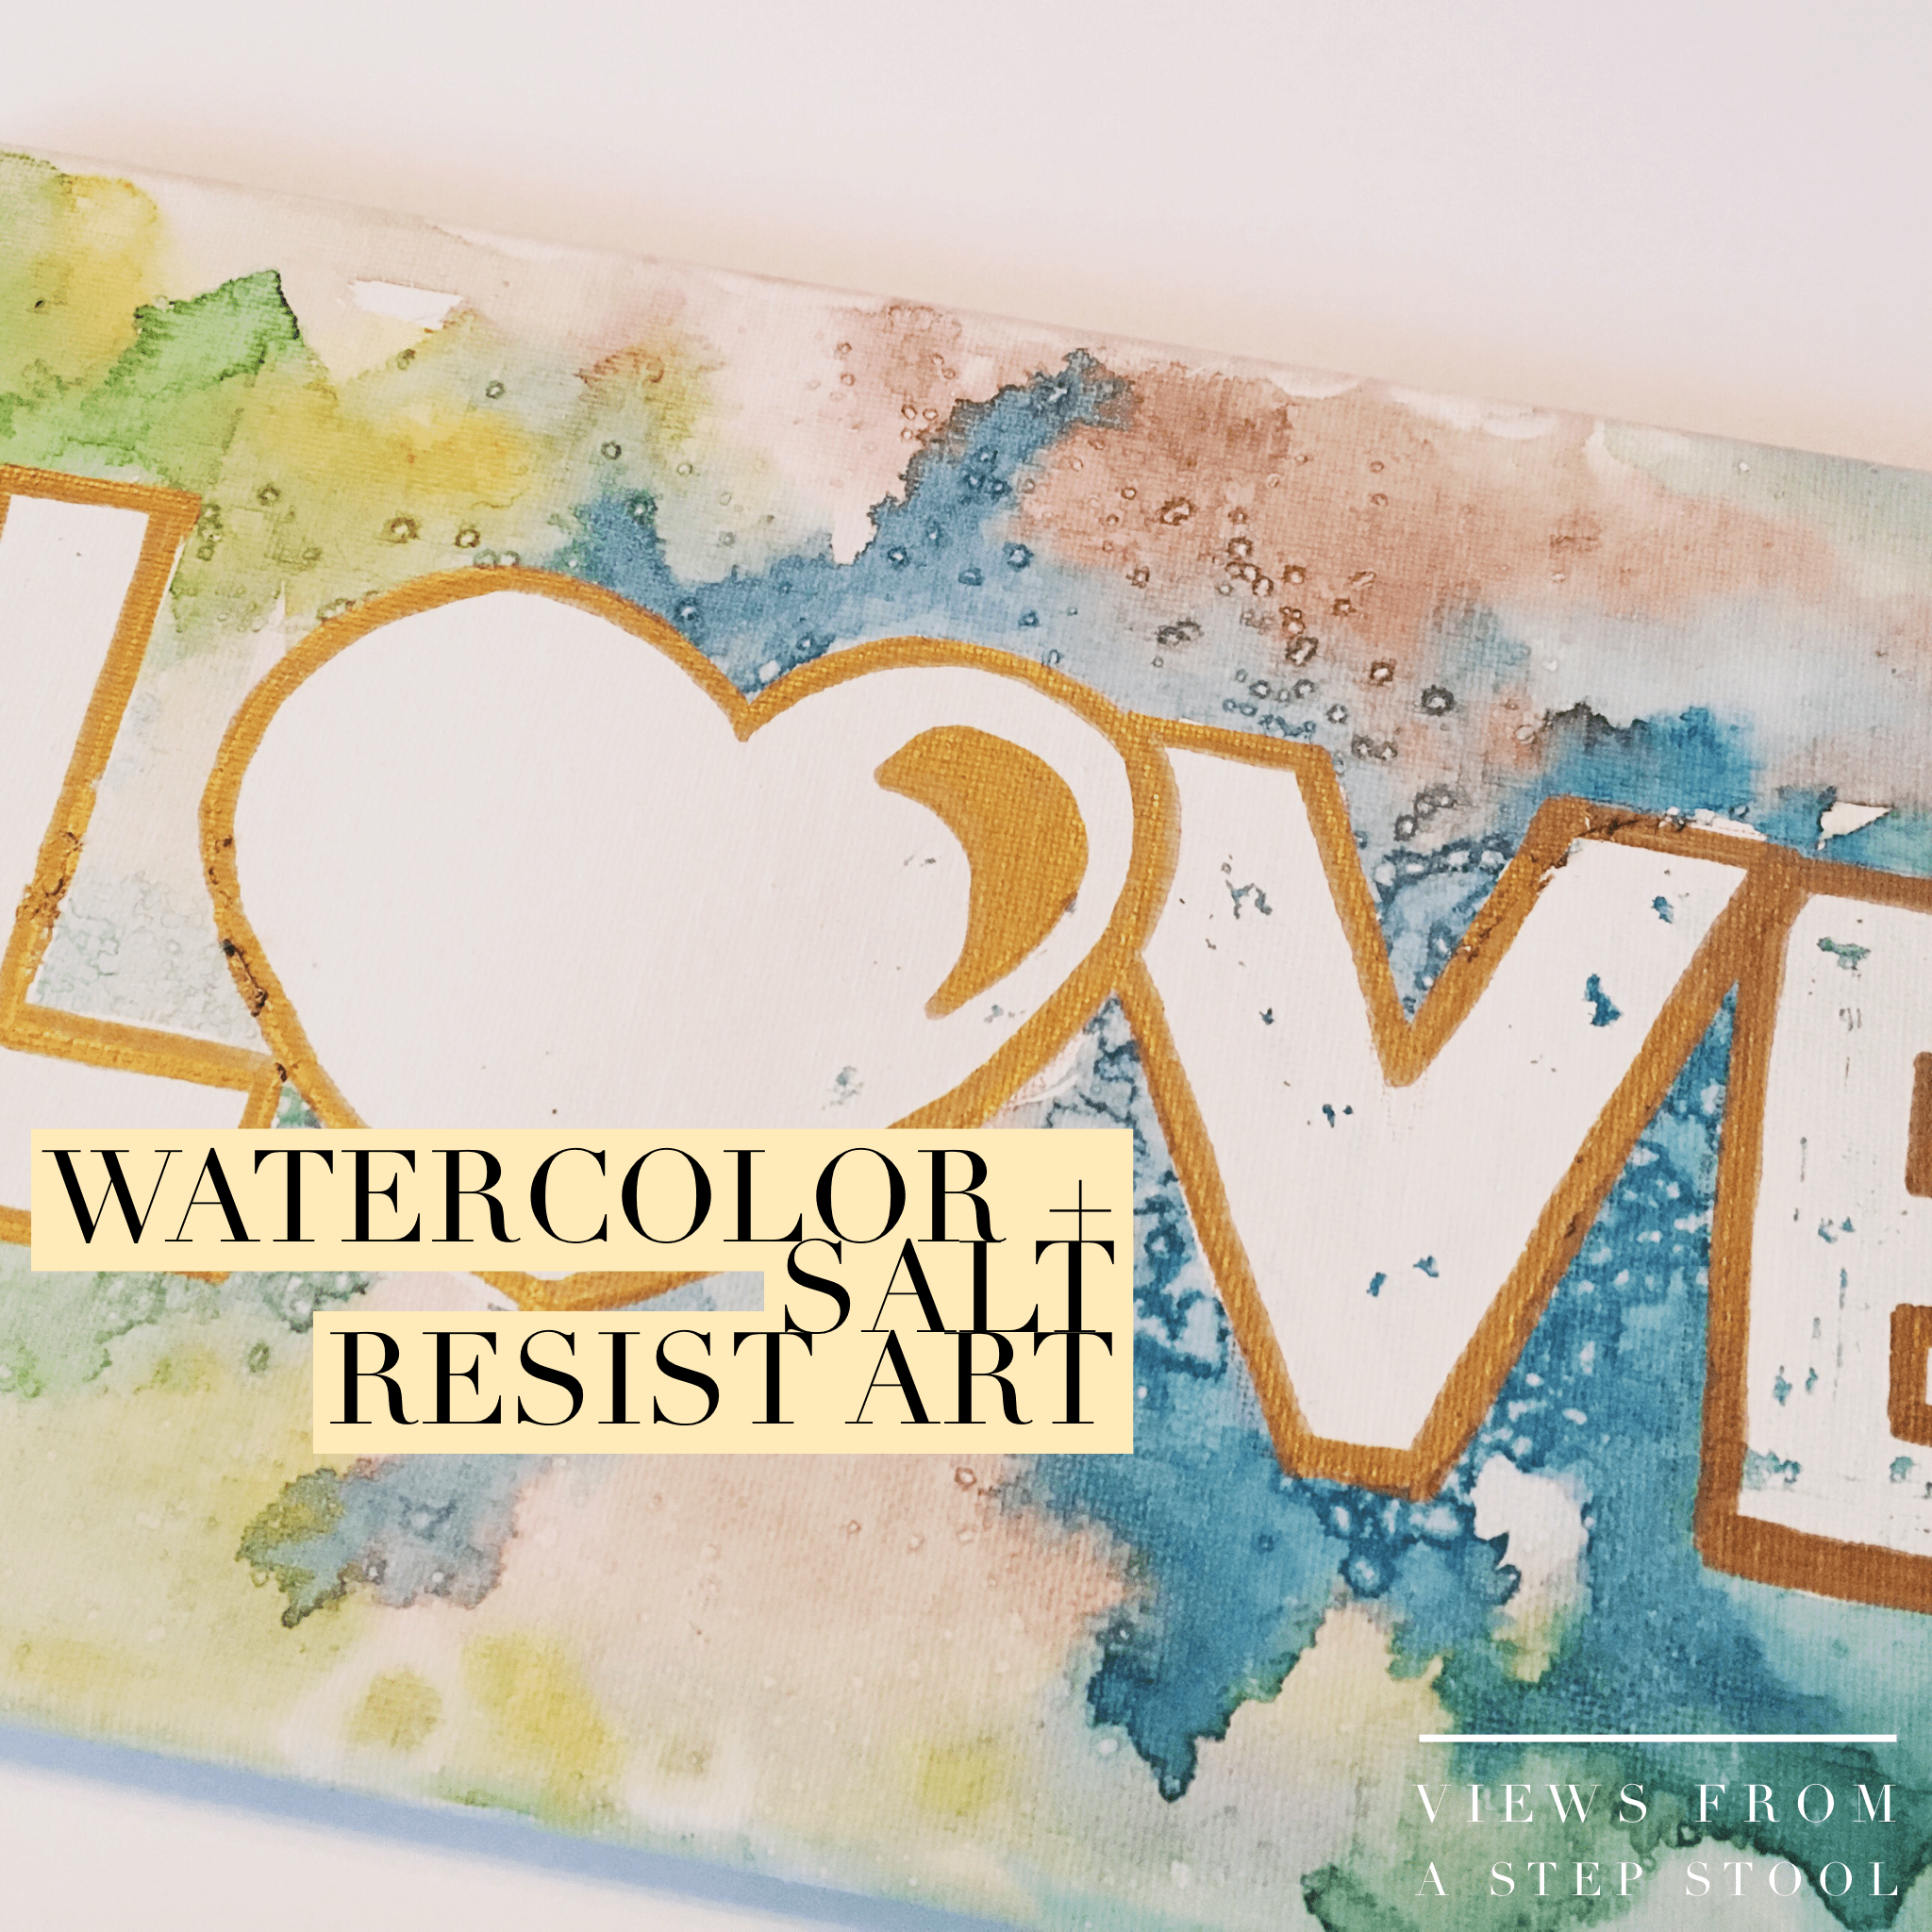
We went with a gold Sharpie for our outline.
They are going to make the PERFECT Valentine’s Day presents!!

Pin this!

This is amazing!!!! I am so impressed with how this turned out.. pinned for later!
I really like the way this art project turned out. It is so lovely and I would never have thought of using rubber cement.
Fun! They turned out so good! My littles love painting!
What beautiful artwork!! I love the words blocked out by rubber cement. These would be so cute with kids names written in. Love it!!
So cool! We are definitely trying this! We love experimenting with new art projects!
Ok sooo I guess I will have to go out and get some rubber cement for my next watercolor project! So cool!!
I love this. Such a cute art project and Valentine’s gift. Going to try it with my oldest.
I LOVE this!!! I love how you thought to use rock salt. I will have to head to walmart for the rubber cement, but we have everything else and I just love how it turned out.