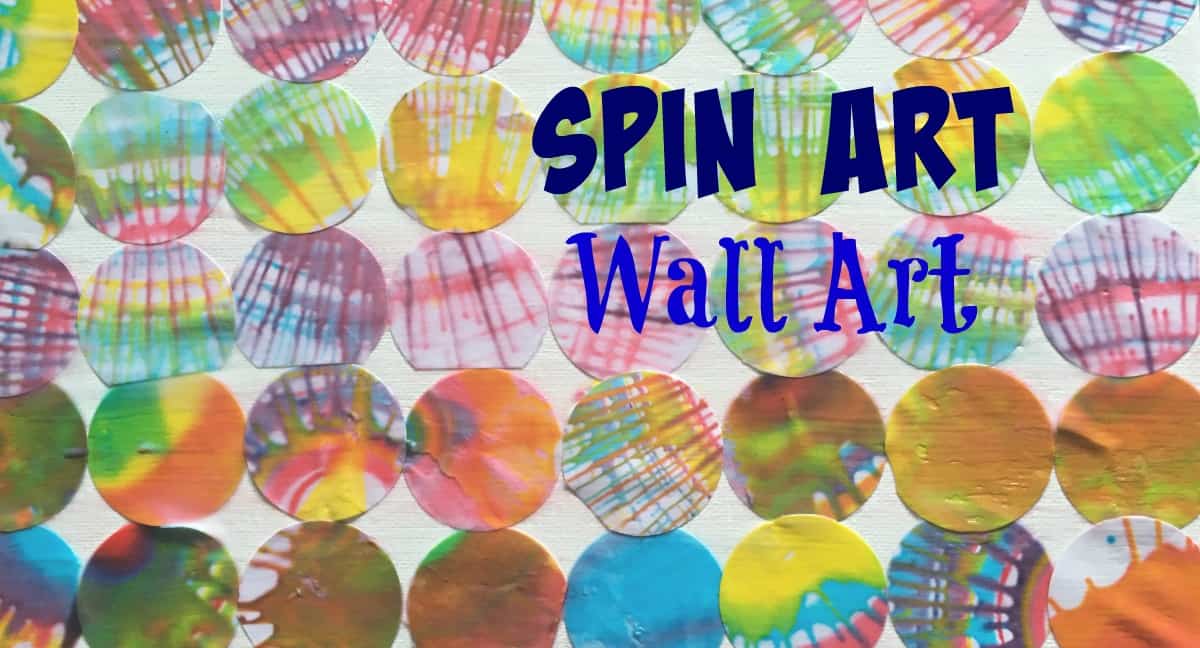
My kids LOVE to make spin art. The process is super fun, they are making amazing art, and it can keep them occupied for quite some time. However, when they are finished, I am left with gobs…and gobs…of beautiful little squares that are just way too gorgeous to toss. We’ve actually made bunting, homemade cards, framed some, and the list goes on. This last time, we decided to make some spin art wall art for a little art gallery that my daughter and I are starting with our collaborative projects. This one came out SO cute, we can’t wait to make some more!
To make the spin art:
We use a spin art machine. We have used this one![]() by Cra-Z-Art, and this one
by Cra-Z-Art, and this one![]() by ALEX Toys. We like both of them because one is automatic and the other is manual, varying the experience all the time. There are plenty of ways that you can do spin art at home without the machine, including using a salad spinner or even a box fan!
by ALEX Toys. We like both of them because one is automatic and the other is manual, varying the experience all the time. There are plenty of ways that you can do spin art at home without the machine, including using a salad spinner or even a box fan!
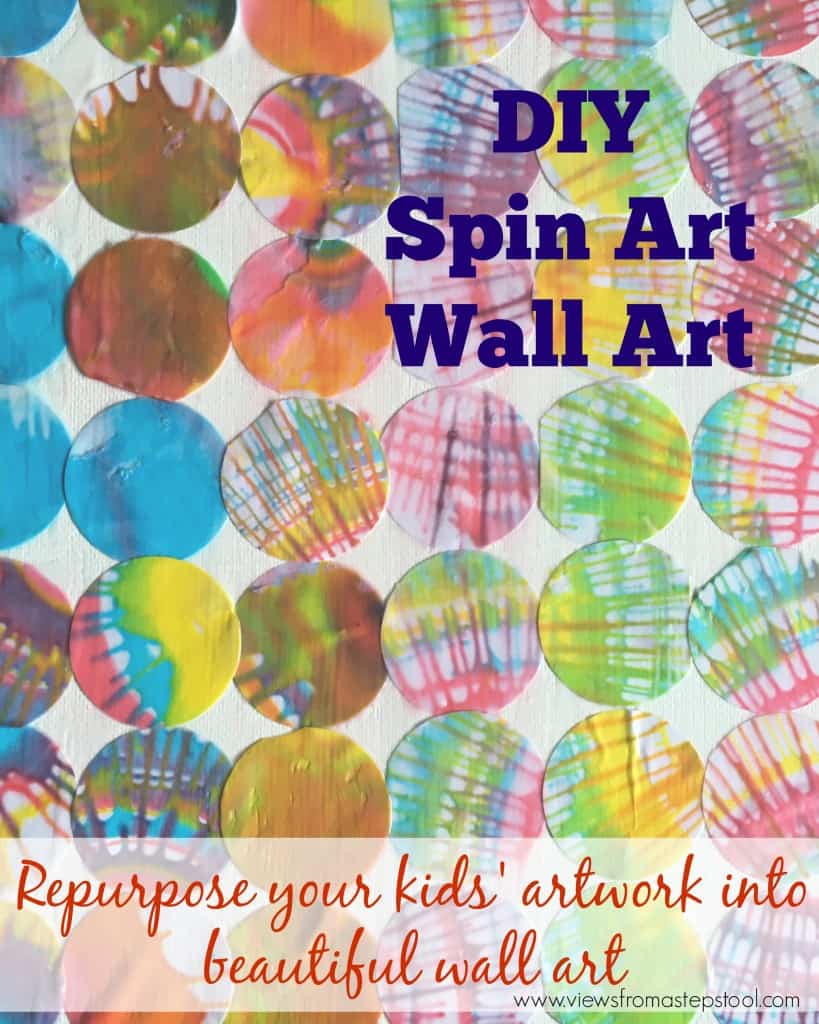
Make your spin art wall art!
You need:
- spin art
- circle scrapbook punch
- Mod Podge
- foam brush
- blank canvas
We grabbed all of our spin art and started punching large circles out of them with a scrapbook punch![]() .
.
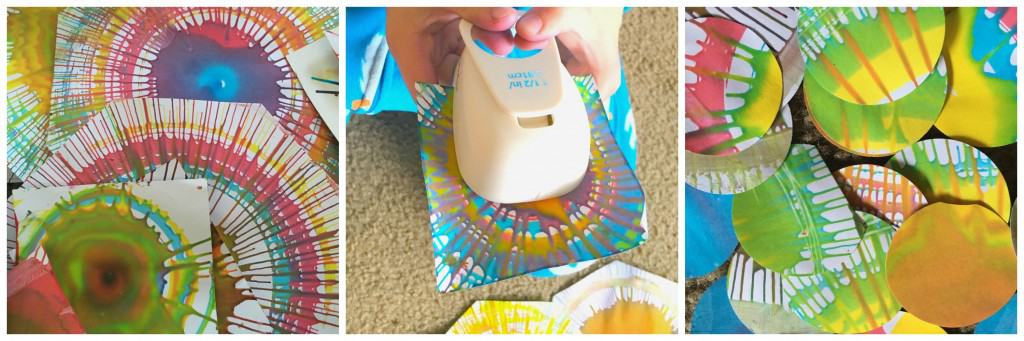
Once we had all of our circles, we grabbed the Mod Podge (one of our favorite craft supplies ever!) and a blank canvas.

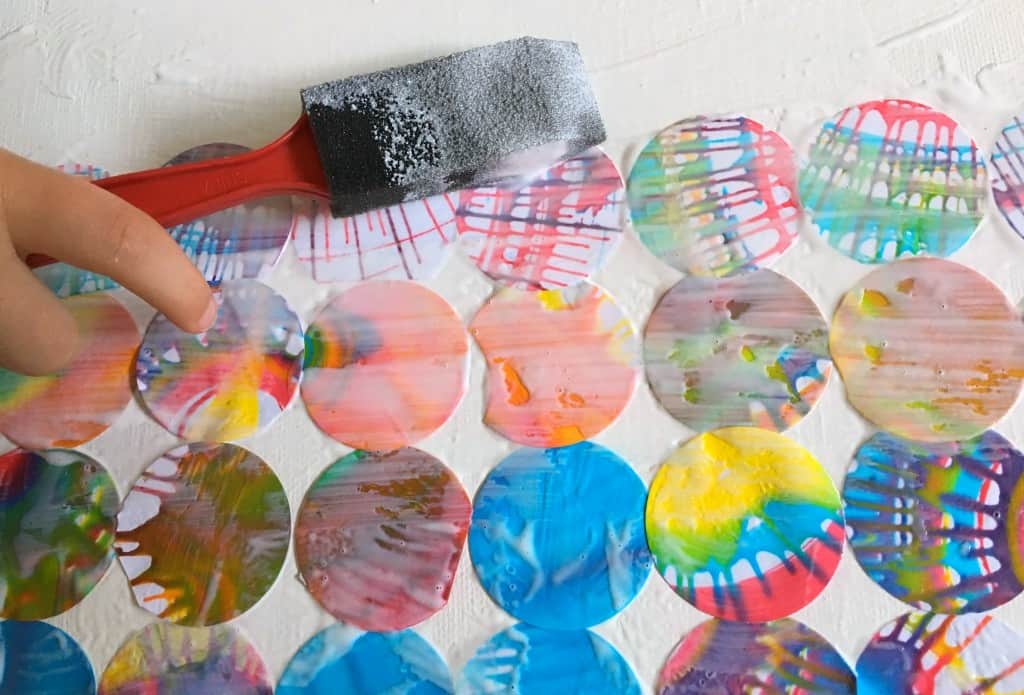
Give the canvas one good sweep of mod podge with a foam brush and affix the circles however you want. We just did ours in rows but you could get super creative here with a fun mosaic style.
[Tweet “Check out this AWESOME way to repurpose some of your kids’ artwork! #DIY”]
After all of your paper circles are on the canvas, brush over all of the paper generously with another layer of Mod Podge.

Let it air dry, the glue will dry clear and you will be left with a beautiful work of spin art wall art!
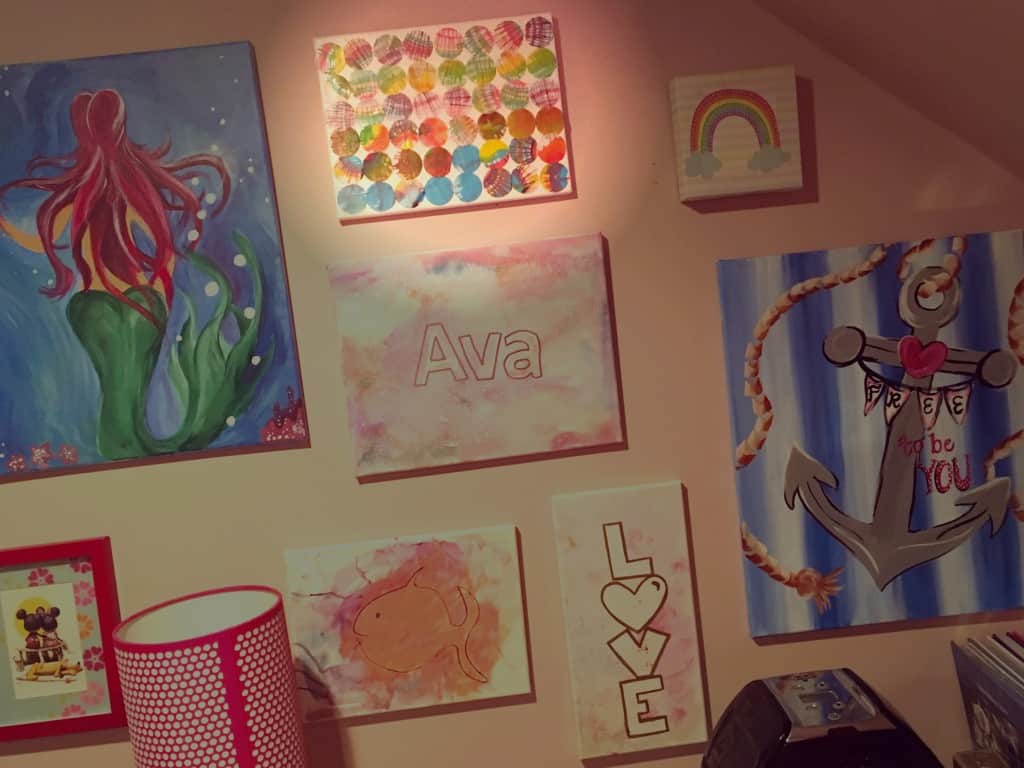
Look how lovely it looks up on our art gallery wall!
*This post contains Amazon affiliate links.
Leave a Reply