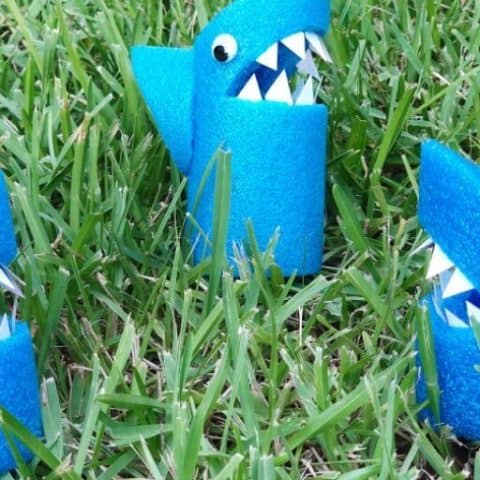
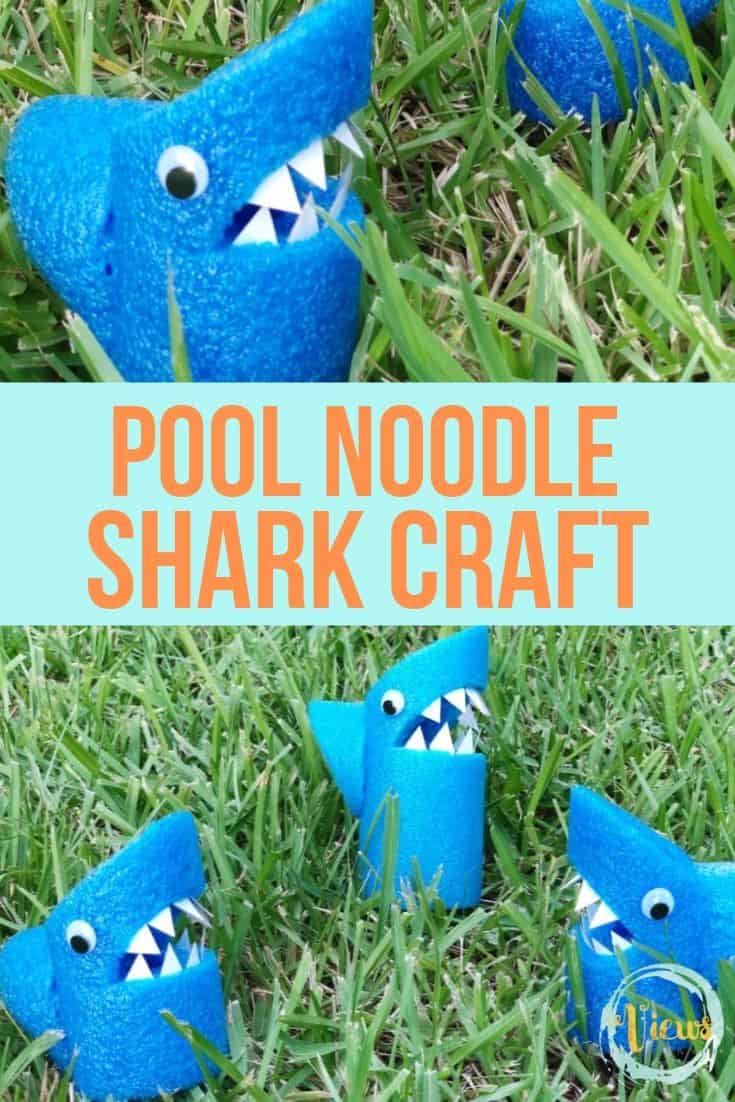
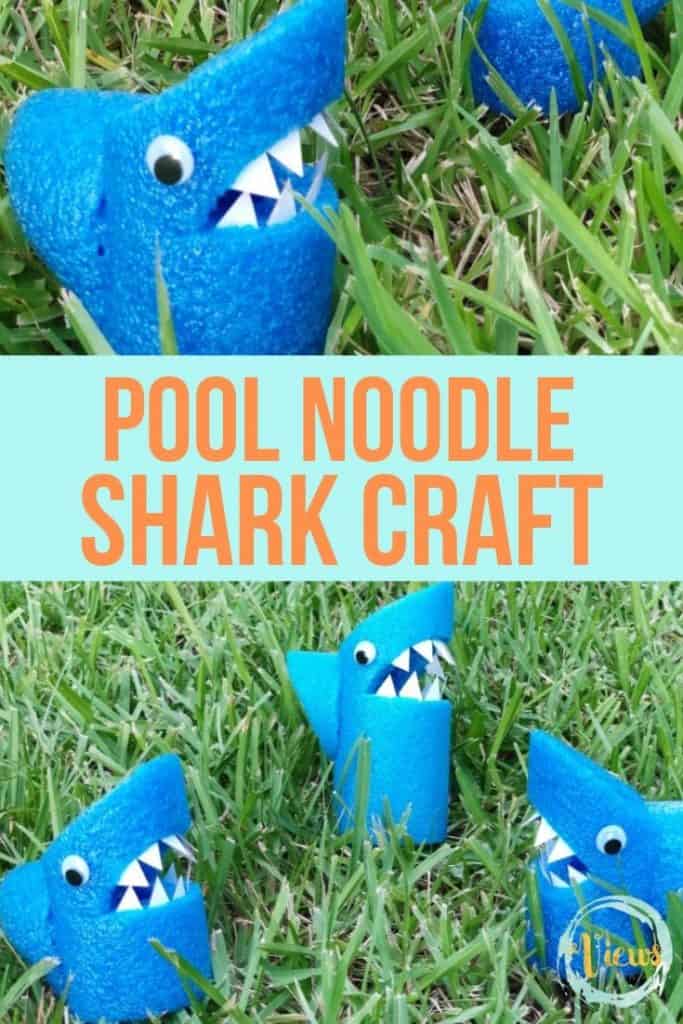
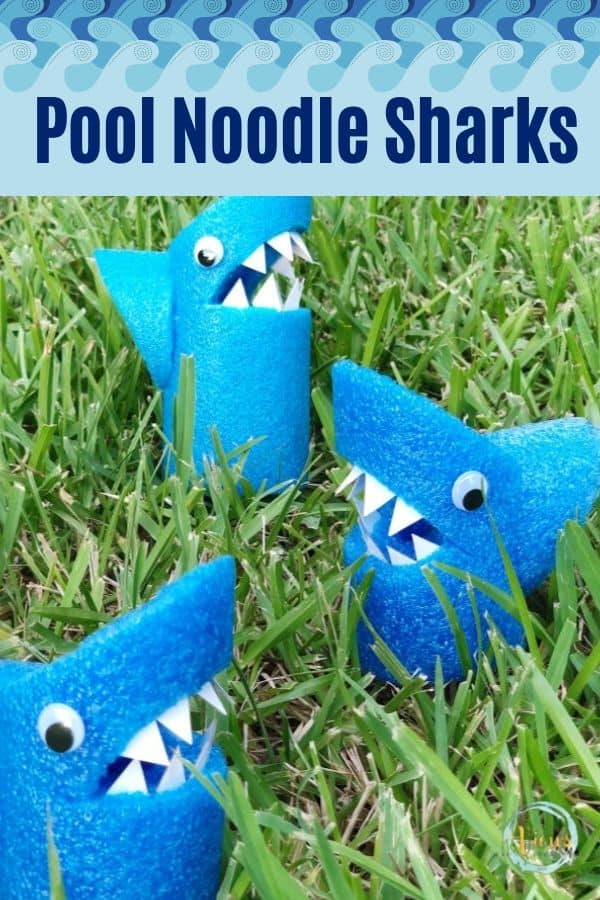
This fun shark craft for kids uses a pool noodle to make this fun marine animal. Big kids can use a glue gun to assemble their very own shark.
A fun shark craft to make with your kids out of a pool noodle! These can be found on clearance at the end of summer, or at your local Dollar Store – and they aren’t just for playing in the pool, they can also be great for crafting. We have used pool noodles for a monster STEM challenge, and are now using them in this fun shark craft. Follow the step by step directions below to encourage motor skills, marine terminology and creative play.
*This post contains affiliate links.
Pool Noodle Shark Craft for Kids
Did you know poole noodles can be fun for crafting? My 8 year old is shark-obsessed. He reads all the shark books, knows all the shark trivia, and loves anything sharks. We have made a shark sensory bin that he loves to play with, and making this a really great big kid craft that he can do.
This shark craft uses a glue gun, which is the easiest way to make this a non-frustrating craft for kids, as regular glue will keep the pieces falling off or require a lot of drying time before kids can play with their creations. My kids have been able to use the glue gun around age 5-6 with supervision, but you know your kids best, so use your discretion with this method.
What you need for the shark craft:
- Pool Noodle
- Wiggle Eyes
- Cardboard – scrap piece
- Acrylic Craft Paint – white
- Low Temp Glue Gun and Glue Sticks (Hot Glue will melt the Pool Noodles)
- Paint Brush
- Scissors
- Serrated Kitchen Knife
- Ruler
- Pencil
How to make the pool noodle shark craft:
Step One
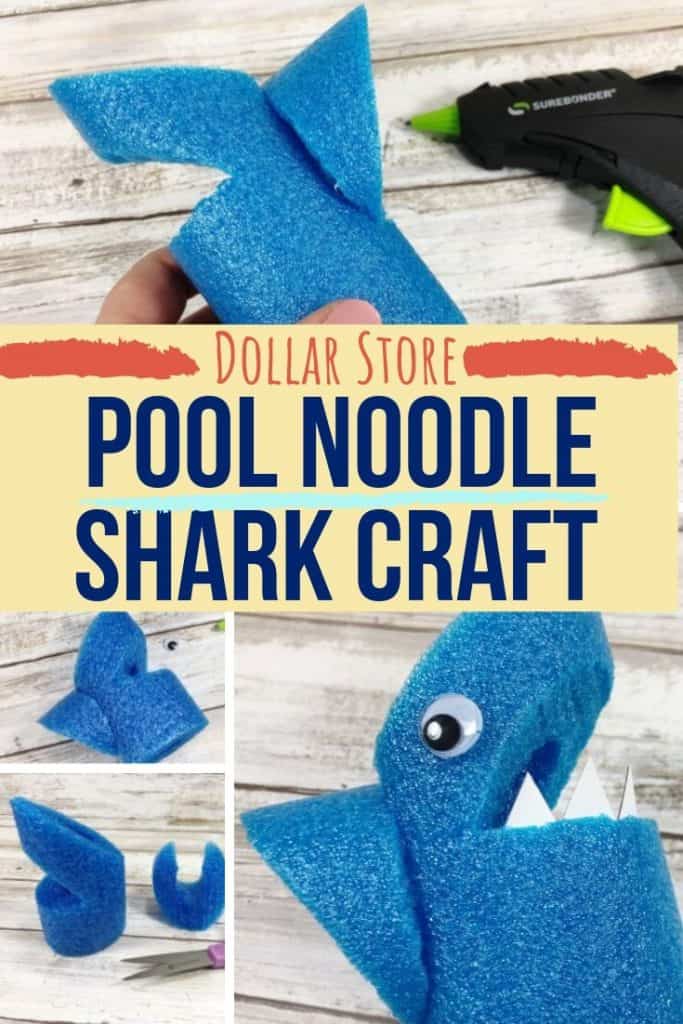
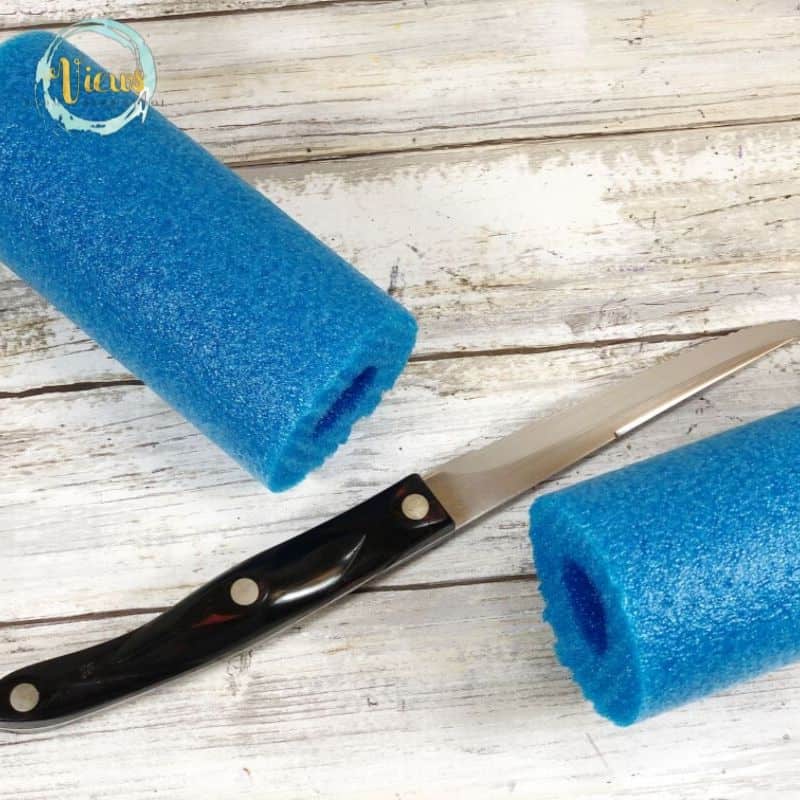
Have an adult cut the pool noodles into 6” and 4” sections with serrated kitchen knife to create the shark bodies.
Step Two
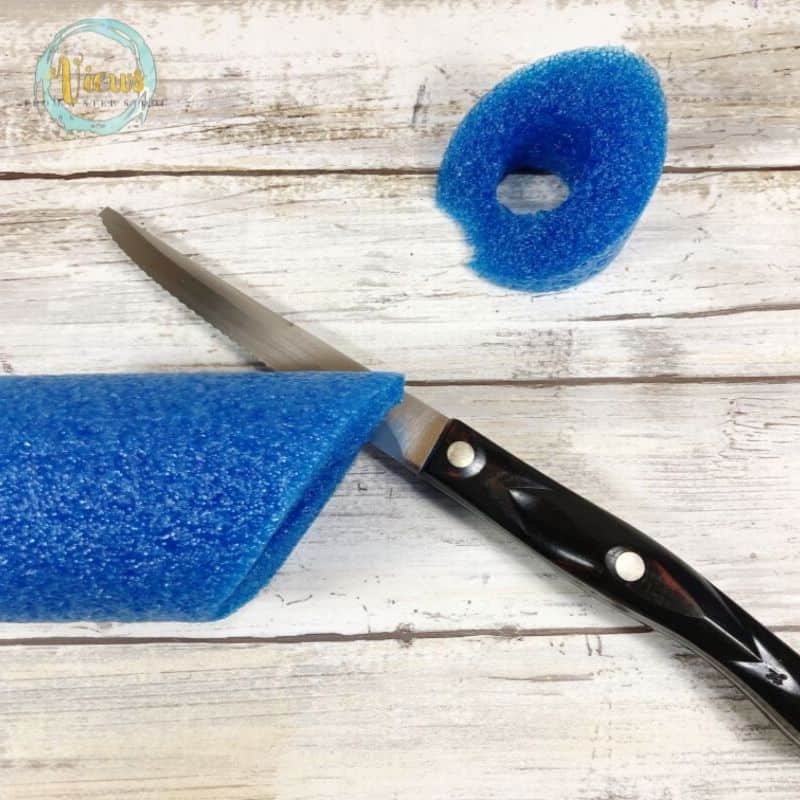
Cut the top off at an angle. The triangular piece that was cut off will become the dorsal fin later.
Step Three
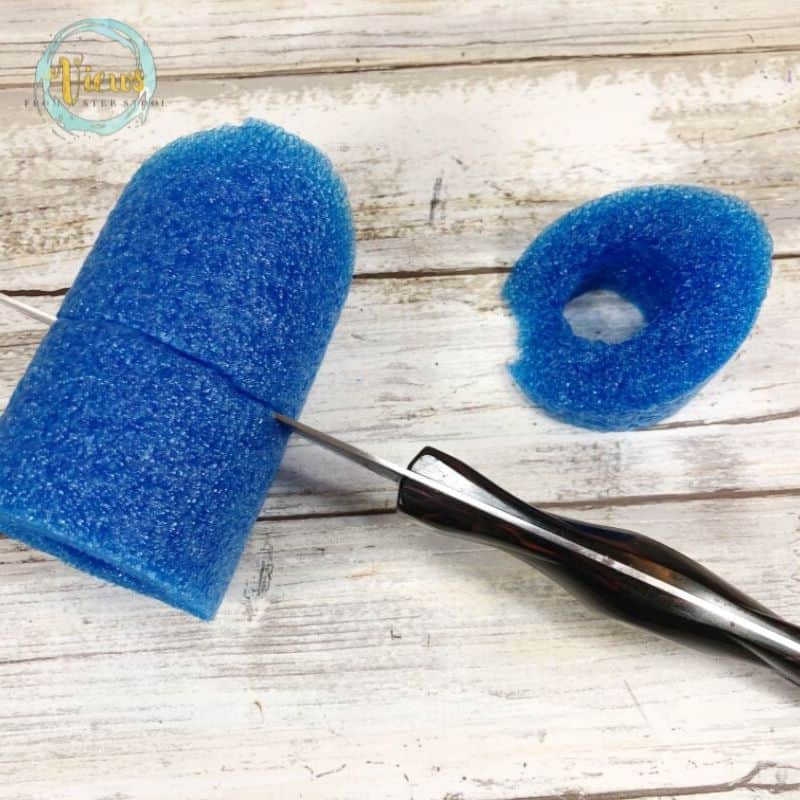
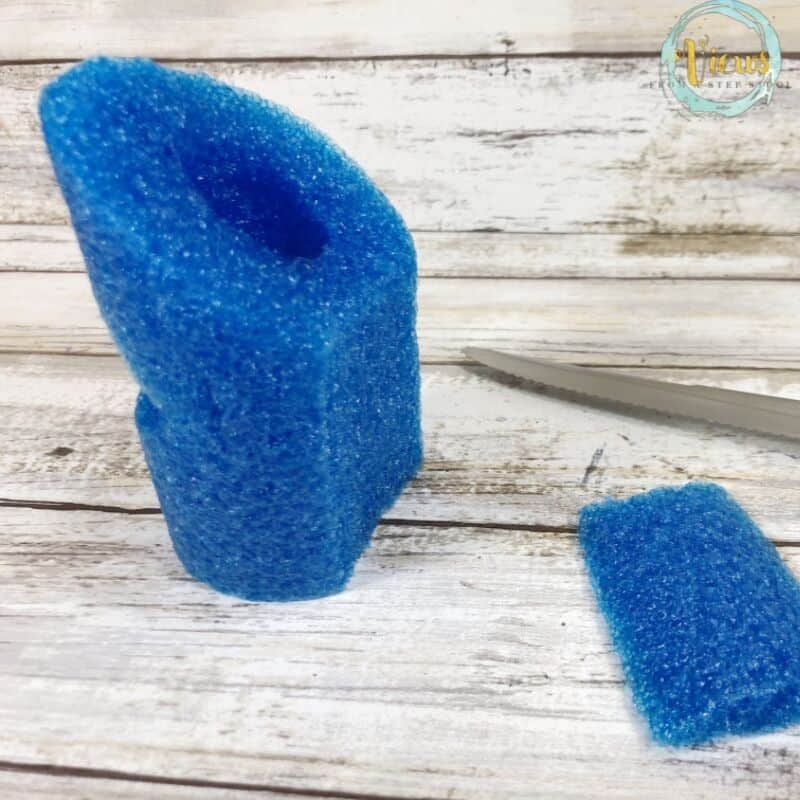
Make a horizontal cut approximately 2/3 of the way through the noodle. This will be the bottom of the shark’s mouth.
Step Four
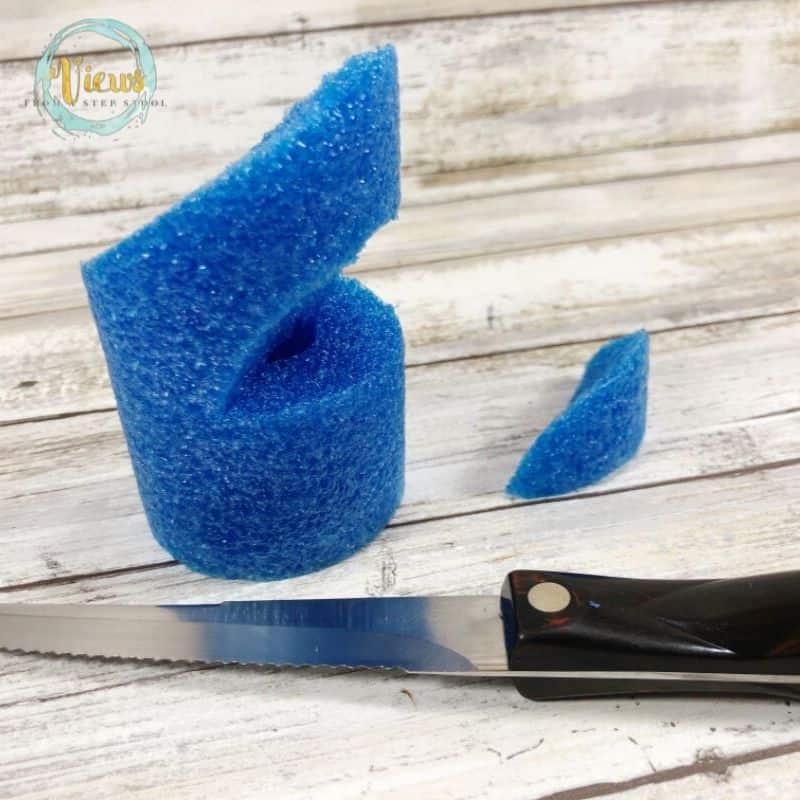
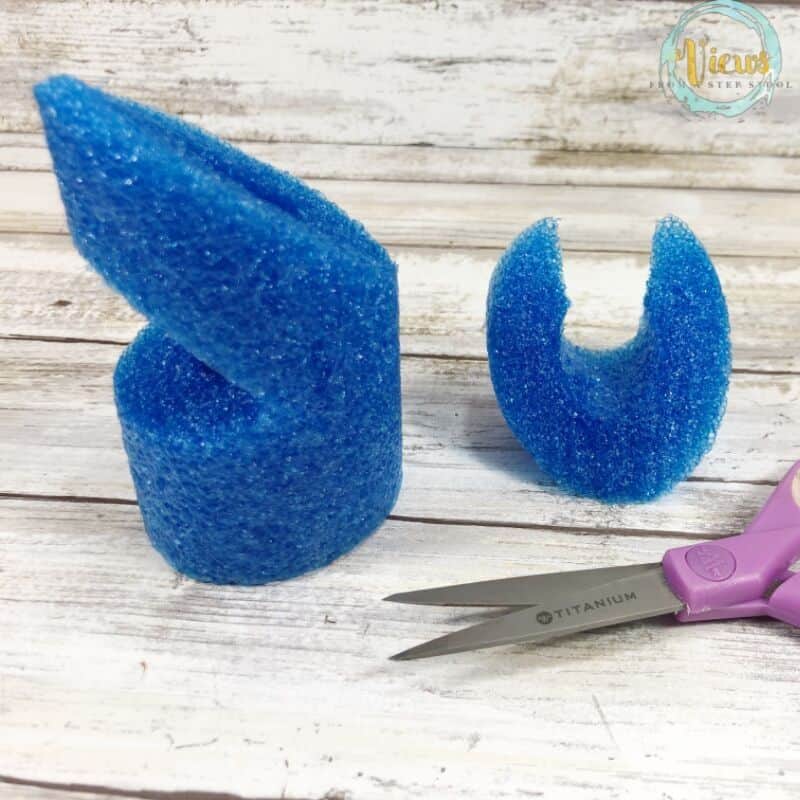
Make a diagonal cut that mimics the top cut. This will be the top of the shark’s mouth.
Step Five
Cut off a 1” wide by 2” long sliver from the back of the shark body.
Step Six
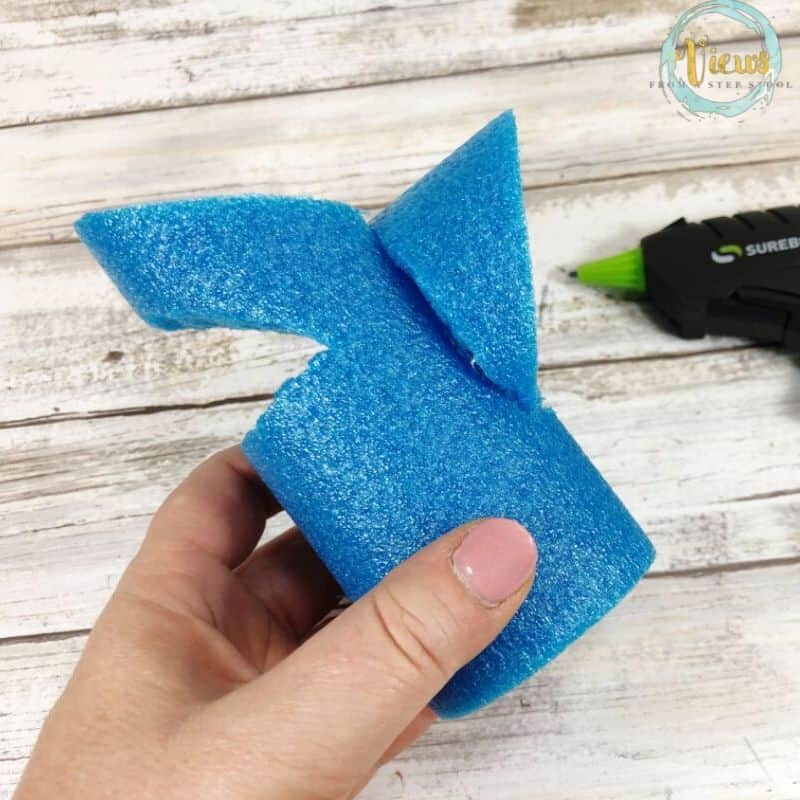
With scissors cut the narrow base from the dorsal fin.
Step Seven
Attach the dorsal fin to the back of the shark body with glue gun. Hold in place until glue cools.
Step Eight
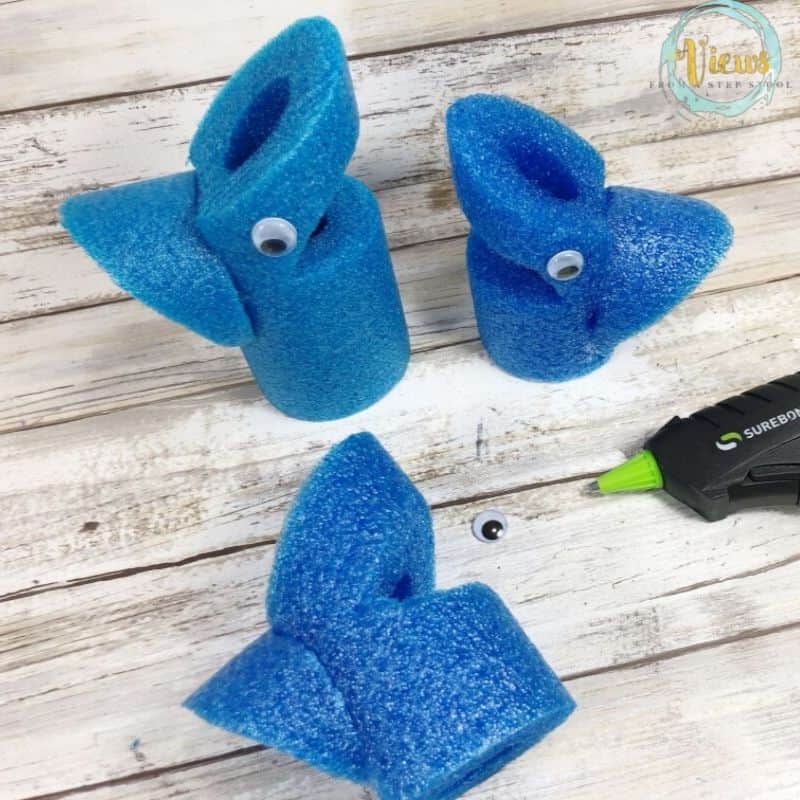
Attach one wiggle eye to either side of shark head, just above the jaw, with Glue gun.
Step Nine
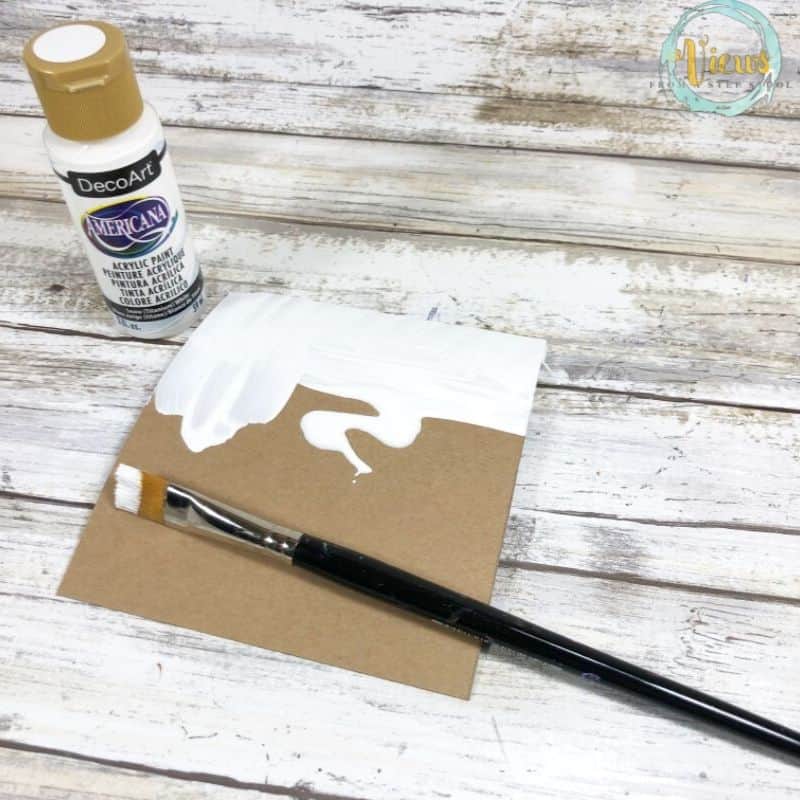
Paint a scrap piece of cardboard with white acrylic craft paint on both sides. Let dry completely.
Step Ten
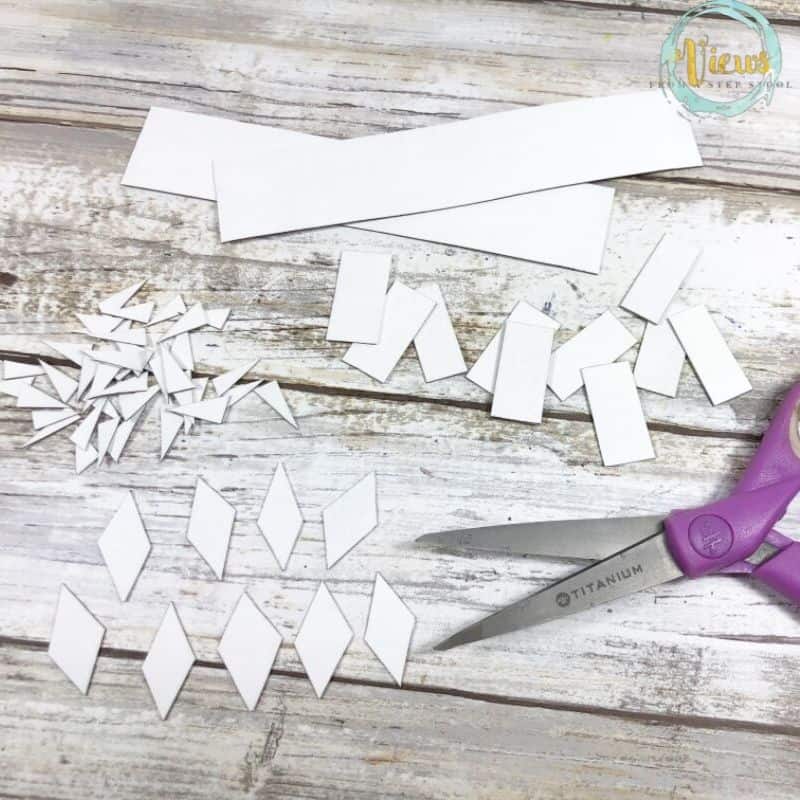
Measure and cut 1” strips of cardboard. Then cut the strips into ½” rectangles. Cut all four corners off each rectangle creating diamond shapes. These will become the shark’s teeth.
Step Eleven
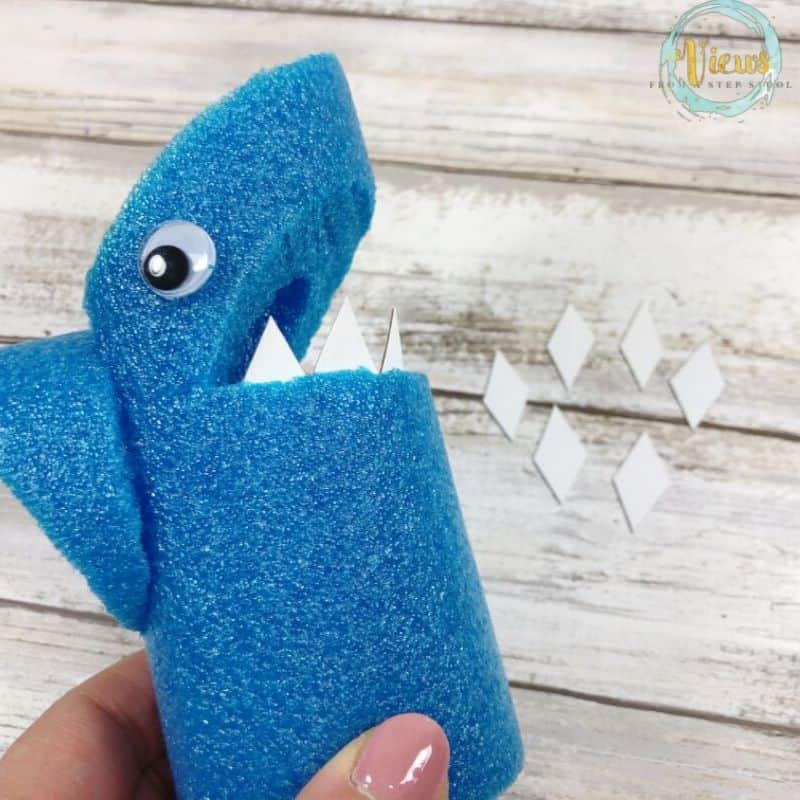
Insert shark’s teeth into the top and bottom of the shark’s mouth. Use the tip of an open pair of scissors to make a slit in the pool noodle foam if you have any difficulty inserting the shark’s teeth.
A crafty addition to all your shark week activities!
Print the card below so that kids can follow along as they craft
Pool Noodle Shark Craft for Kids
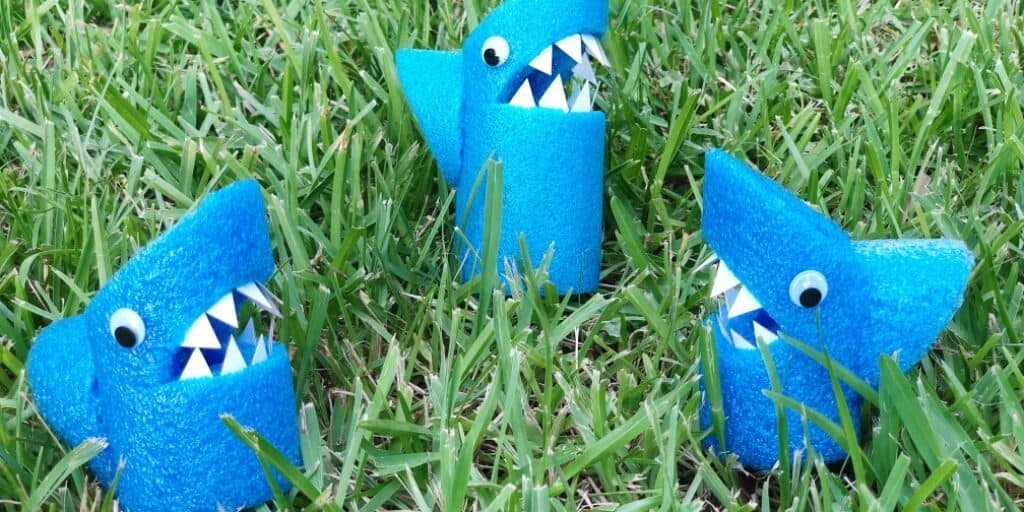
This shark craft uses a cut up pool noodle and some painted cardboard to create a fun shark that big kids can make.
Materials
- Blue Pool Noodle
- Wiggle Eyes
- Cardboard Scrap
- White Acrylic Craft Paint
Tools
- Low Temp Glue Gun and Glue Sticks (Hot Glue will melt the Pool Noodles)
- Paint Brush
- Scissors
- Serrated Kitchen Knife
- Ruler
- Pencil
Instructions
- Have an adult cut the pool noodles into 6 inch and 4 inch sections with serrated kitchen knife to create the shark bodies.
- Cut the top off at an angle. The triangular piece that was cut off will become the dorsal fin later.
- Make a horizontal cut approximately 2/3 of the way through the noodle. This will be the bottom of the shark’s mouth.
- Make a diagonal cut that mimics the top cut. This will be the top of the shark’s mouth.
- Cut off a 1 inch wide by 2 inch long sliver from the back of the shark body.
- With scissors cut the narrow base from the dorsal fin.
- Attach the dorsal fin to the back of the shark body with glue gun. Hold in place until glue cools.
- Attach one wiggle eye to either side of shark head, just above the jaw, with Glue gun.
- Paint a scrap piece of cardboard with white acrylic craft paint on both sides. Let dry completely.
- Measure and cut 1 inch strips of cardboard. Then cut the strips into half inch rectangles. Cut all four corners off each rectangle creating diamond shapes. These will become the shark’s teeth.
- Insert shark’s teeth into the top and bottom of the shark’s mouth. Use the tip of an open pair of scissors to make a slit in the pool noodle foam if you have any difficulty inserting the shark’s teeth.
Notes
Use a low temp glue gun and glue sticks (hot glue will melt the pool noodles)
Leave a Reply