Making story stones or painted rocks is a fun way to encourage some play-based learning, or a great craft for kids. These Halloween painted rocks would be perfect in a sensory bin, or to hide around the neighborhood or local parks for some holiday fun.
*This post contains affiliate links.
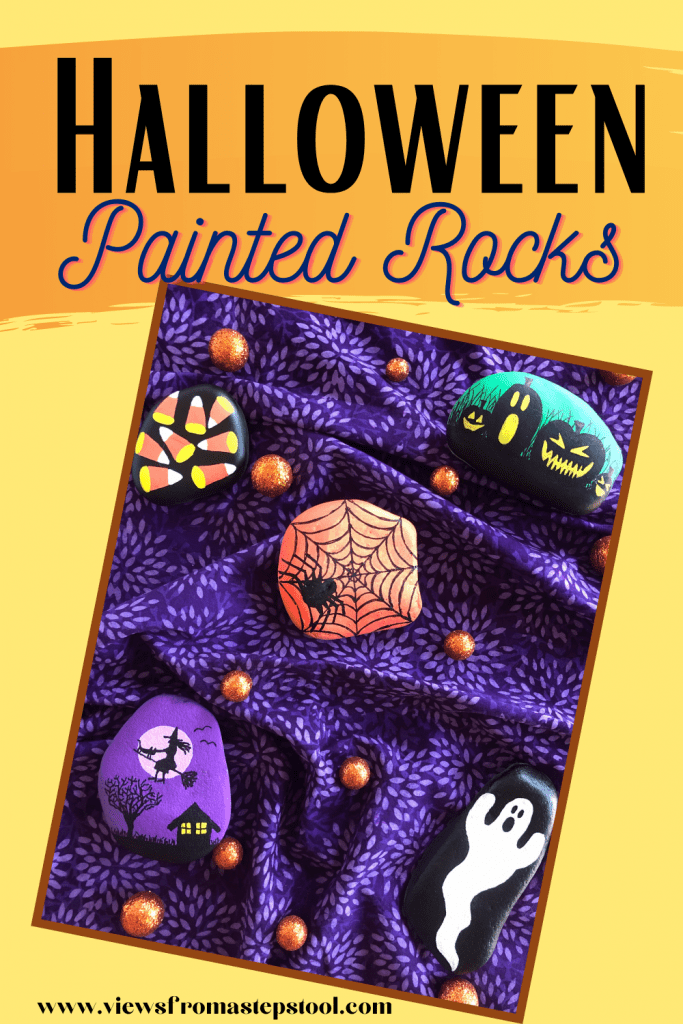
Halloween Painted Rocks
Painted rocks seems to be one of the best boredom busters in our house. My kids love to design holiday or book inspired painted rocks and use them in play.
We make sensory bins each month to go with a season, holiday or unit of study. Painted rocks are always a welcome addition to sensory bins. These halloween painted rocks would be great in a bed of dried black beans or nestled among some popcorn kernels.
Add these halloween painted rocks to your list of halloween activities for kids this year!
What you need to make the Halloween Painted Rocks
Flat river rocks
Pencil with eraser
Paint pens (fine tip – we like this one)
Make the Halloween painted rocks
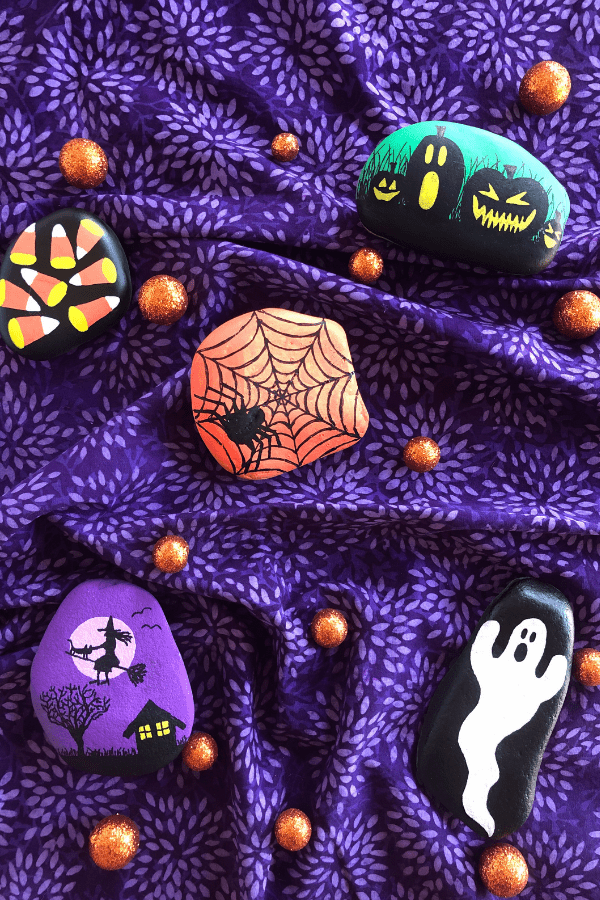
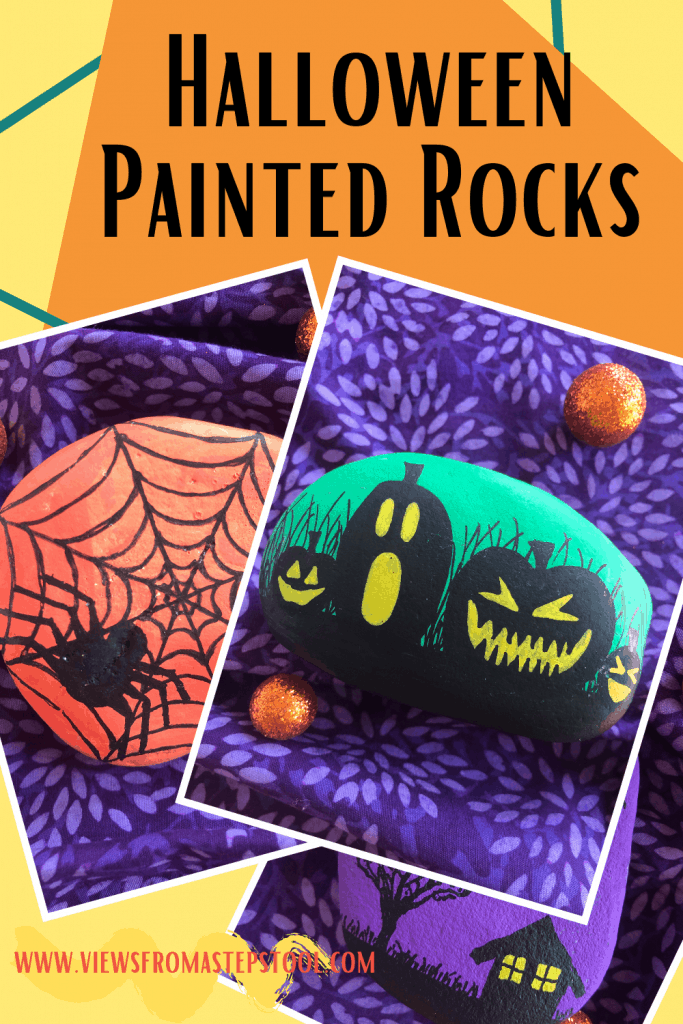
This set of painted rocks includes the following designs:
- jack-o-lanterns
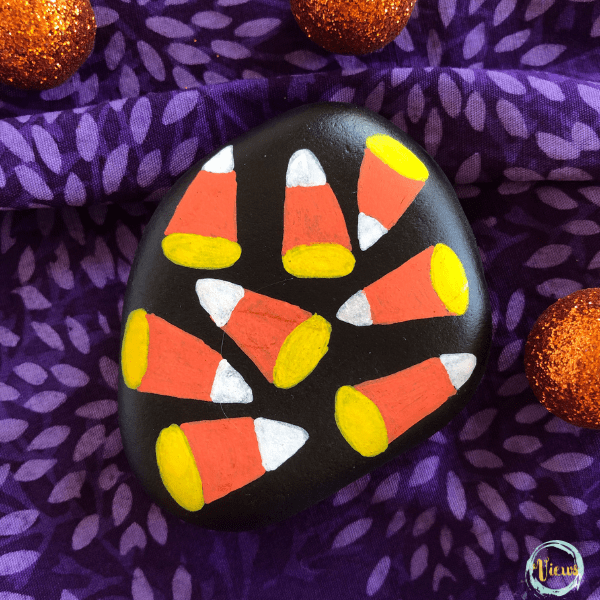
- candy corn
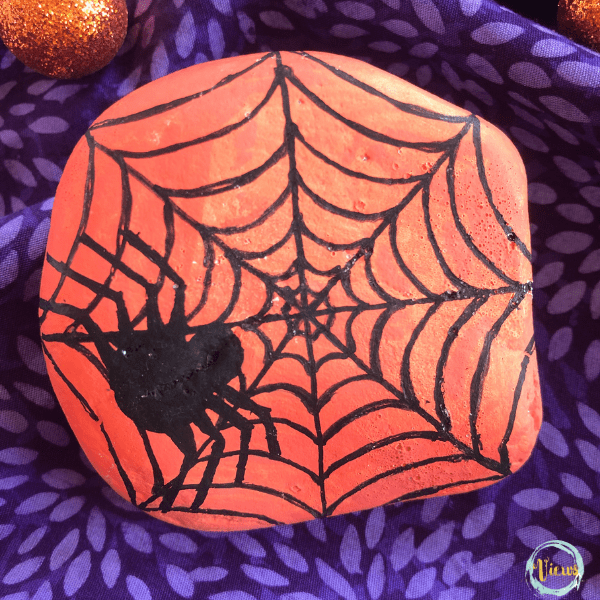
- spider
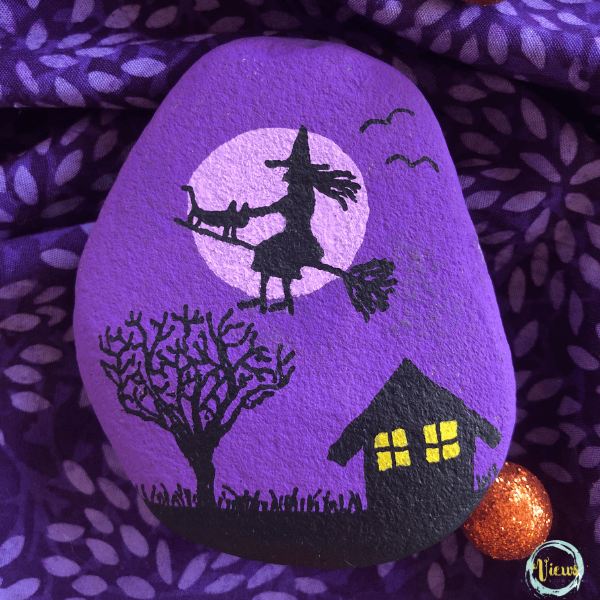
- haunted house
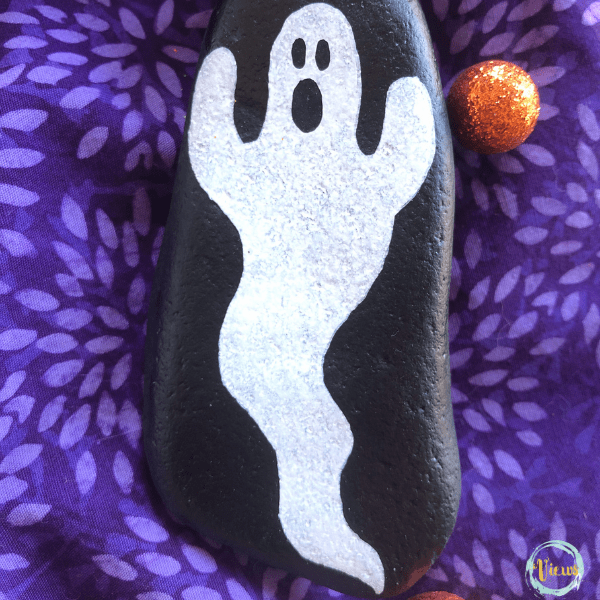
- ghost
These designs are hand-painted and will serve as great inspiration for you to make your own set of painted rocks!
Tips for making these painted rocks:
Each of these rocks have a background painted on them, you can paint the background first and let dry completely then draw the design on top, but light colors such as yellow and white might not be as brilliant painted on top of a dark background.
I like to sketch the design first with my pencil and them fill in each spot individually like a color by number. I find that if I fully allow each section to dry before moving on, my colors come out brighter.
As seen in the supply list, I like to use the fine point paint pens but some fine details, such as the tree in the haunted house rock or the grass behind the jack-o-lanterns, I like to use a very small paintbrush and acrylic paint. I get a wispier feel to the fine lines.
If you aren’t feeing confident to paint details such as the witch on the haunted house rock, you can always add a Halloween sticker to the painted rock! Spray the sealer right over the sticker and the paint.
Most importantly, have fun creating these Halloween painted rocks with your kids!
Candy Corn Painted Rock
A black background with these sweet treats painted on top makes for an adorable and easy rock.
Sketch a triangle with a rounded bottom and section it in threes. Paint yellow on the bottom section, orange in the middle and white on top.
Haunted House Painted Rock
Paint the background of the rock purple and let dry.
Then sketch a house, moon and witch above. Fill in the light color of the moon and the yellow in the windows, then fill in the rest of your sketch with black.
Ghost Painted Rock
To make the white more brilliant on this rock, leave the background for last. Sketch the ghost and fill it in with white paint pen. Use a couple of coats to get this brilliant white color.
Then, once dry, fill in the background and the eyes and mouth with black.
Spiderweb Painted Rock
Pain the background of the rock orange and let dry.
Once dry, sketch a spiderweb by starting in the middle and creating the vertical lines. Paint them with black and let dry.
Then using curved lines, start from the middle and work up connecting the curved lines to the vertical lines.
Once the web is dry, add a spider by making a large circle body, small circle head, and 4 bent lines on each side.
Jack-O-Lantern Painted Rock
These nighttime jack 0 lanterns are so spooky yet cute! Paint a background the color of your choice and let dry.
Sketch the jack-o-lanterns with their faces on the background and color in with black. Leave the face parts empty to fill in with yellow.
Add some wisps of grass for some extra flair!
Pin these Halloween Painted Rocks:

Leave a Reply