This is the perfect fall project to do with kids, that you can actually keep as decor for your house. Paint pouring is a really fun art project to do with kids, because what little one doesn’t love to squeeze the paint bottle?! It can’t just be my kids. I’m constantly warning them not to use too much or that we need to make sure we don’t waste it. They couldn’t believe their ears when I told them they could squeeze as much paint as they wanted for our paint poured pumpkins project!
 To Make Your Paint Poured Pumpkins
What You Need:
- metallic/glitter acrylic paint
- small pumpkins (or large but you would need a lot of paint)
- tray
- small recyclable container (a yogurt container or tin can would be perfect)
I used an empty yogurt container as a stand for the pumpkin to really help the paint drip. I also cut a hole in the bottom of it so that the kids could put the pumpkin upside down if they wanted to create a different effect.
You can really use any colors of paint for these, I just prefer the look of the metallics…and I HIGHLY recommend adding some glitter paint!
What to do:
- Place a pumpkin on top of a recyclable container such as a yogurt cup, and place that onto a tray (it will be full of paint by the end).
- Squeeze the paint on the top of the pumpkin, letting it drip all over the sides and off of the bottom.
- Continue to layer the paint with as many different colors as you like and let dry!
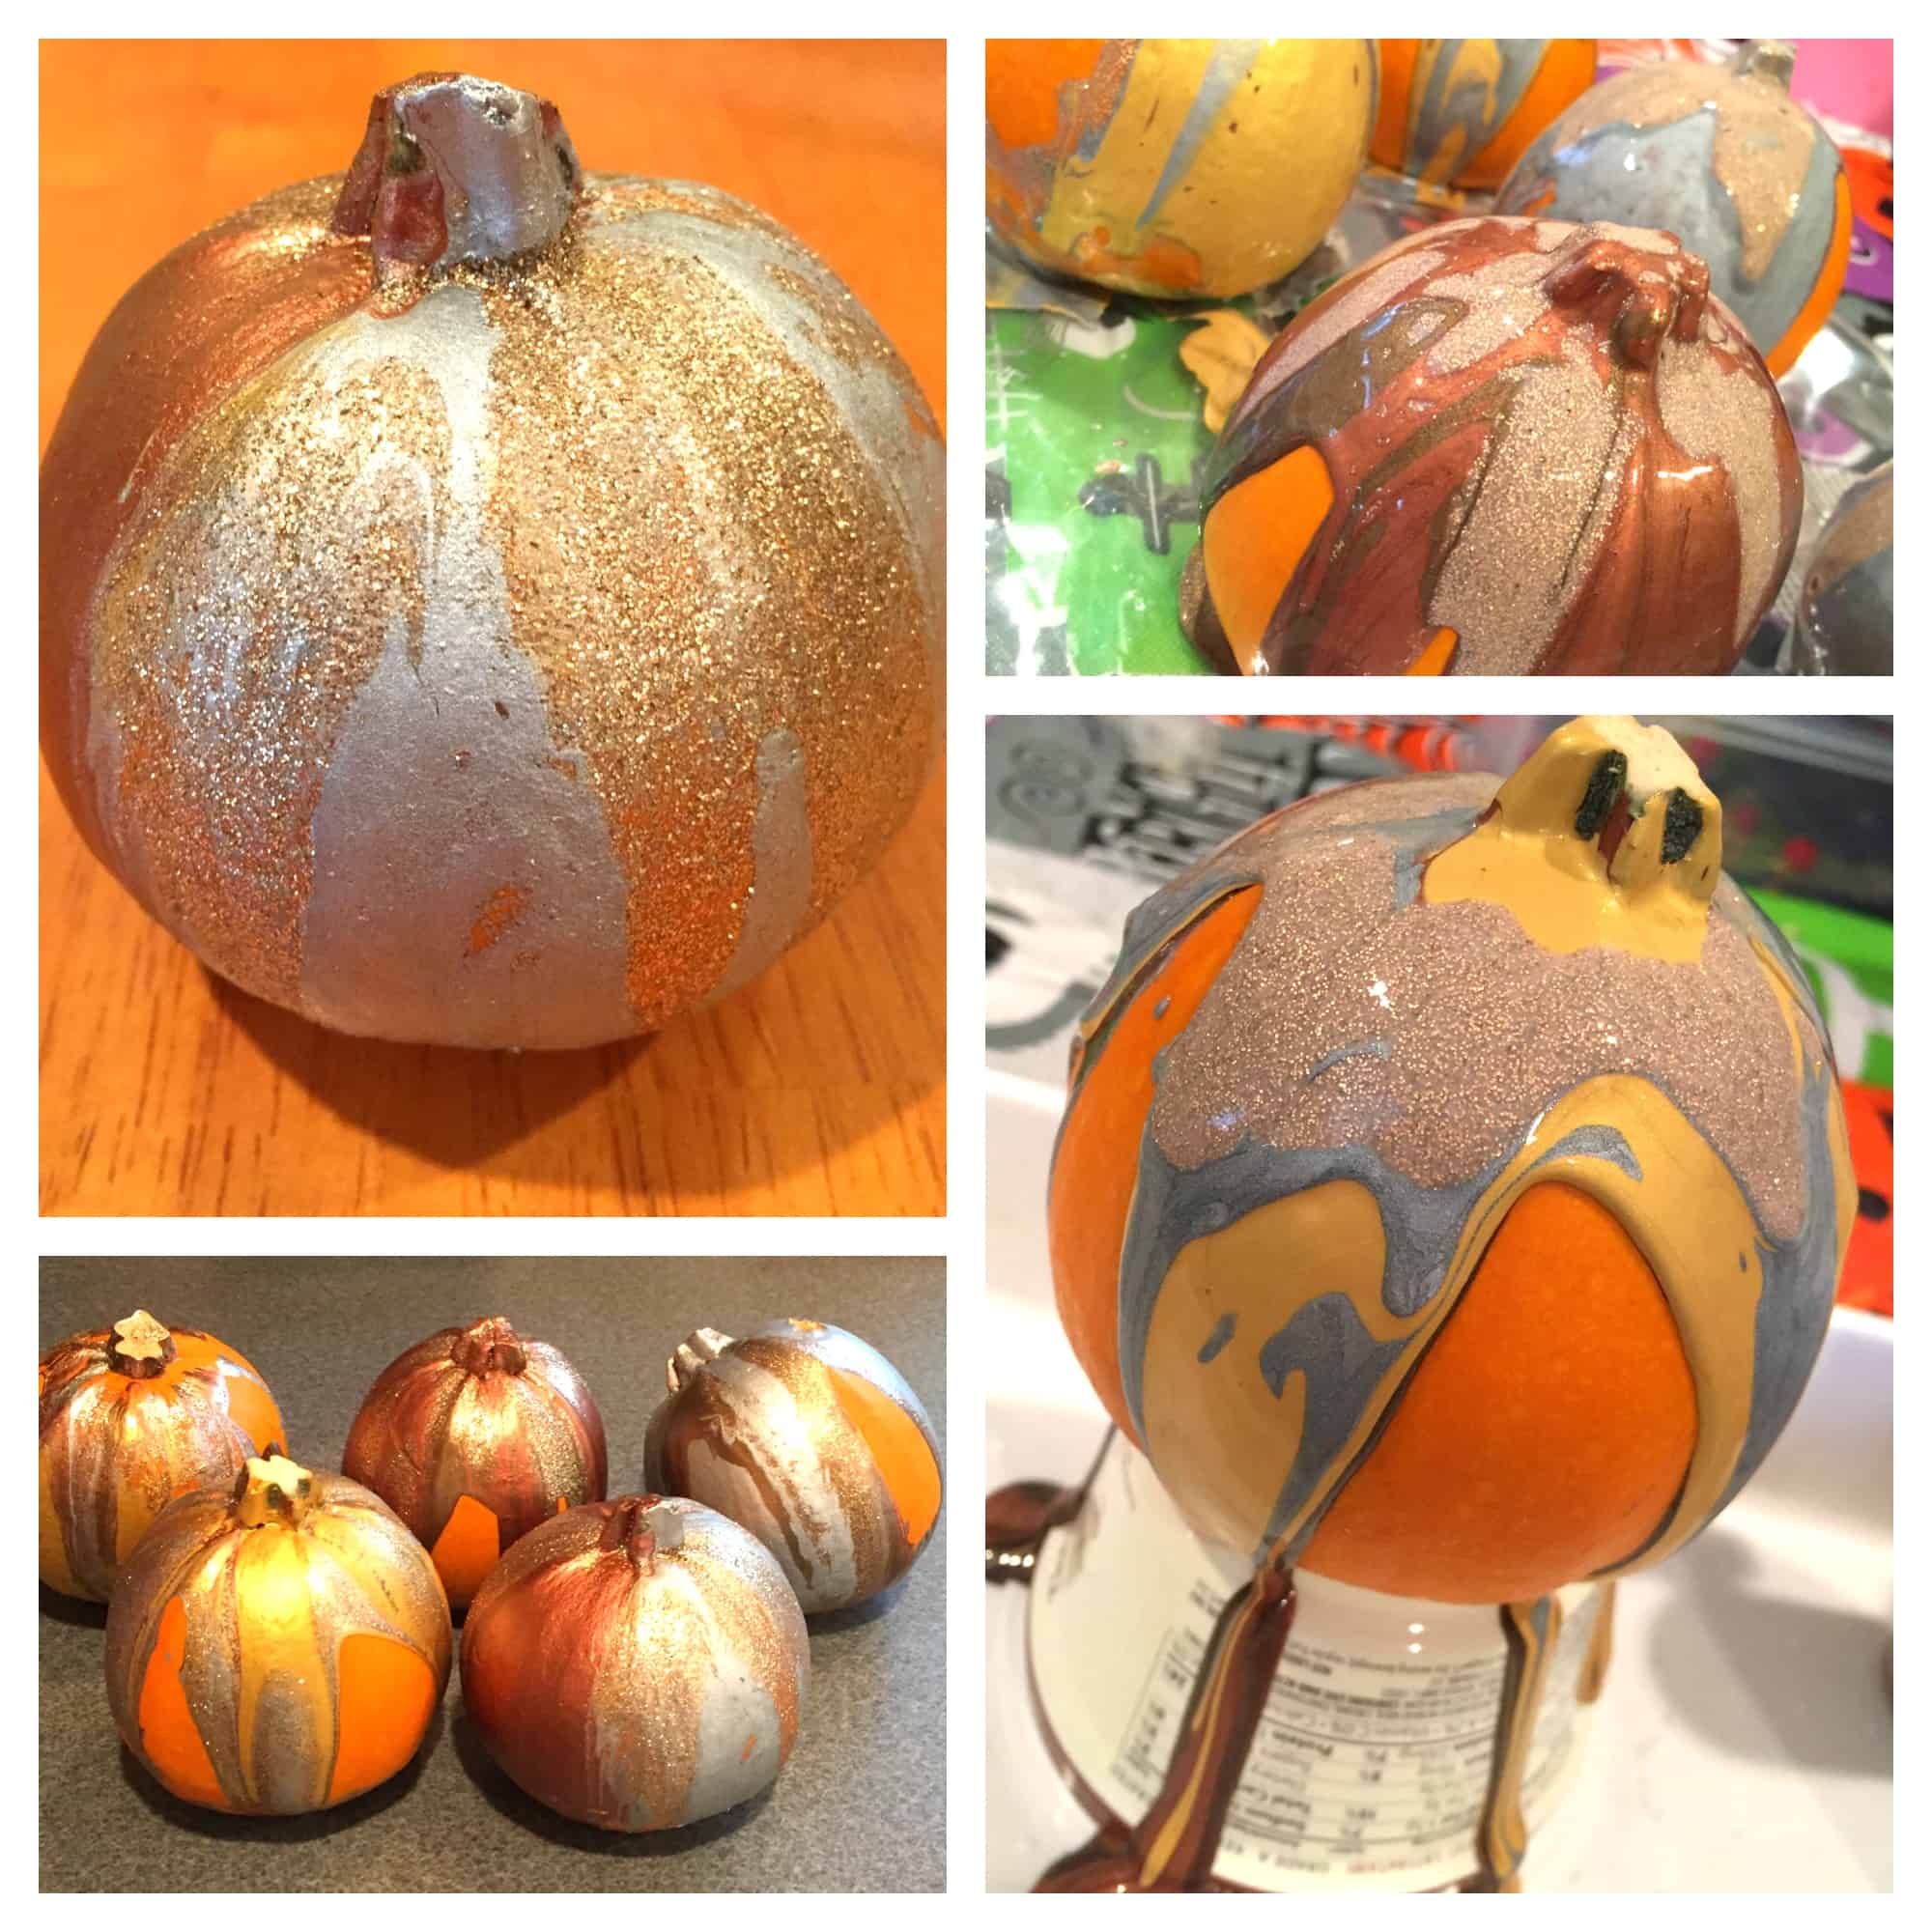
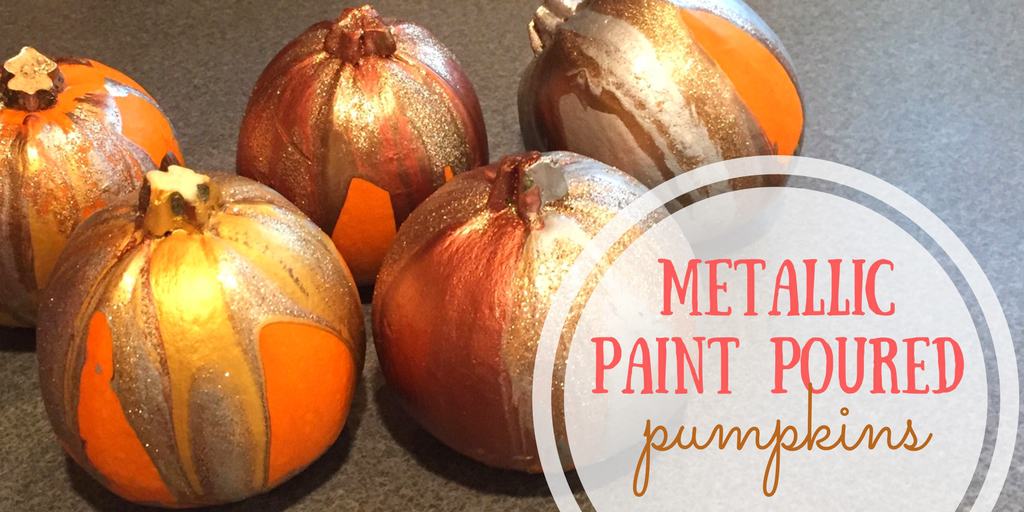
These paint poured pumpkins are proudly displayed in our kitchen…my oldest even gave one to his teacher:) We would love to see how you make these! Share a pic with us on Facebook!
Related Fall Activities:


I can’t even!!!! These are AMAZING! Come to my house – I need someone to help guide me in these fancy shmancy craft ideas! HA!
Hahaha! This is SOO easy!
These are awesome! My kids would have so much fun with this!