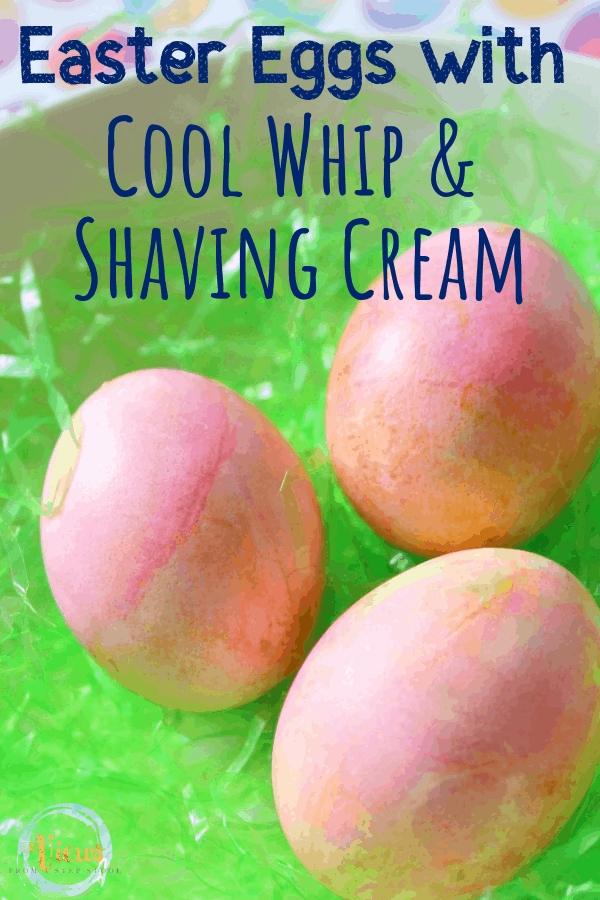
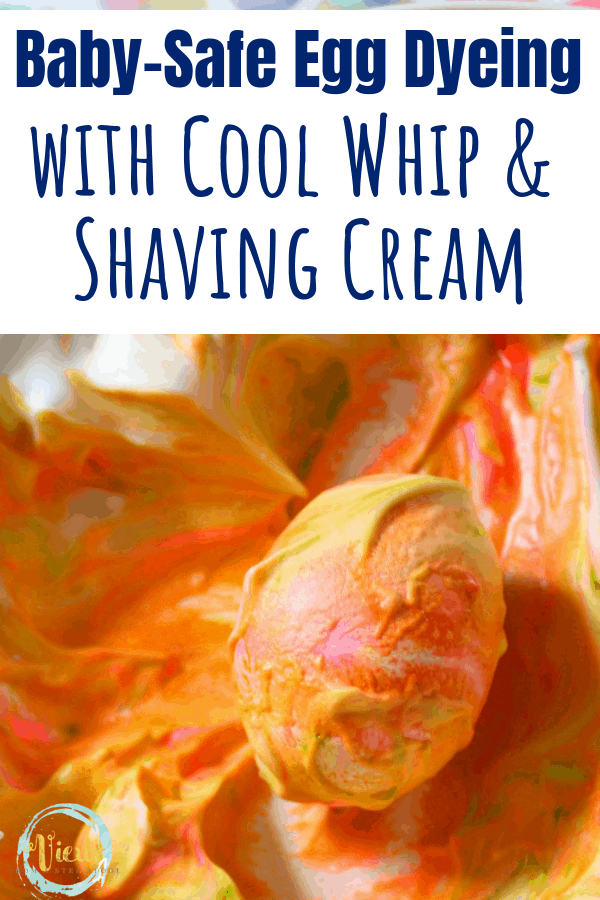
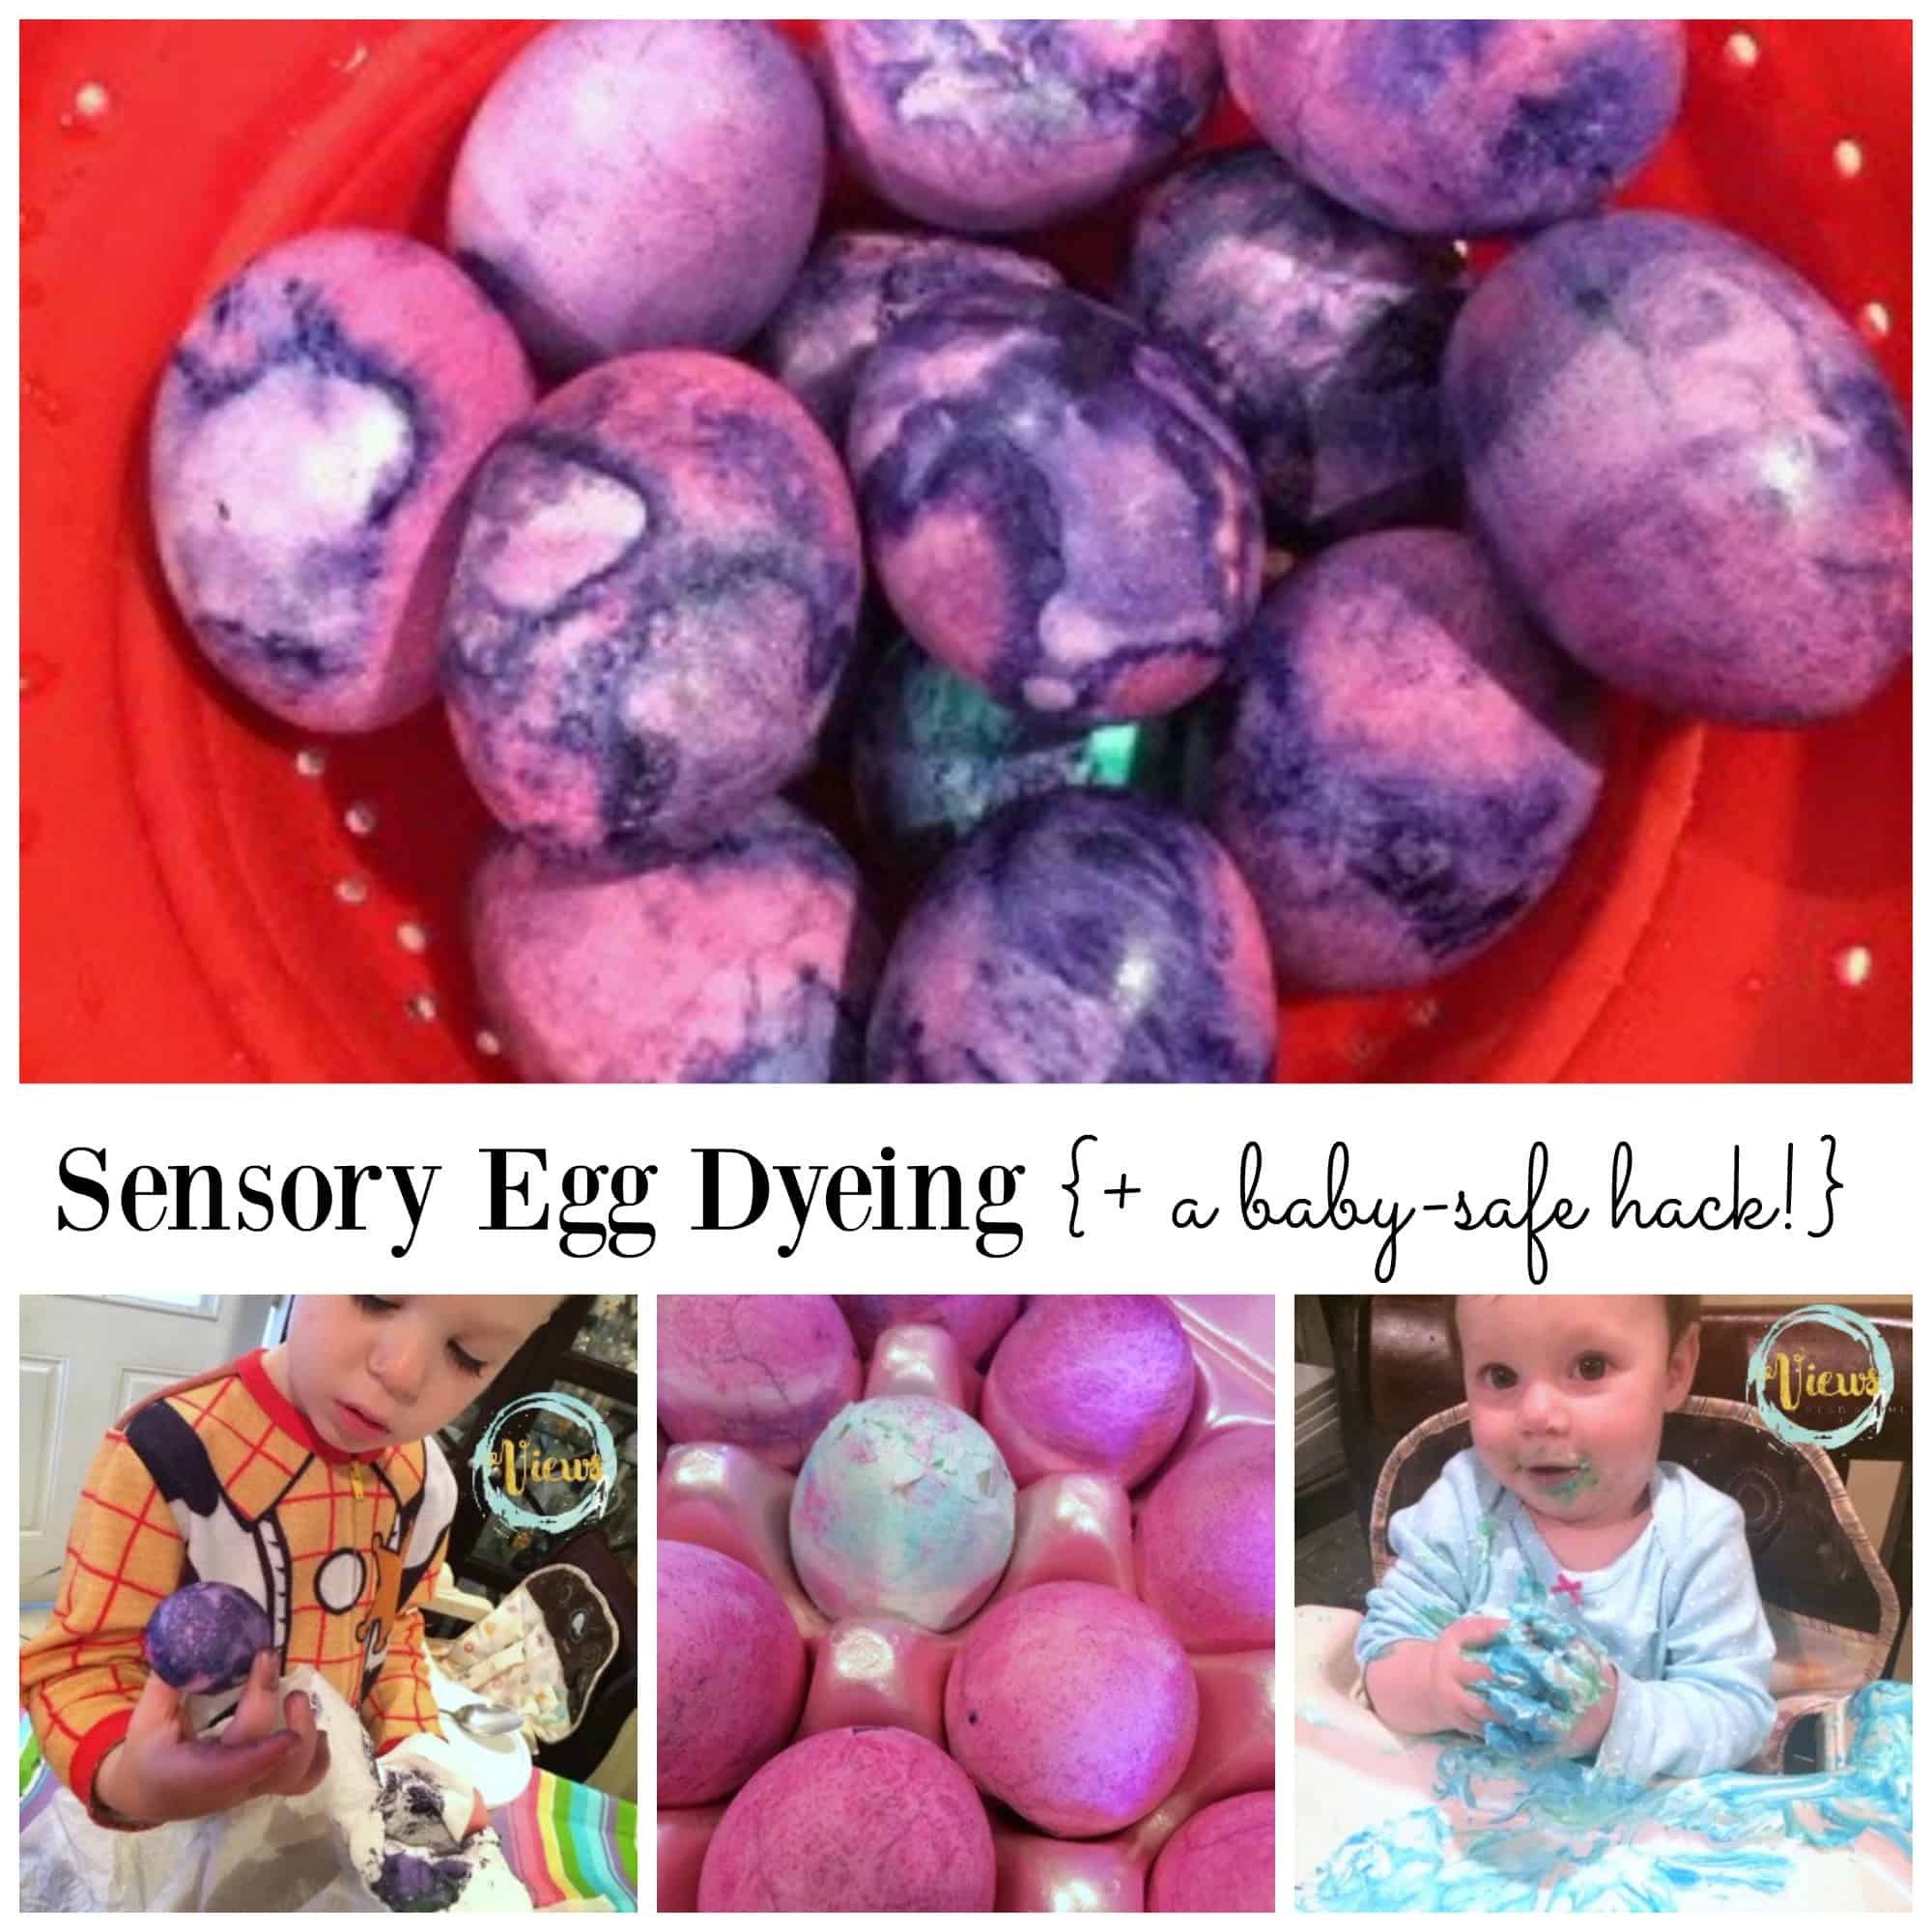
Dyeing Easter eggs with Cool Whip or shaving cream is such a fun baby-safe Easter egg activity. Engage in some fun sensory play while dyeing eggs!
This method of dyeing Easter eggs with cool whip or shaving cream is non-traditional and sensory inspired, and SO much fun! My kids love getting their hands dirty so this just seemed to be appropriate for them. While all ages can enjoy this method of egg dyeing, these Easter eggs for babies will make doing this activity with even 1 year olds and younger easy and engaging.

Marbled Baby-Safe Easter Eggs
I have read a few different ‘recipes’ mostly using liquid water colors. We chose to use food coloring, although it can stain your hands for a couple of days, I like the vibrant results. And as usual…I had to find a way to make this edible for a baby-safe alternative for any little ones doing this too!
Dyeing Easter Eggs with Cool Whip or Shaving Cream
We love to use shaving cream as a sensory medium. Writing in shaving cream on a table is a classic preschool sensory activity, this process colors the shaving cream to roll some eggs around in making beautiful marbled eggs!
If shaving cream might pose an issue for your children, for example, if they still like to put objects or dirty hands in their mouths, Cool Whip is a slightly stickier, but safer alternative for making Easter eggs with babies.
What you need for dyeing Easter eggs with Cool Whip or shaving cream:
Shaving cream
Cool Whip
Food coloring
Hard boiled eggs
How to make the marbled Easter eggs for babies:
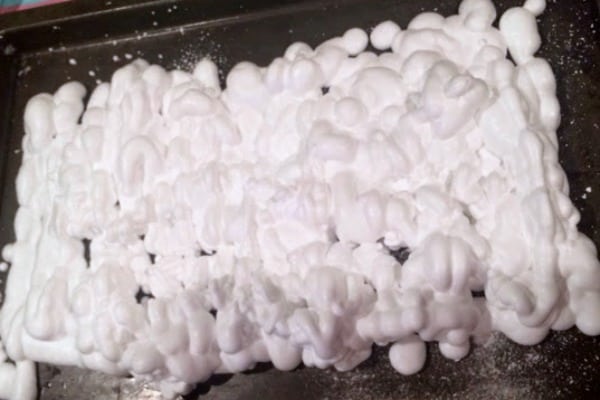
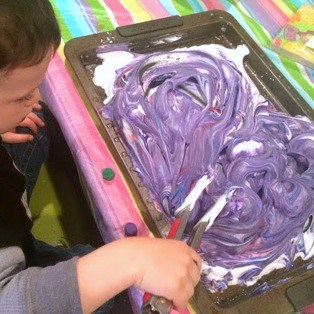
Take a cookie sheet and fill it with plain white shaving cream (I get mine at the dollar store as we use it for sensory purposes often).
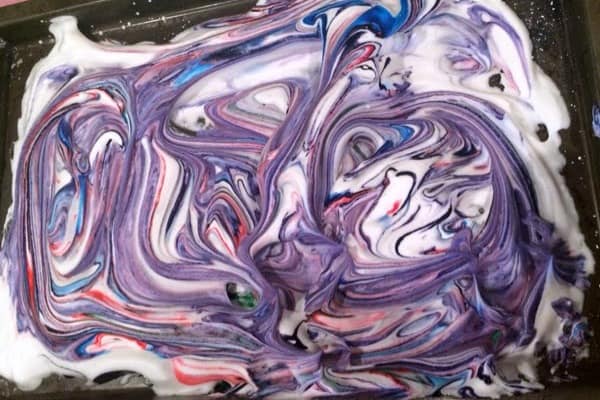
Put a few drops of different colored food coloring on the shaving cream and swirl the coloring around with a utensil or a toothpick. If you want a marbled look to the eggs don’t mix the colors together too much.
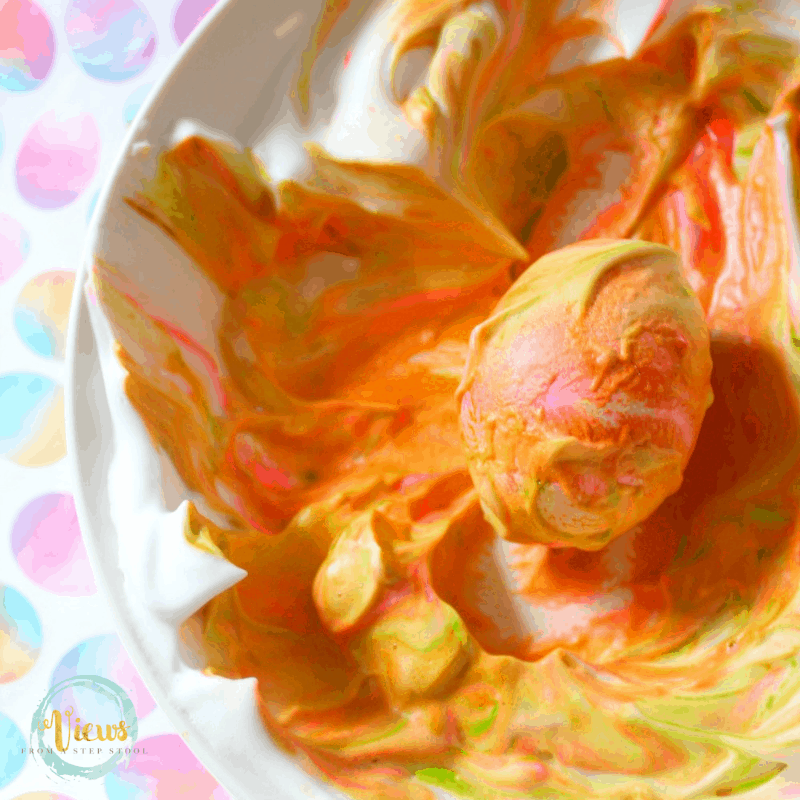
Next, place a hard boiled egg in the shaving cream and start rolling it around. If you don’t want your child to have stained hands for Easter they can use tongs for this process (or wear kitchen gloves but that kind of takes the sensory fun out of it).
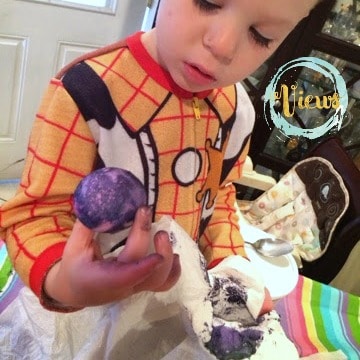
My kids did use tongs, but still managed to turn their hands pink. I’m sure people at church on Easter won’t look twice when they see a child with food coloring on their hands from egg dye right?!? That has to be normal this time of year 😉
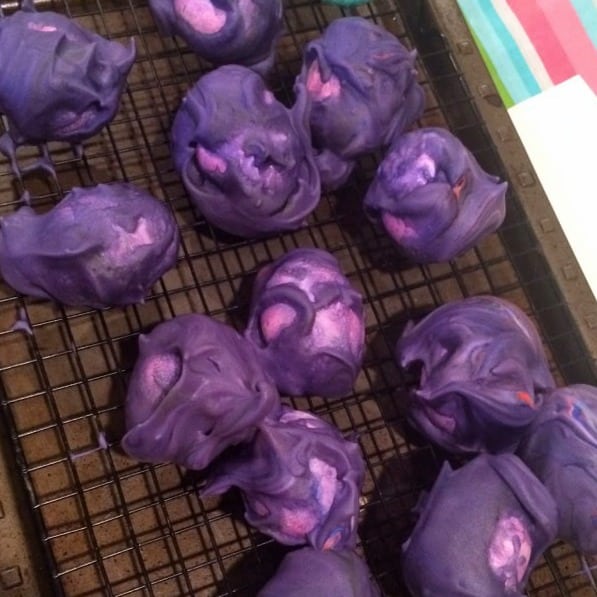
Place the shaving cream coated eggs on a rack to dry. It’s important not to wipe or rinse the cream off yet, you want to really give these a chance to dry, overnight preferably.
Once you have allowed them to dry, simply wipe off the shaving cream with a paper towel and buff the egg a little bit.
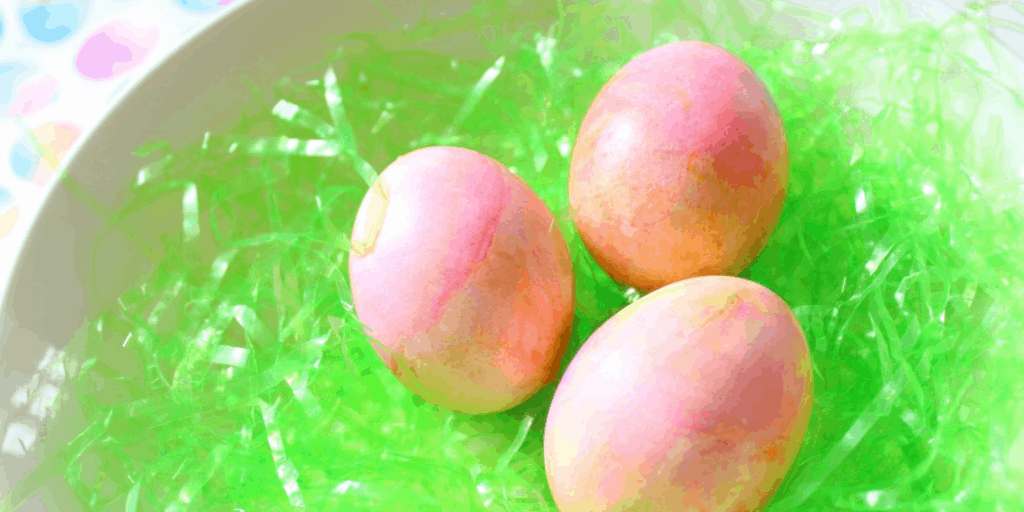
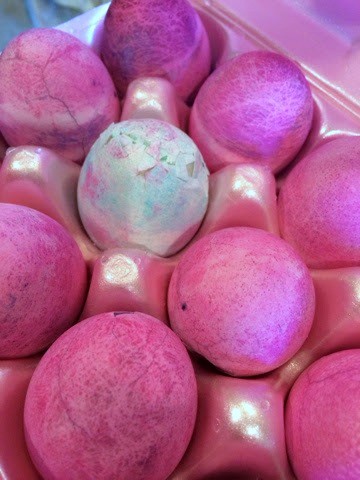
They will be beautiful but a bit sticky. At this point you need to choose between vibrant, sticky eggs or duller, clean eggs. I went with the duller ones and gave them a quick rinse under some water (especially since we used Cool Whip for some). I didn’t mind the duller color, they still look great!
We all really enjoyed these baby-safe Easter eggs with Cool Whip and shaving cream activity, and it was great that the littles got to participate too!
















Leave a Reply