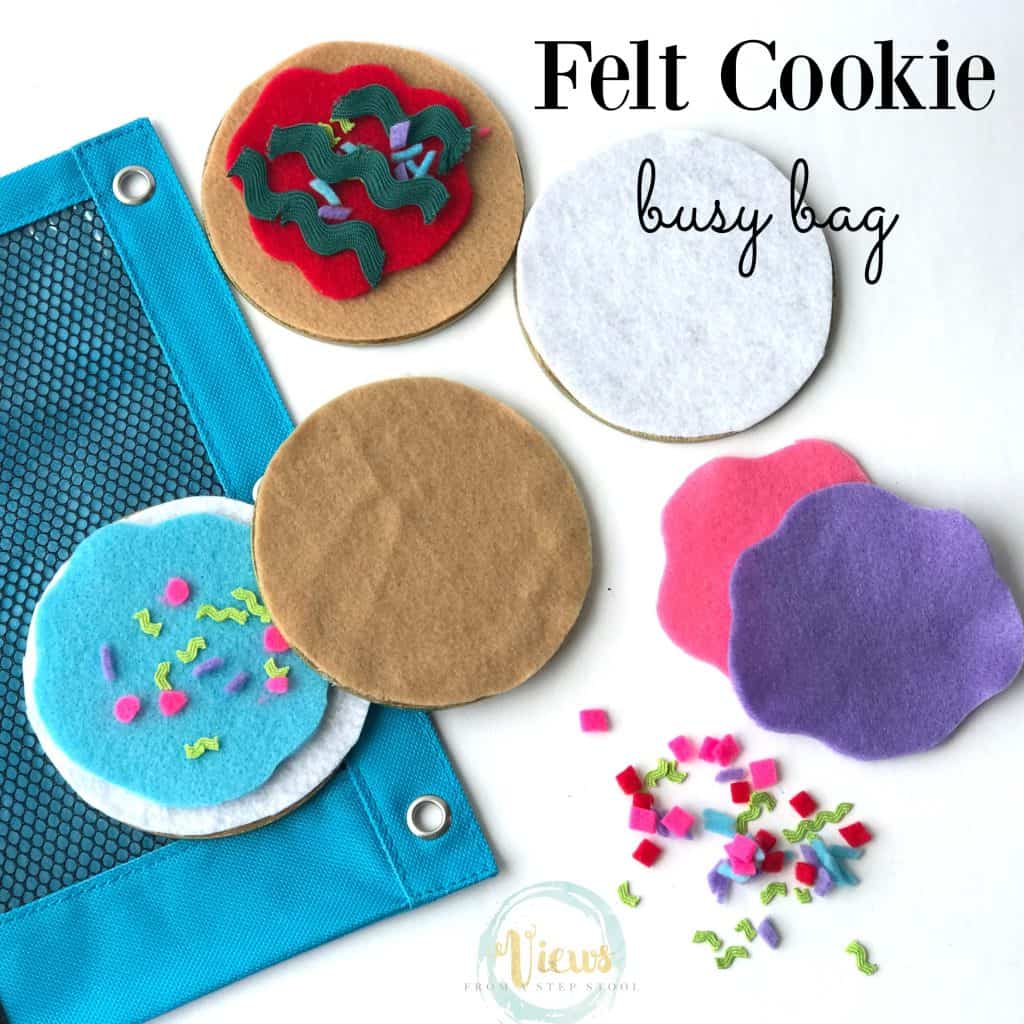
This felt turkey busy bag is easy to make, and fun for play and learning with many ages! Keep this with you whenever you need to keep the kids busy!
One of our favorite busy bag materials is felt! I love to make mini felt boards that the kids can use while we are out and about, or for a quiet activity at home. We use busy bags when traveling, in church, in waiting rooms..they have been a sanity saver for me. This adorable felt turkey busy bag is perfect for the Fall!

Felt Turkey Busy Bag for Kids
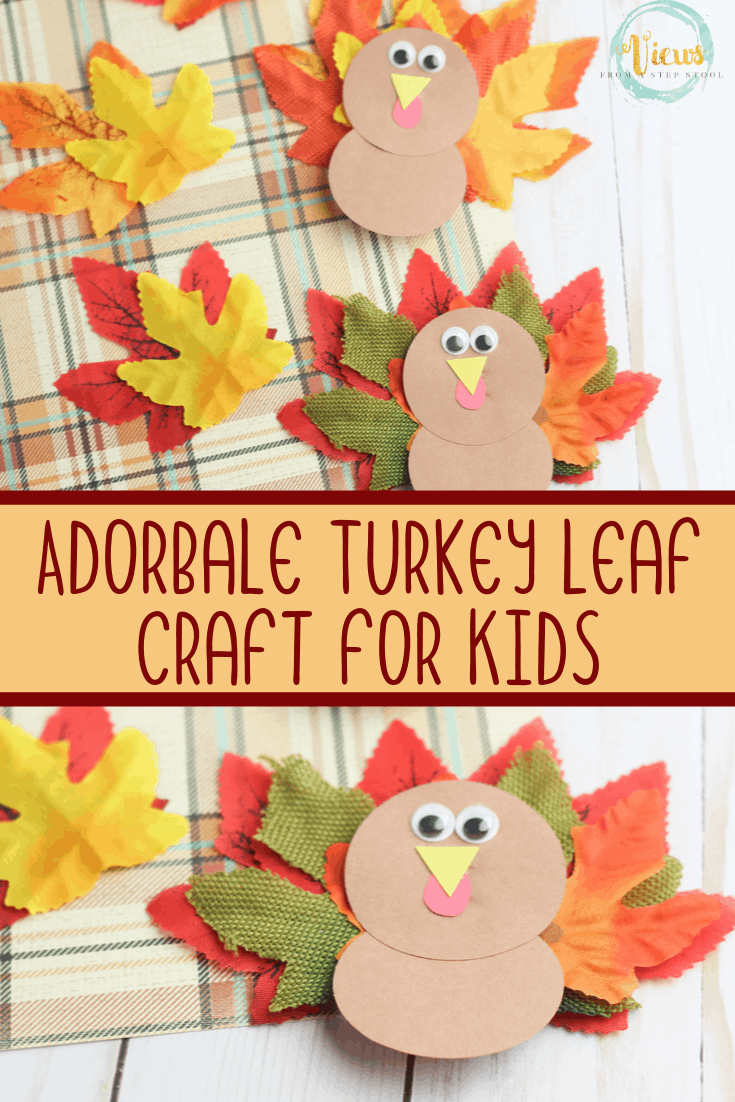
This turkey busy bag is a wonderful one for the Thanksgiving season. We love making turkey leaf crafts, and playing Thanksgiving games, but busy bags are always a must-have.
You could also opt to glue this felt turkey together to make a fun turkey craft!

What you need to make the felt turkey busy bag
felt (white, brown, orange, red, and various other colors for the feathers)
scissors
turkey body and turkey feathers printable template
To Make the Turkey Busy Bag

Print the template and cut out the pieces. You can choose to simply look at the template and rough it, or cut the template out, place it over the felt, and cut around.
The cuts don’t have to be perfect, the kids will enjoy this no matter what!
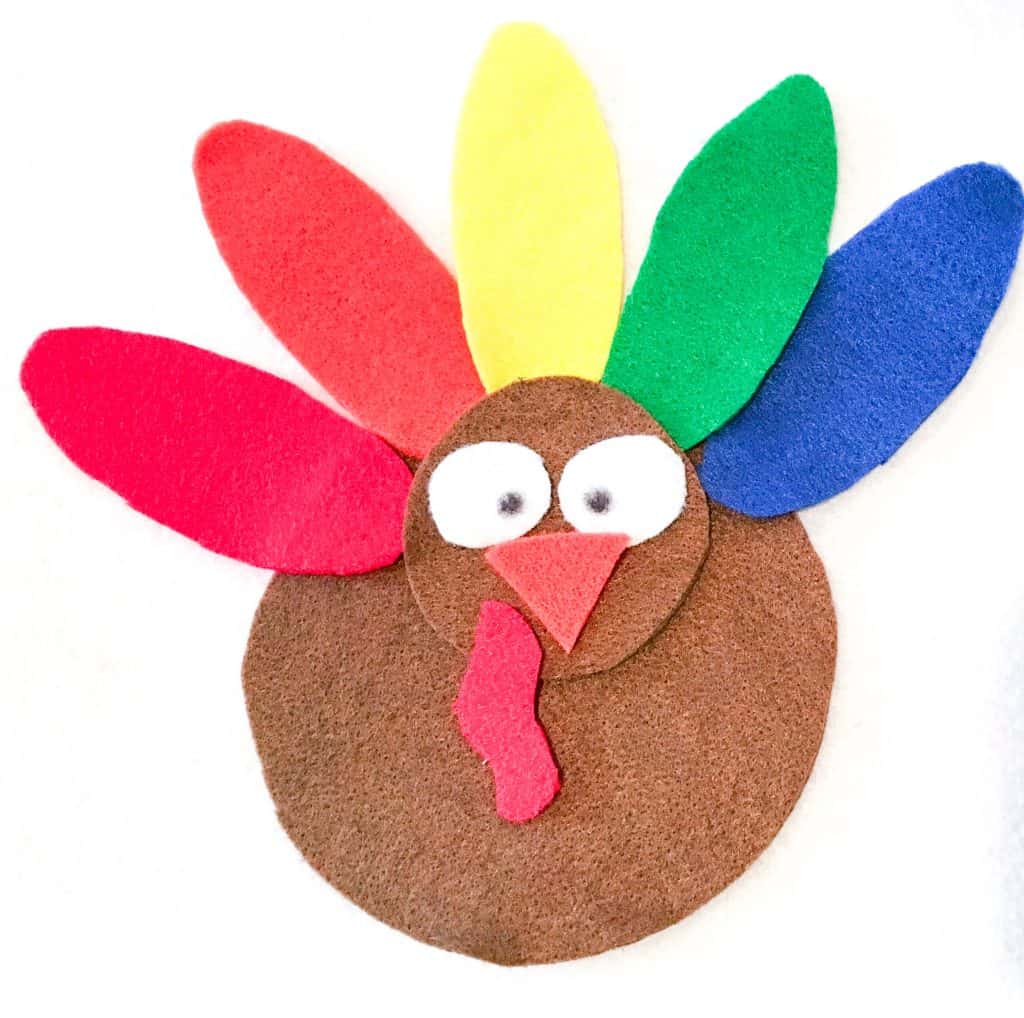
Play with the felt pieces on a felt board or on a table, making a turkey. Using different colors of felt for the turkey’s feathers is a wonderful way to work on color identification with young children.

Older preschoolers might enjoy making a pattern to the color order of the turkey’s feathers.
For older children, ask them to place a certain number of feathers on the turkey, then take some away to practice simple addition and subtraction!
Click on the image of the template below to print.

A few tips for your felt turkey!
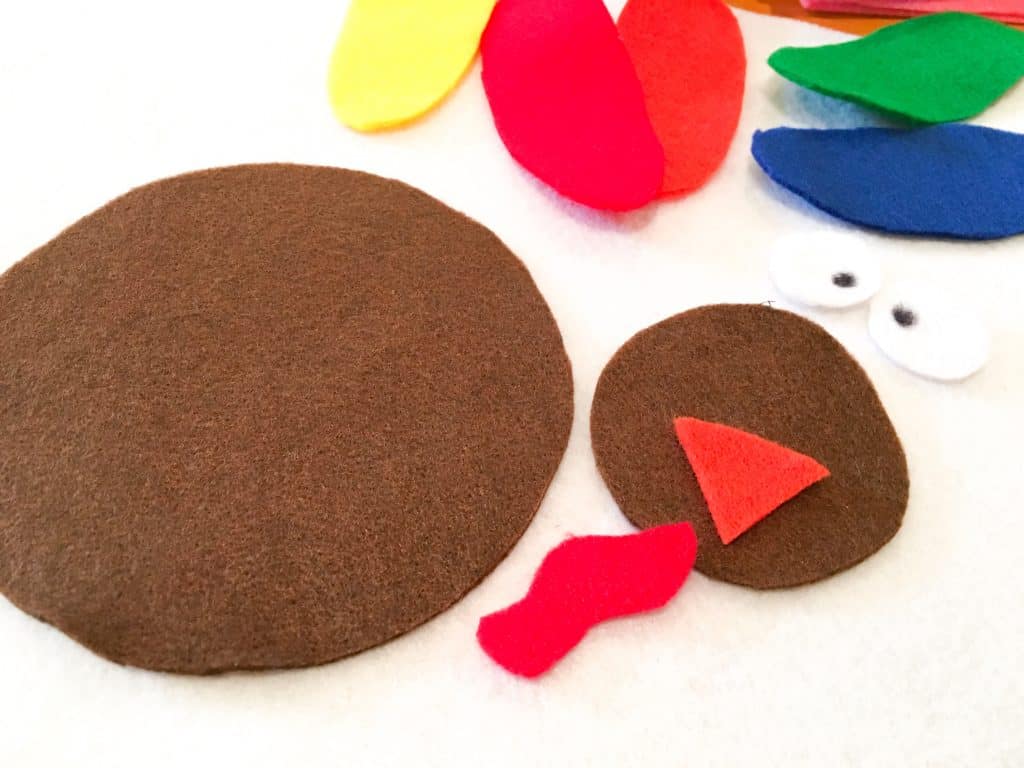
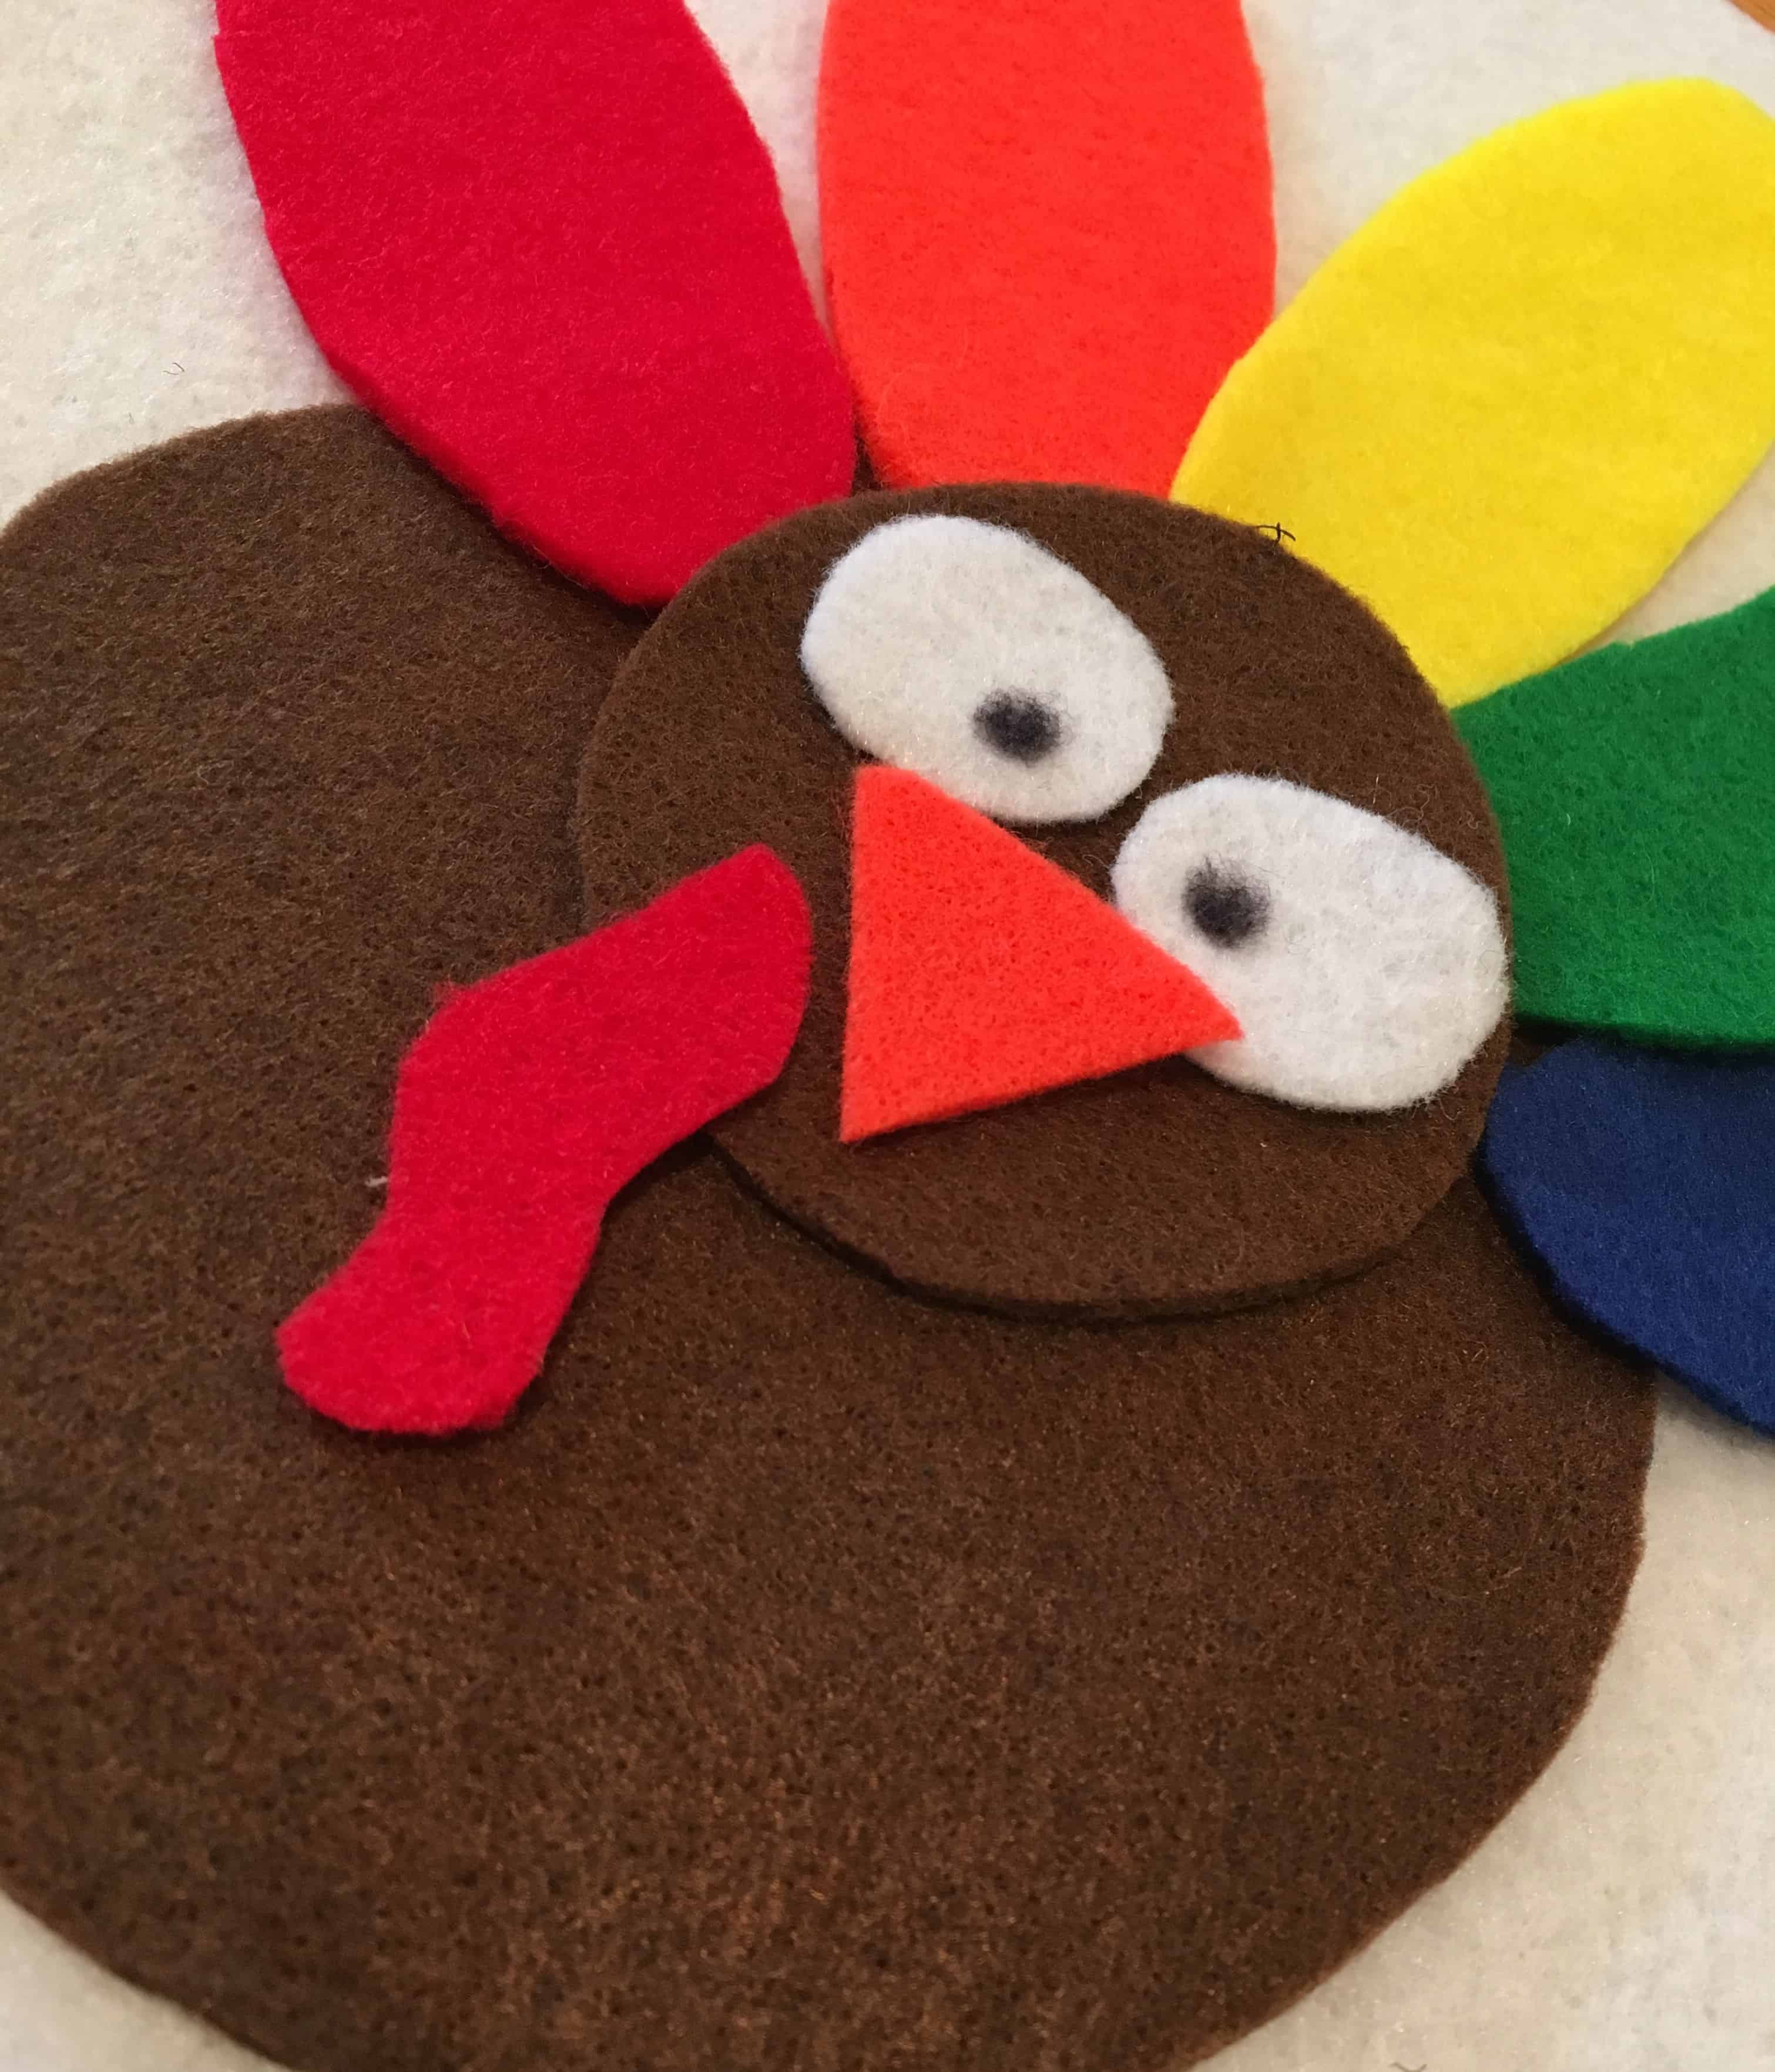
You can use whatever colors of felt you, or your kiddos, like! We chose to use a dark brown for the body and the head, multiple bright colors for the feathers, white for the eyes (you can add googly eyes on top), orange for the beak, and red for the wattle.
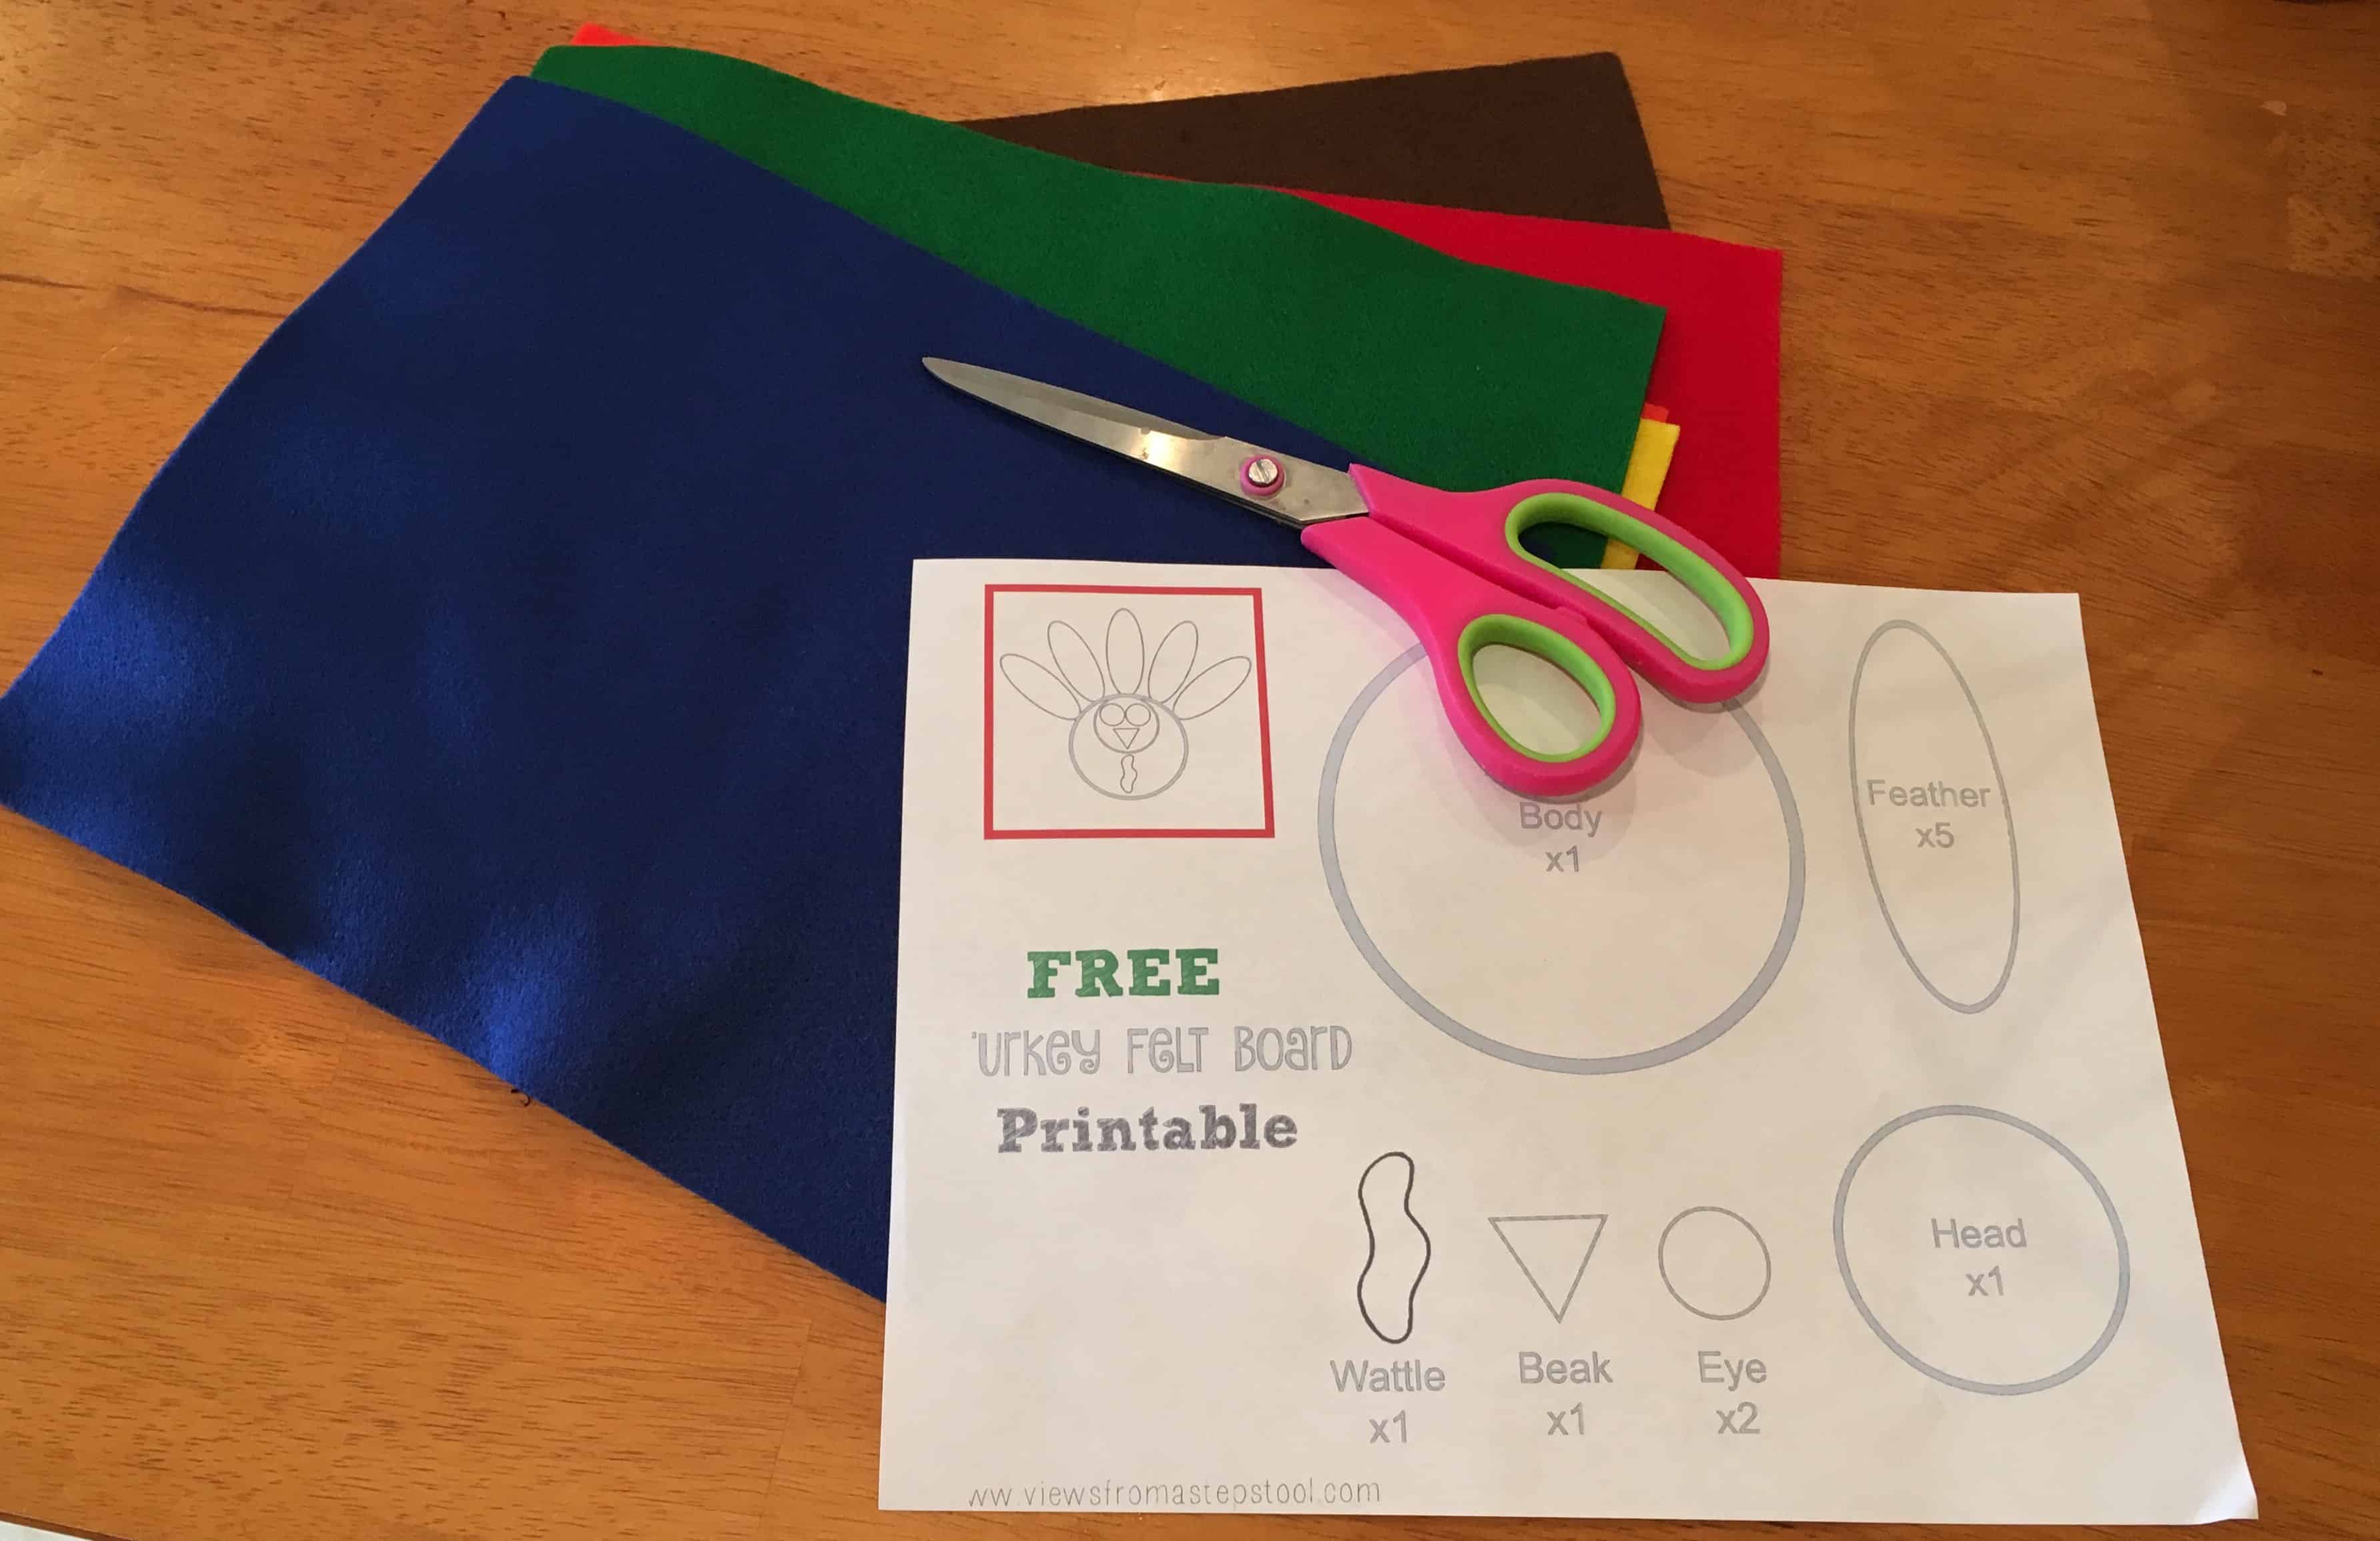
There is a number by each shape, indicating how many of each shape you need to cut out of felt. Trace the shapes onto felt, you can get creative with the colors!
{If you want to add a few steps to the process but make cutting easier, you can trace the shapes onto freezer paper, cut them out and iron them on to the felt. Then after you have cut the shapes out, the freezer paper peels right off.}
Once you have all of your pieces cut out, you or your child can assemble the turkey!
A Gratitude Turkey Craft
So far we have used this as a busy bag, with Thanksgiving songs and with our thankful turkey gratitude prompt.
Turkey wore his red feather, red feather, red feather.
Turkey wore his red feather, all day long!Turkey wore his orange feather, orange feather, orange feather.
Turkey wore his orange feather, all day long.Turkey wore his yellow feather, yellow feather, yellow feather.
Turkey wore his yellow feather, all day long.Turkey wore his green feather, green feather, green feather.
Turkey wore his green feather, all day long.Turkey wore his blue feather, blue feather, blue feather.
Turkey wore his blue feather, all day long.Last line: Turkey wore his rainbow feathers, rainbow feathers, rainbow feathers. Turkey wore his rainbow feathers, all Thanksgiving long!
To see more Thanksgiving songs, check out this post by Everything Preschool.


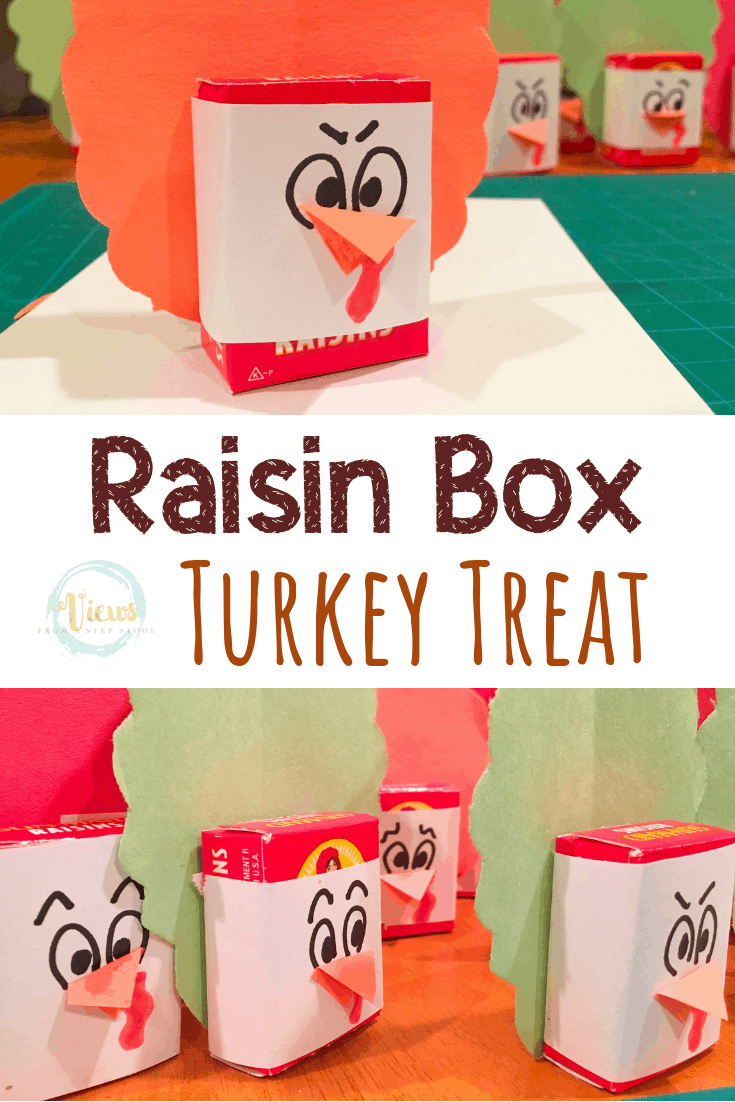
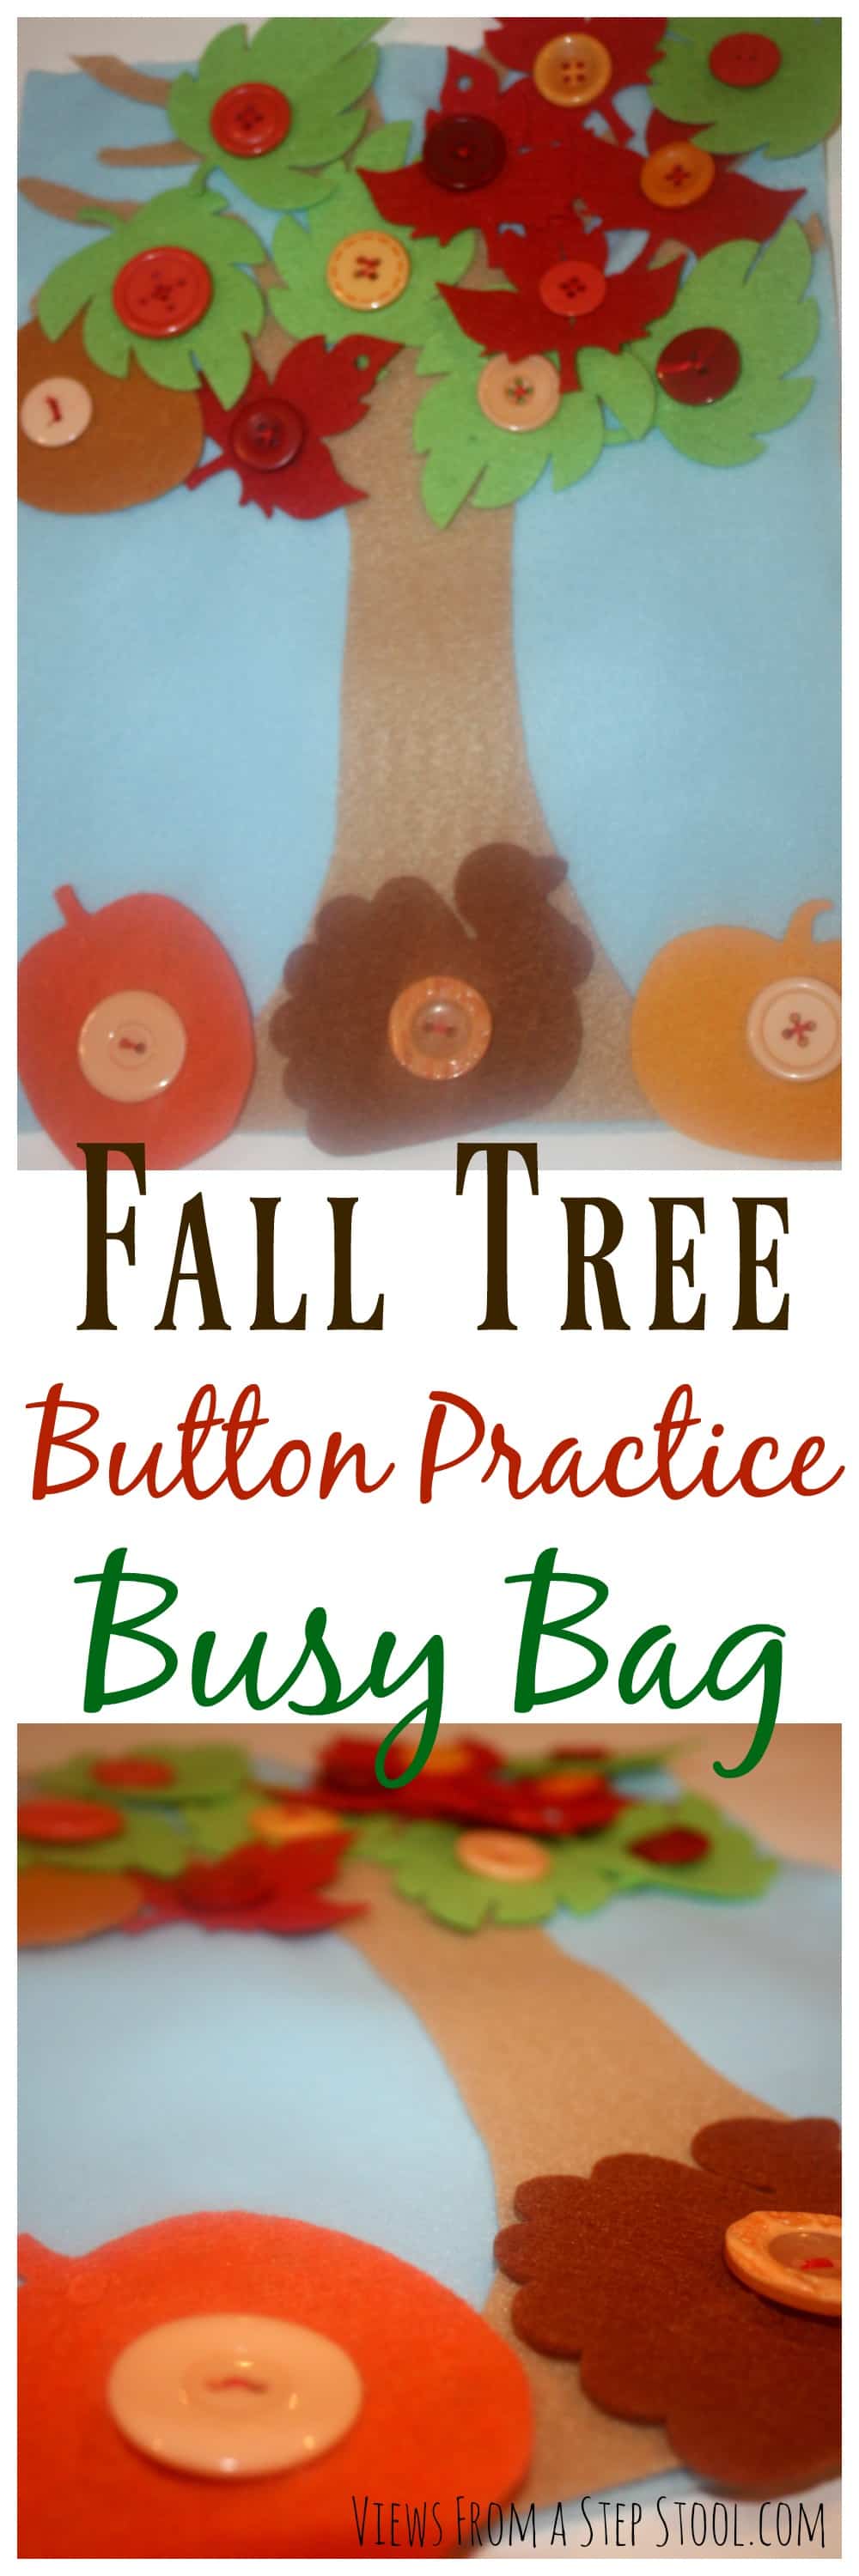


More Felt Busy Bags:
This is too cute and simple! I showed a picture of this turkey to me 2yo and asked her if we should make it and she said “yes!”
Cassidy
http://tuesdaystantrum.blogspot.com/2015/11/is-your-husband-guest-in-his-home.html
Love that! It SO easy 🙂 would love to see yours!
This is SO cute and I think I have enough felt already at home to make this!! Pinning!